How to Remove Shoe Moulding
It’s pretty easy.
Tools needed:
- Scraper/Putty Knife (3-inch or so).
- Small Wonder Bar/Pry Bar (6-inch or so).
- Hammer (normal variety).
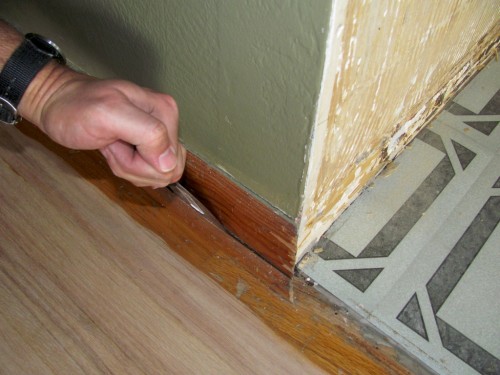
Step 1: Jam the scraper between the shoe moulding and the baseboard and wiggle it loose. If you’re lucky, the shoe moulding will come off completely.
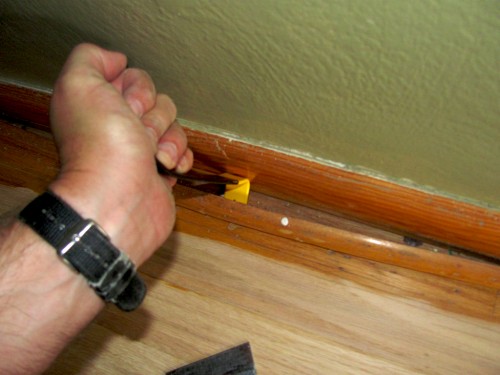
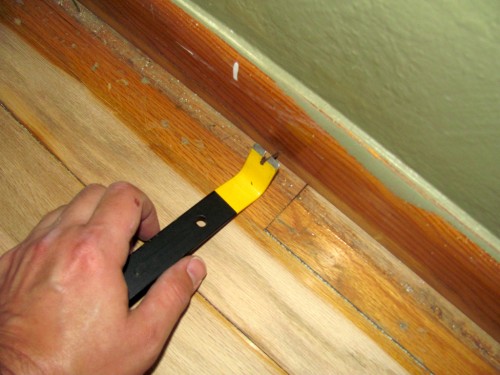
2. If you’re less lucky (this is usually the case), you’ll have to pry it off the rest of the way. Position the wonder bar over each nail and pry the shoe moulding back until it becomes un-attached at the nail (the nail may stay with the shoe moulding or it might stick with the baseboard). Keep going until the shoe moulding piece is removed completely.
3. You’ll probably still have nails attached to the base board, but they’ll be too low to the ground to get your hammer claw around them. So work them looser with the wonder bar (they *might* come out with the wonder bar) and get the heads up off the ground so you can get the claw on them.
4. Remove the nails with your hammer.
And, just like that, your shoe mouldings have been removed. Well done. Well done.
That’s about as uninteresting a blog post as I can muster. Now to see if it works as search engine bait…
Ominously,
bkd
PS, I probably should have taken these off before using the drum sander. I didn’t. The world turns even still.
PPS, FWIW, I’ve decided not to put the shoe mouldings back. It’d take work, I’d have to get a finish gun, and I kind of think they’re ugly anyway. I’ll just have to wood fill the few places where there are gaps between the baseboards and the floor boards.


