Hemmed-in-Hollow Falls and Goat Bluff Loop Hike
Almost all information about hiking to Hemmed-in-Hollow Falls (in the Ozarks, Ponca Wilderness Area) that I could find prior to going on the hike referred to it as an out-and-back. I found one resource that combined it with the Goat Bluff destination to make it into a shuttle hike. For anyone wondering, though, there’s a really good loop hike that includes both these destinations, plus the river and a scenic creek, and just a little doubling back. I did this in May 2016.
With good conditions (in particular: not too hot), I highly recommend this loop route.
Oh, also, you’ll probably want access to a topo map. Things aren’t always super well signed.
Total length of this route is about 10 miles, with around 2,000′ in total elevation gain.
1. Start at the Compton trailhead.
Avoid making NWA-related jokes if possible. I found that difficult.
2. Head downhill toward the falls, just like all the out-and-back trail descriptions instruct.
As you may have read, this part of the trail is fairly steep for the area. (If you haven’t read, this was a nice trail report with some outstanding photos.) The elevation change clocks in at less than 1,000′ per mile (about 1,200′ in 2.5 miles of trail), but most of that is in the first mile and a half. Also, if it’s rained recently, the track can be very slick. And for the sake of the falls, I think you’d ideally be doing this hike within a day or two of a rain storm having passed through. One imagines that, at some point, someone’s going to want to put some stairs on the trail, particularly around the steep hairpin turns, where I imagine erosion (and broken hips) should be a concern. At any rate, you might want to bring a walking stick.
While the hike down is mostly in tree prison conditions, there are occasional views and a decent amount of birdsong (not pictured).
This is a pretty popular trail, so if you want some solitude, get to the trailhead early in the morning (before 8 let’s say) and go mid-week. Problem solved — although, I’m guessing you’ll still meet some fellow hikers along the way. Fortunately, the steep exit from this trail seems to do a good job off warding off the full wrath of the tourist hordes.
You’ll eventually get to the creek fed by the falls. The trail flattens out here and it’s very serene experience walking alongside the stream up toward the falls. You’ll see some smaller (10-15′) cascades here — don’t worry, these are not the falls.
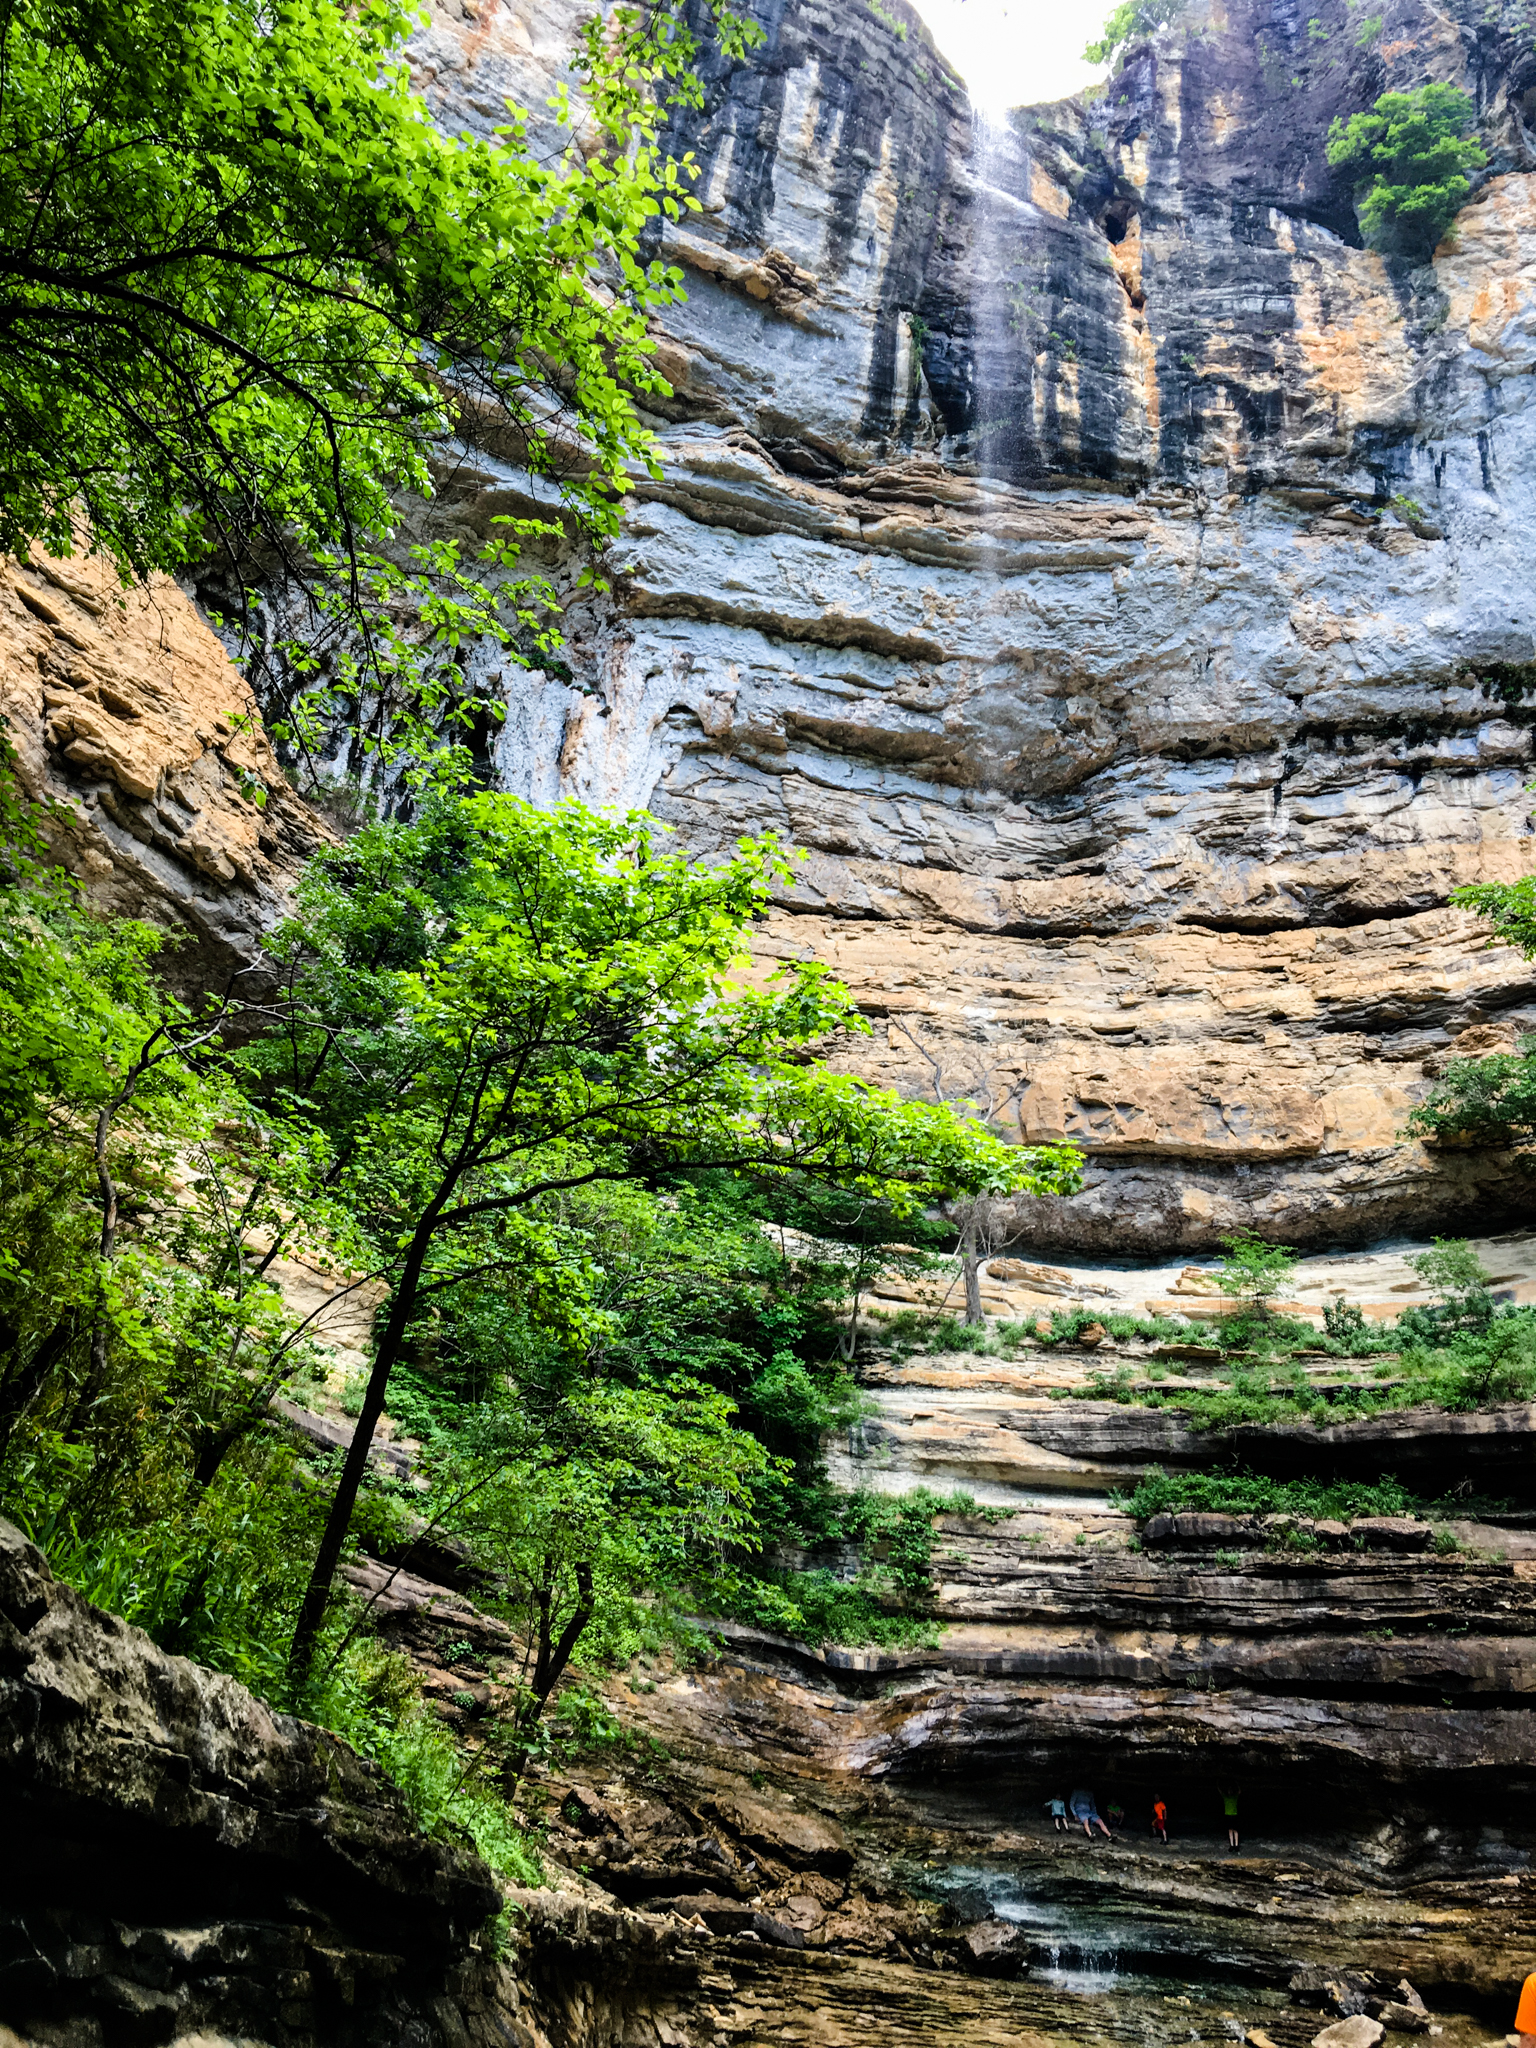
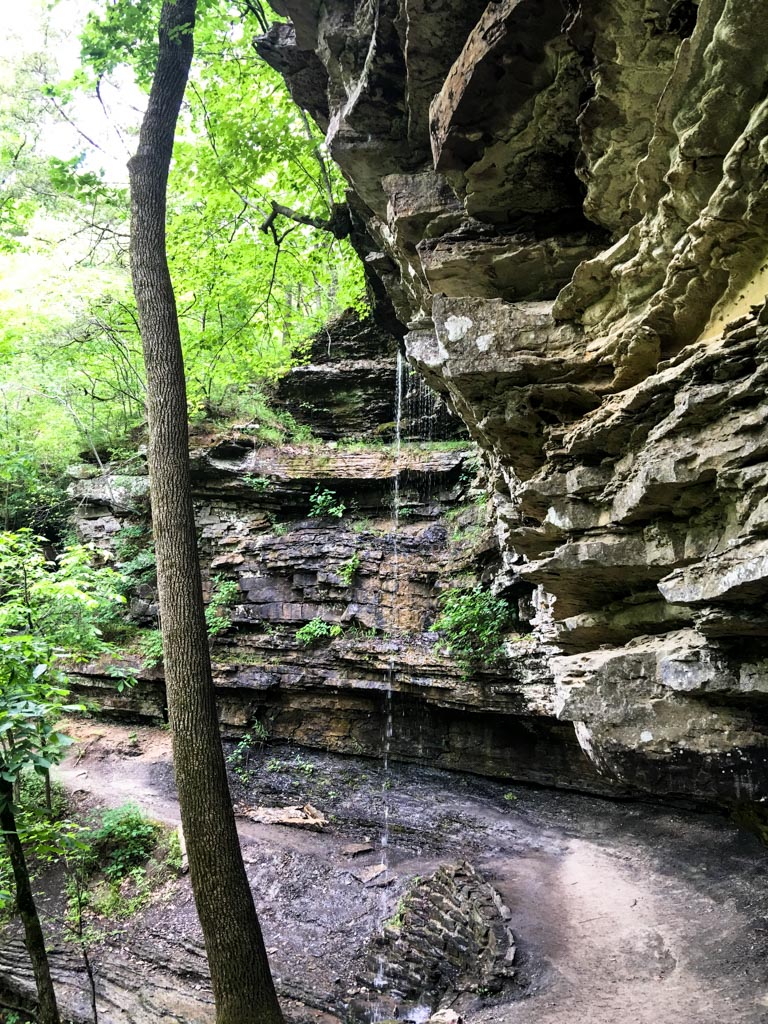
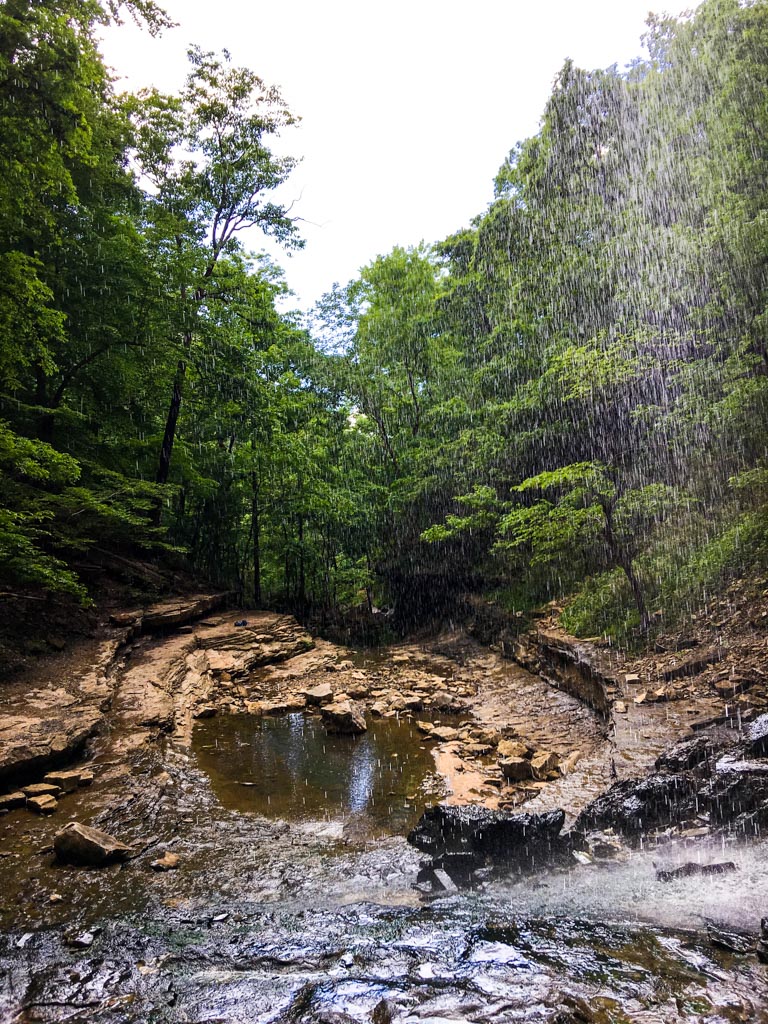
The falls look like this:
In video form:
The echoes here are amazing, particularly once other people leave the area and all you hear are the echoes of the falls. WRT water flow, this was about 24 hours after a decent rain storm hit, so I imagine the falls dry up if it’s been dry for a few consecutive days.
Once you’ve had your fill of echoing waterfalls, it’s time to head the rest of the way down to the river.
3. Return back up the trail a little ways, then keep left to take the trail down to the Buffalo River.
I remember there being a sign there pointing to the river, but it’s the first real trail that branches off when you’re heading back from the falls. Again, stay left.
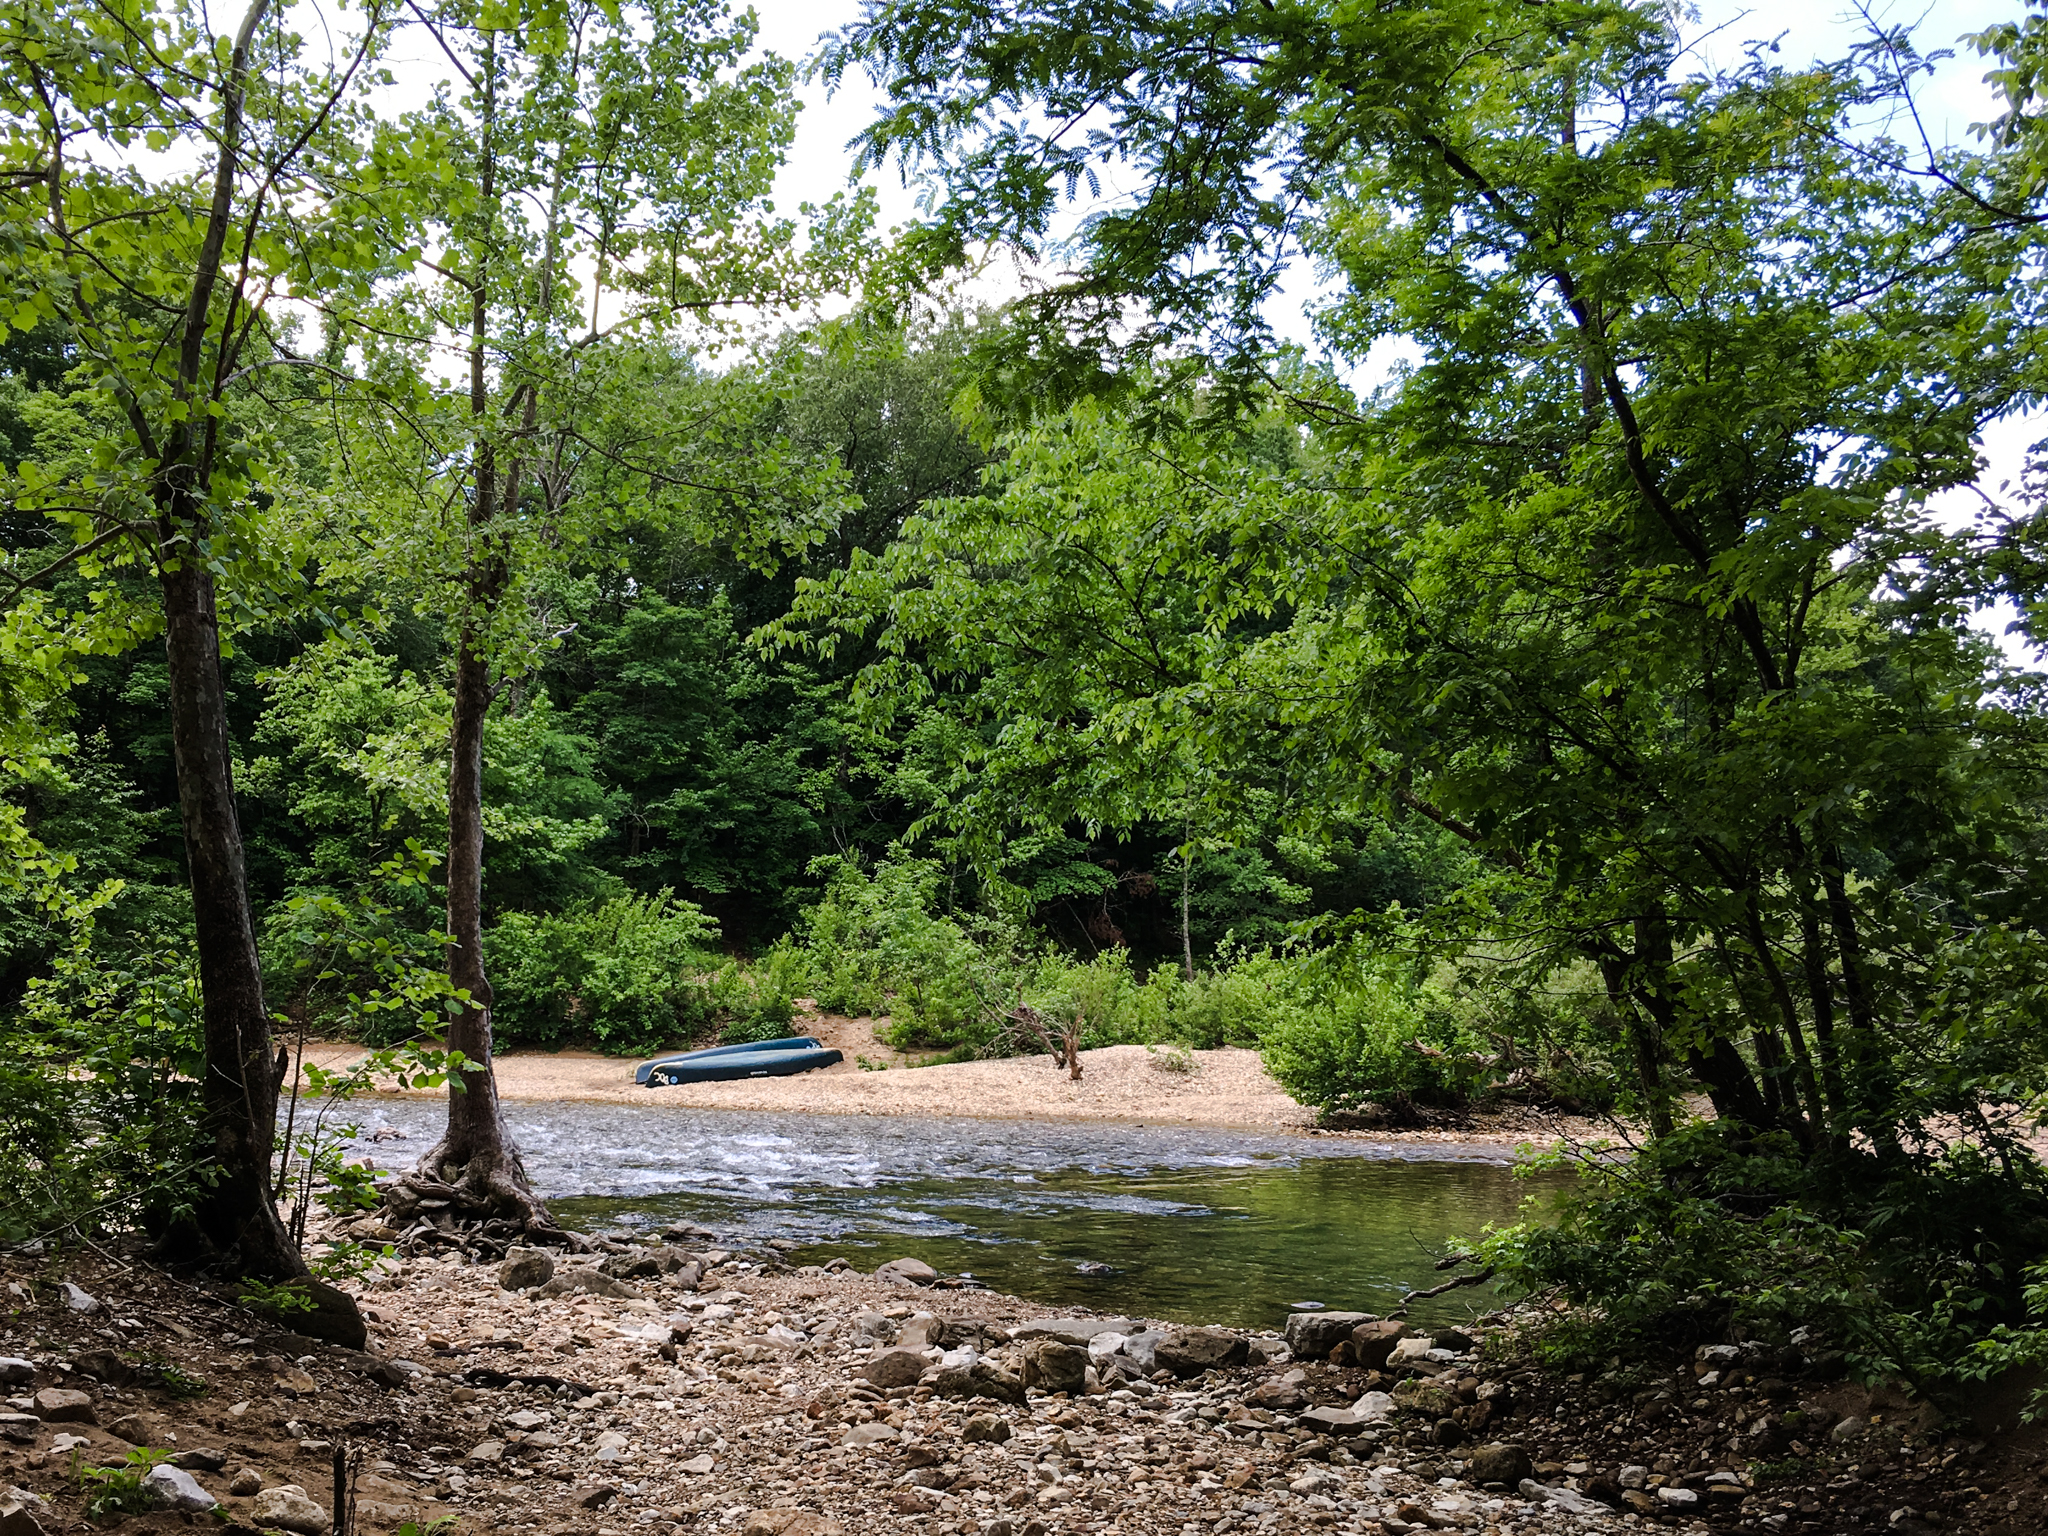
Once you arrive at the river, the trail disappears (!). You’ll be at a location referred to as Horseshoe Bend, a name that seems sensible (if maybe a little un-creative) when you look at a map.
4. Cross the river.
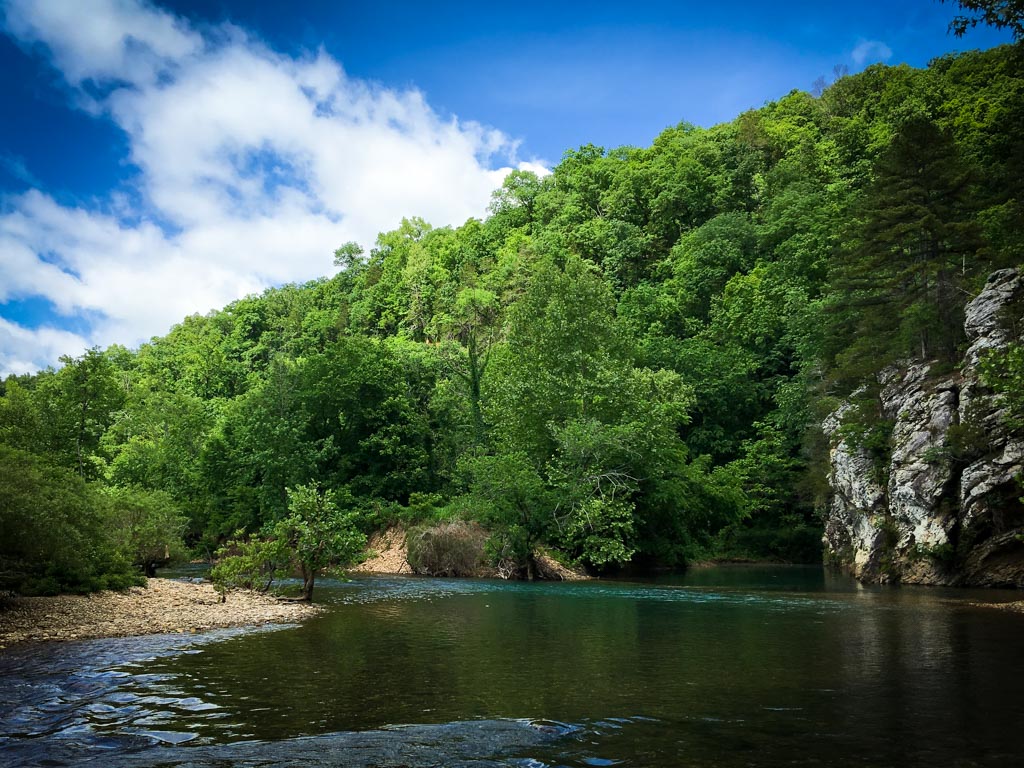
This spot in the river is pretty slow-flowing and shallow. I imagine those canoes in the photo are being portaged. Where I crossed, the river was about knee-deep. Unfortunately, I don’t know whether these conditions were normal or not, but the topo map shows the trail to cross the river here, so I assume it’s usually a reasonable crossing.
Once you’re on the other side, you want to take the overland trail upstream to cut off the horseshoe. There’s no signage here, so you’ll probably want a map (or, in my case, an iPhone photo of someone else’s map) for reassurance. It’s about a quarter-mile walk, though, partly across a flat rock bench alongside the river, to get to the other side of the horse shoe.
You’ll likely run into a whole other set of wilderness users in this area — canoeists, kayakers, maybe rafters. It will be okay.
5. At the other side of the horseshoe, cross back over the river.
Could you skip the two river crossings and stay on the same side of the river the whole time? Yeah, I think there’s a trail for that (you don’t immediately head down to the river when you leave the falls), but if you take it, you’ll miss out on some nice alluvial scenery, plus river crossings add interest and it’s good to remind yourself that hiking in wet socks isn’t that big a deal (assuming you’re wearing a good pair of hiking socks).
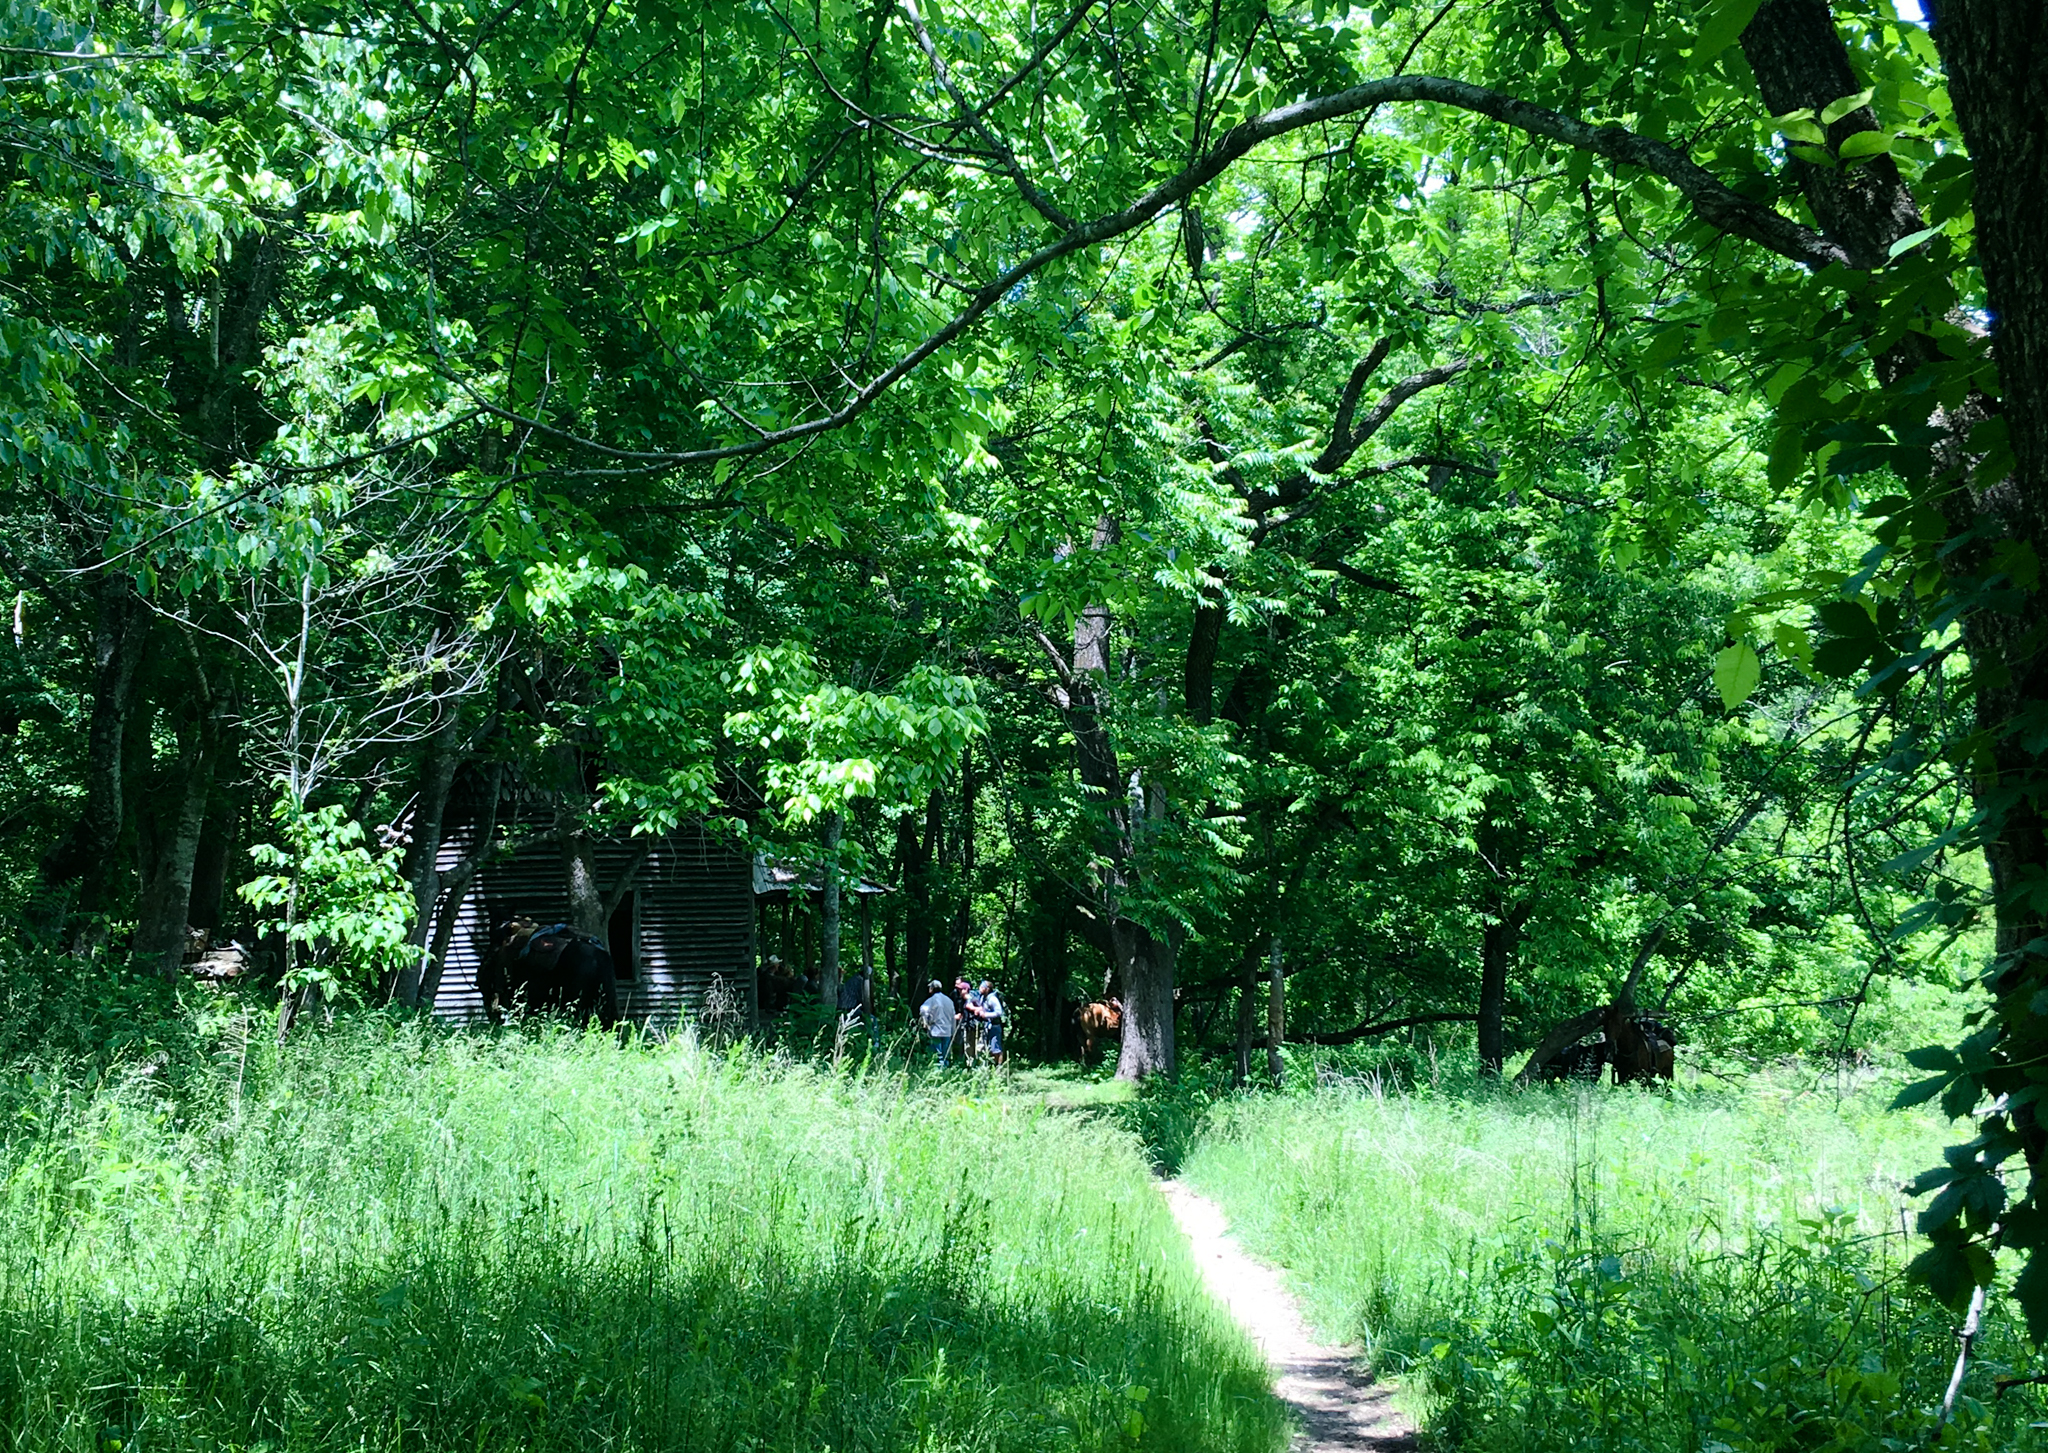
Continue hiking upstream. You’ll almost immediately come upon the remains of the Center Point School off to your right.
Keep a decent eye on your map at this point, though, because trails start shooting off in different directions and, if you want to make it up to the Goat Bluff, you’ll want to be on the right one (see route synopsis at the bottom of this page; it might be helpful for your route-finding). The first trail that heads up the hill and off to your right (immediately after a stream crossing) is not the right one. This one will take you straight back to the Hemmed-in-Hollow Falls trail. Instead, take the second one, which is the Centerpoint Trail.
6. Turn right and start hiking up the Centerpoint Trail.
You’ve passed the school house, crossed a stream, and avoided going back up the Hemmed-in-Hollow Falls trail. Now it’s time to head uphill again on the Centerpoint Trail. (If you get to the point where the trail is heading back over the actual Buffalo River again, you’ve missed the Centerpoint Trail.)
About a tenth of a mile up the Centerpoint Trail, you’ll come to a Y — stay left here to go to Goat Bluff. (Once you’ve been to the bluff, you’ll be coming back to this point and taking the other trail to complete the loop later on; or, if you’re not into bluffs, but still like loops, go ahead and take the trail on the right.)
7. Take the spur trail to Goat Bluff.
Not quite a mile further up and after an elevation gain of around 500′ (which serves as a good preview for the final assault back up to your car), there will be a spur trail heading off to the left. It’s a clear trail, but I don’t recall there being a sign. Anyway: this is the trail that heads over to Goat Bluff. The Goat Bluff trail is mostly flat and interestingly rocky.
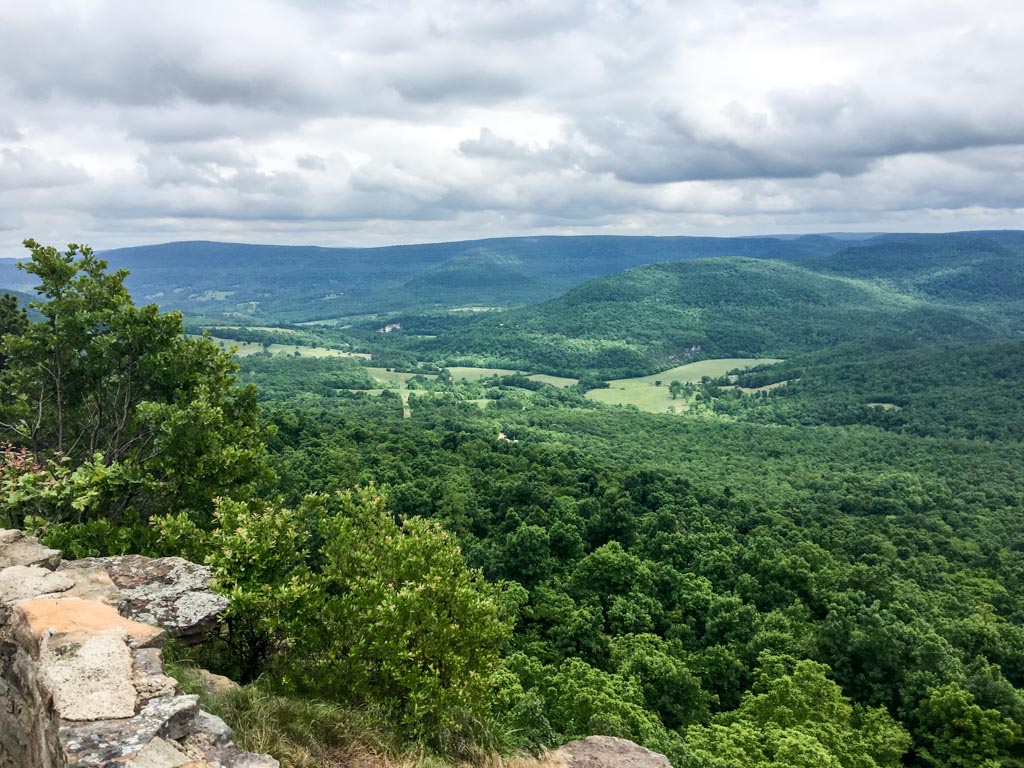
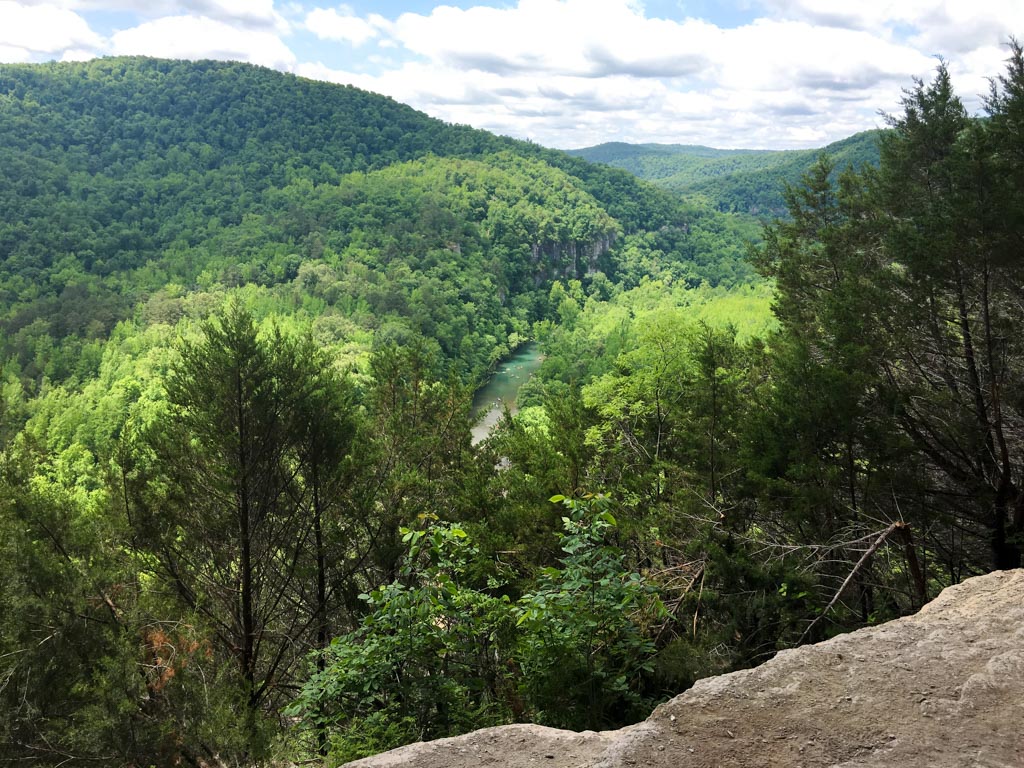
The bluff also offers a pretty nice view of the river (that my iPhone struggled to capture).
8. Head back to the Centerpoint Trail.
You’re retracing steps here.
9. Take Centerpoint Trail back downhill.
And here.
10. Turn left onto the Sheeds Creek Trail.
This part will be all new again.
You’re basically on the Sheeds Creek Trail all the way home at this point. On the day I was there, I had the trail almost all to myself (I saw a couple groups down at the Henderson House, but no one between there and the car). The trail passes Henderson House (there was a tour group with horses there, so I just kept walking), then hangs out in the trees for a while before reaching Sheeds Creek, which makes for a scenic, serene companion for a good, oh, mile and a half or so.
The creek crosses an area called Rocky Bottom.
I should also note that, right after leaving Rocky Bottom, I ran into a couple of large snakes. One was a harmless rat snake, while the other was a well-meaning, but still potentially dangerous timber rattler that wanted to sun itself on the trail. As you would expect from a rattlesnake, the timber rattler gave fair warning as to its presence.
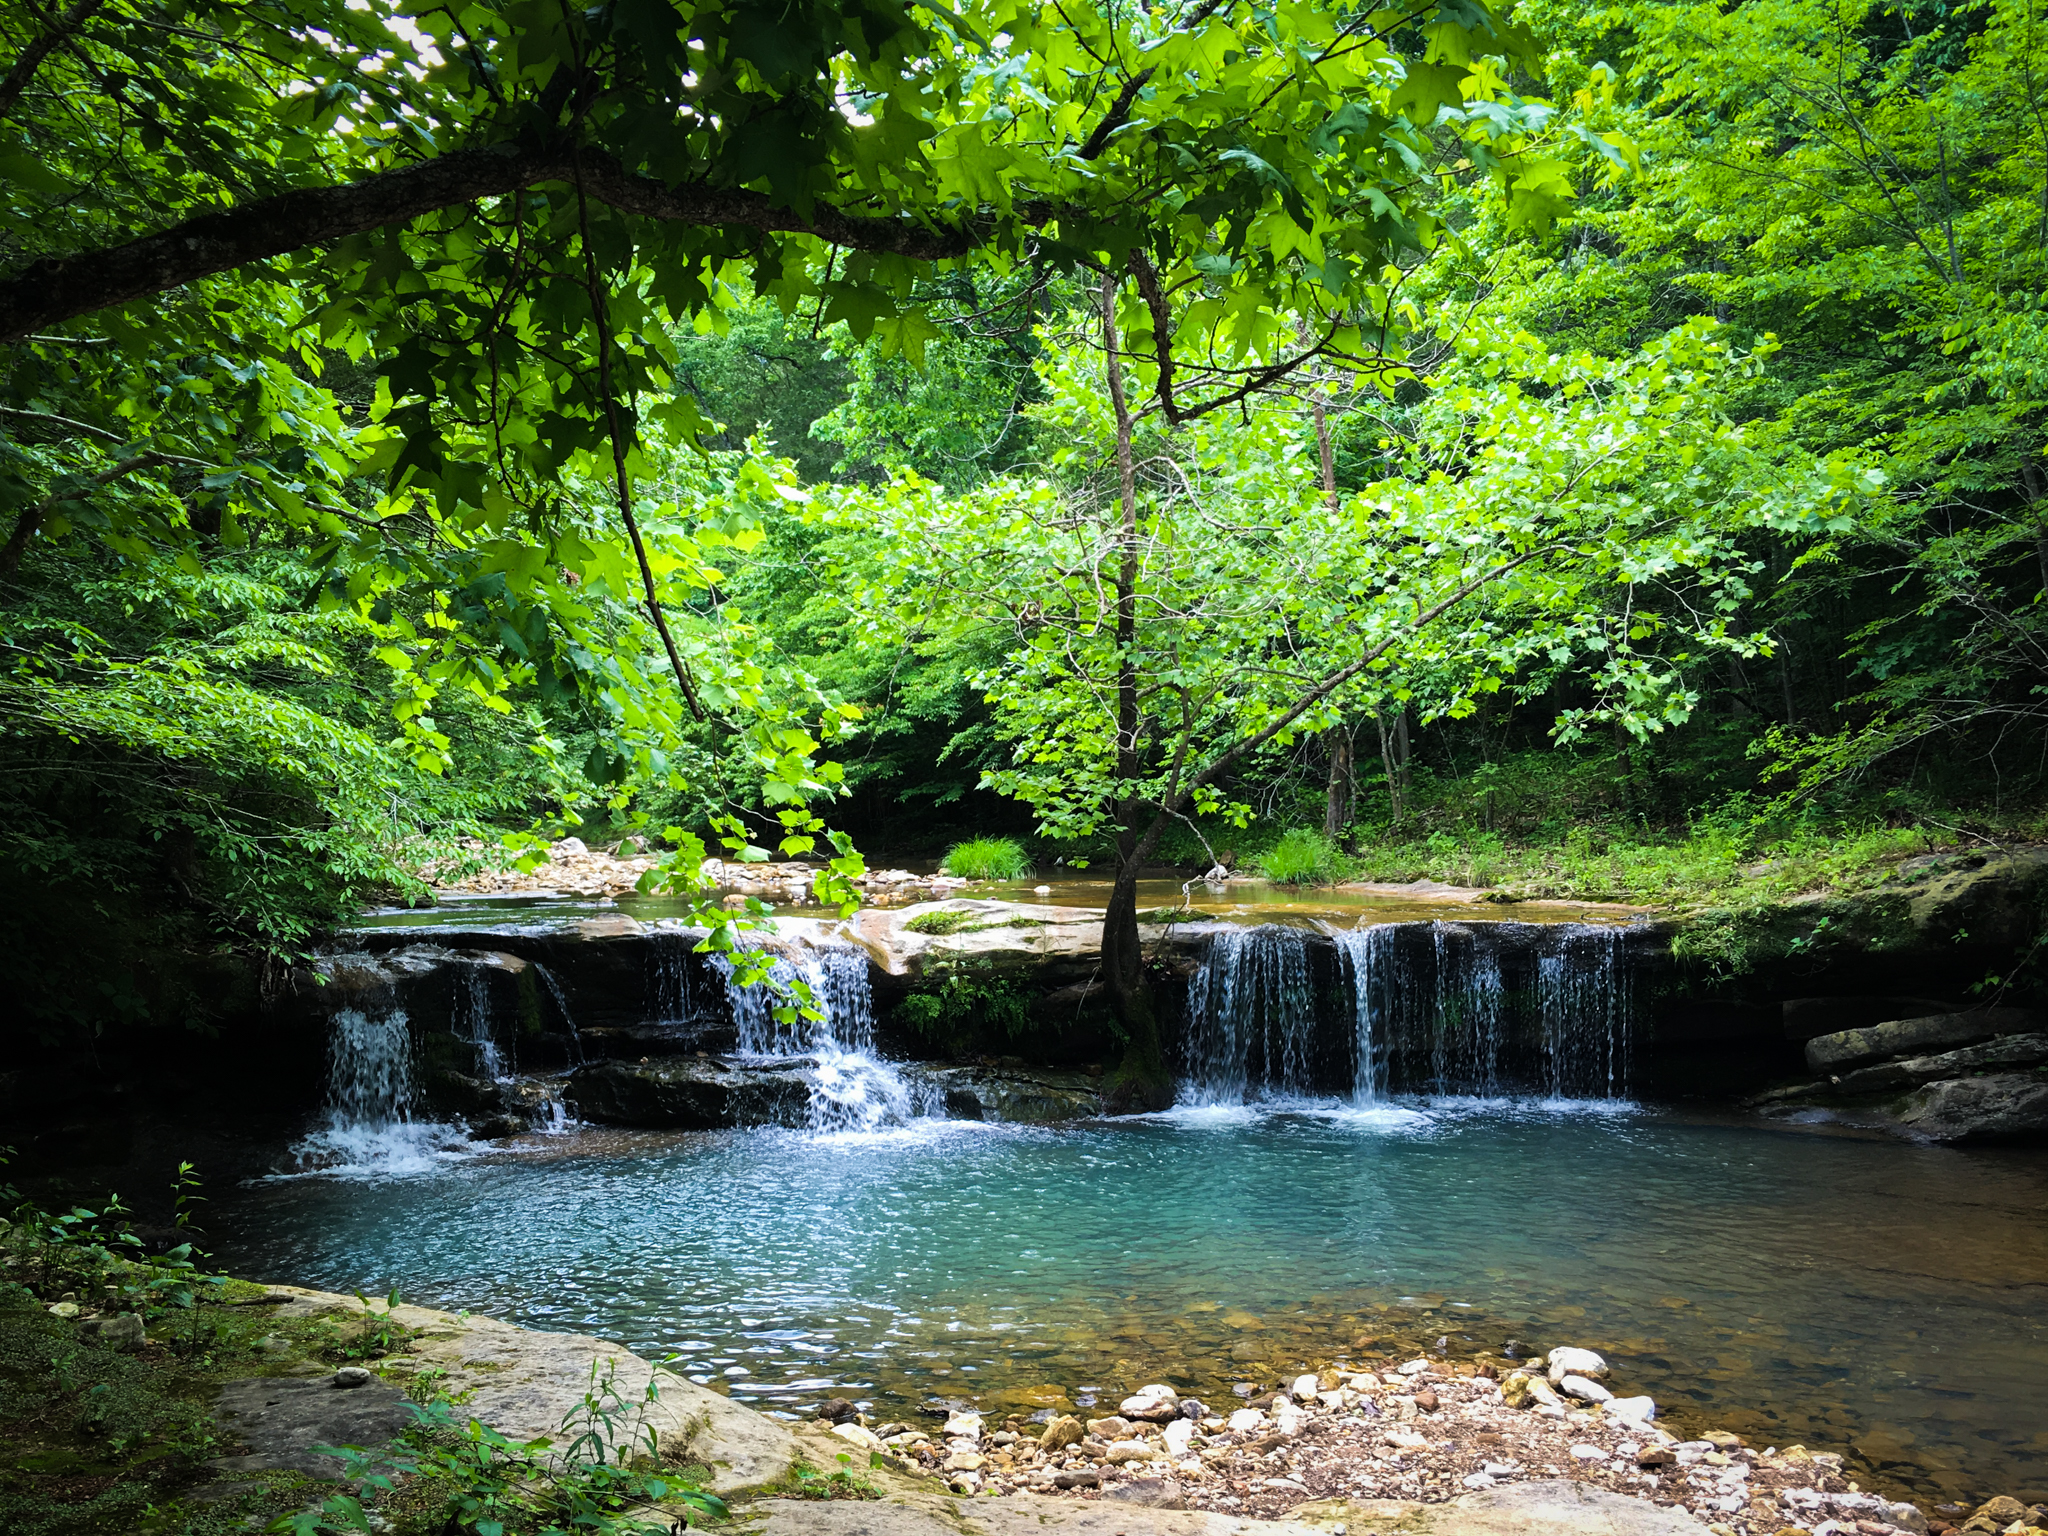
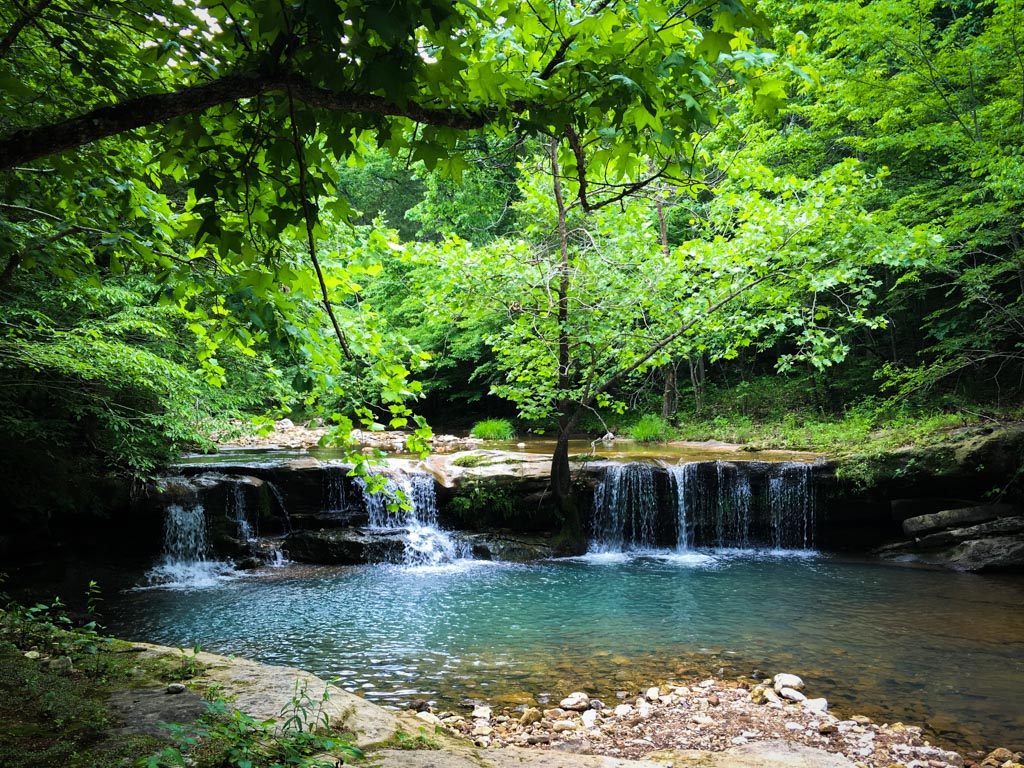
Snakes withstood, the creek had some beautiful little cascades that make this part of the loop easy to recommend.
Or, to get a better sense of what this part of the hike is like:
Anyway, eventually you break away from the creek and it’s finally time to pay for all the waterfalls, cascades, creeks, rivers, and bluffs as you head back uphill the remaining 1,000 feet back up to the trailhead. I am fairly certain, though, that this route back up the hill is less steep than the original route down, the one that goes to Hemmed-in-Hollow Falls. So — that’s a bonus. It’s definitely a tree prison, though, and once you leave the creek, there’s not a lot to look at (although I think I saw a deer somewhere along the way).
Route Synopsis
- Start at the Compton Trailhead.
- Take the Hemmed-in-Hollow Falls trail to the falls.
- From the falls, take the trail that leads down to the river.
- Cross the river, then join the River Trail.
- Continue on the River Trail back across the river again.
- Turn right onto the Centerpoint Trail.
- After about a mile, turn left onto the Goat Bluff (or Big Bluff) trail spur.
- Return back to the Centerpoint Trail, retracing your steps and hiking down toward the river.
- Turn left onto the Sheeds Creek Trail.
- Follow the Sheeds Creek Trail back to the Compton Trailhead.
Other Advice
Strenuousness. The out-and-back to Hemmed-in-Hollow Falls is almost universally listed as a 5 out of 5 for strenuousness and/or difficulty. I think this doesn’t tell the whole story. The elevation gain is just the elevation gain — if you put that elevation gain in the Cascades, Rockies, or Adirondacks, it would never qualify as a highly strenuous hike. It’s a little slick, but that’s not such a big deal. For someone who hikes a fair bit, neither the out-and-back nor my 10-mile loop are particularly strenuous.
OTOH, there are a lot of tourists about. This hike could become problematic for someone who hikes to the falls and thinks it’s an easy jaunt without quite realizing that the 1,200′ or whatever elevation gain going back up is going to require a little work. Also, unlike the Cascades or Adirondacks, in the middle of summer, this place would be hot and humid. Given my personal experiences with dehydration, I probably wouldn’t start this hike on a day when the high temperatures were forecast to be in the 90’s.
Time of Year. Therefore, if you can, I’d try and do this one in the spring. I went mid-May, which seemed just about perfect. All the trees were green and shade-providing and the high temps in the nearby towns were all forecast to be in the 70’s. Hanging out in the hollow, it actually got a little cool.
Tour Guides. One gets the impression that there are a lot of hiking poles and horse tours that take place here, provided by local companies. At least one of those companies provides a ton of useful information about the hikes. However, unless you want your hike to be a guided tour, it doesn’t have to be. In other words, there’s nothing particularly daunting or challenging about this hike, even in loop form (weather willing) that necessitates the need for help from expert outdoorspeople. (I also kind of think that these tour companies might be helping to keep the strenuousness level of this hike inflated.) If you know your way around a topo map and the 10 essentials, you’re well in the clear here.
Throwaway Heading So You Don’t Think This Next Part is Part of “Other Advice”
Anyway, fun hike. The loop is totally viable and worthwhile and for someone who is in decent shape. I have to think it’s the best way to see all the highlights of this part of the Ozarks if you only have a day to do so.
bkd


