Kitchen: Before and After Photos
Weird Dining Area That Became the Kitchen
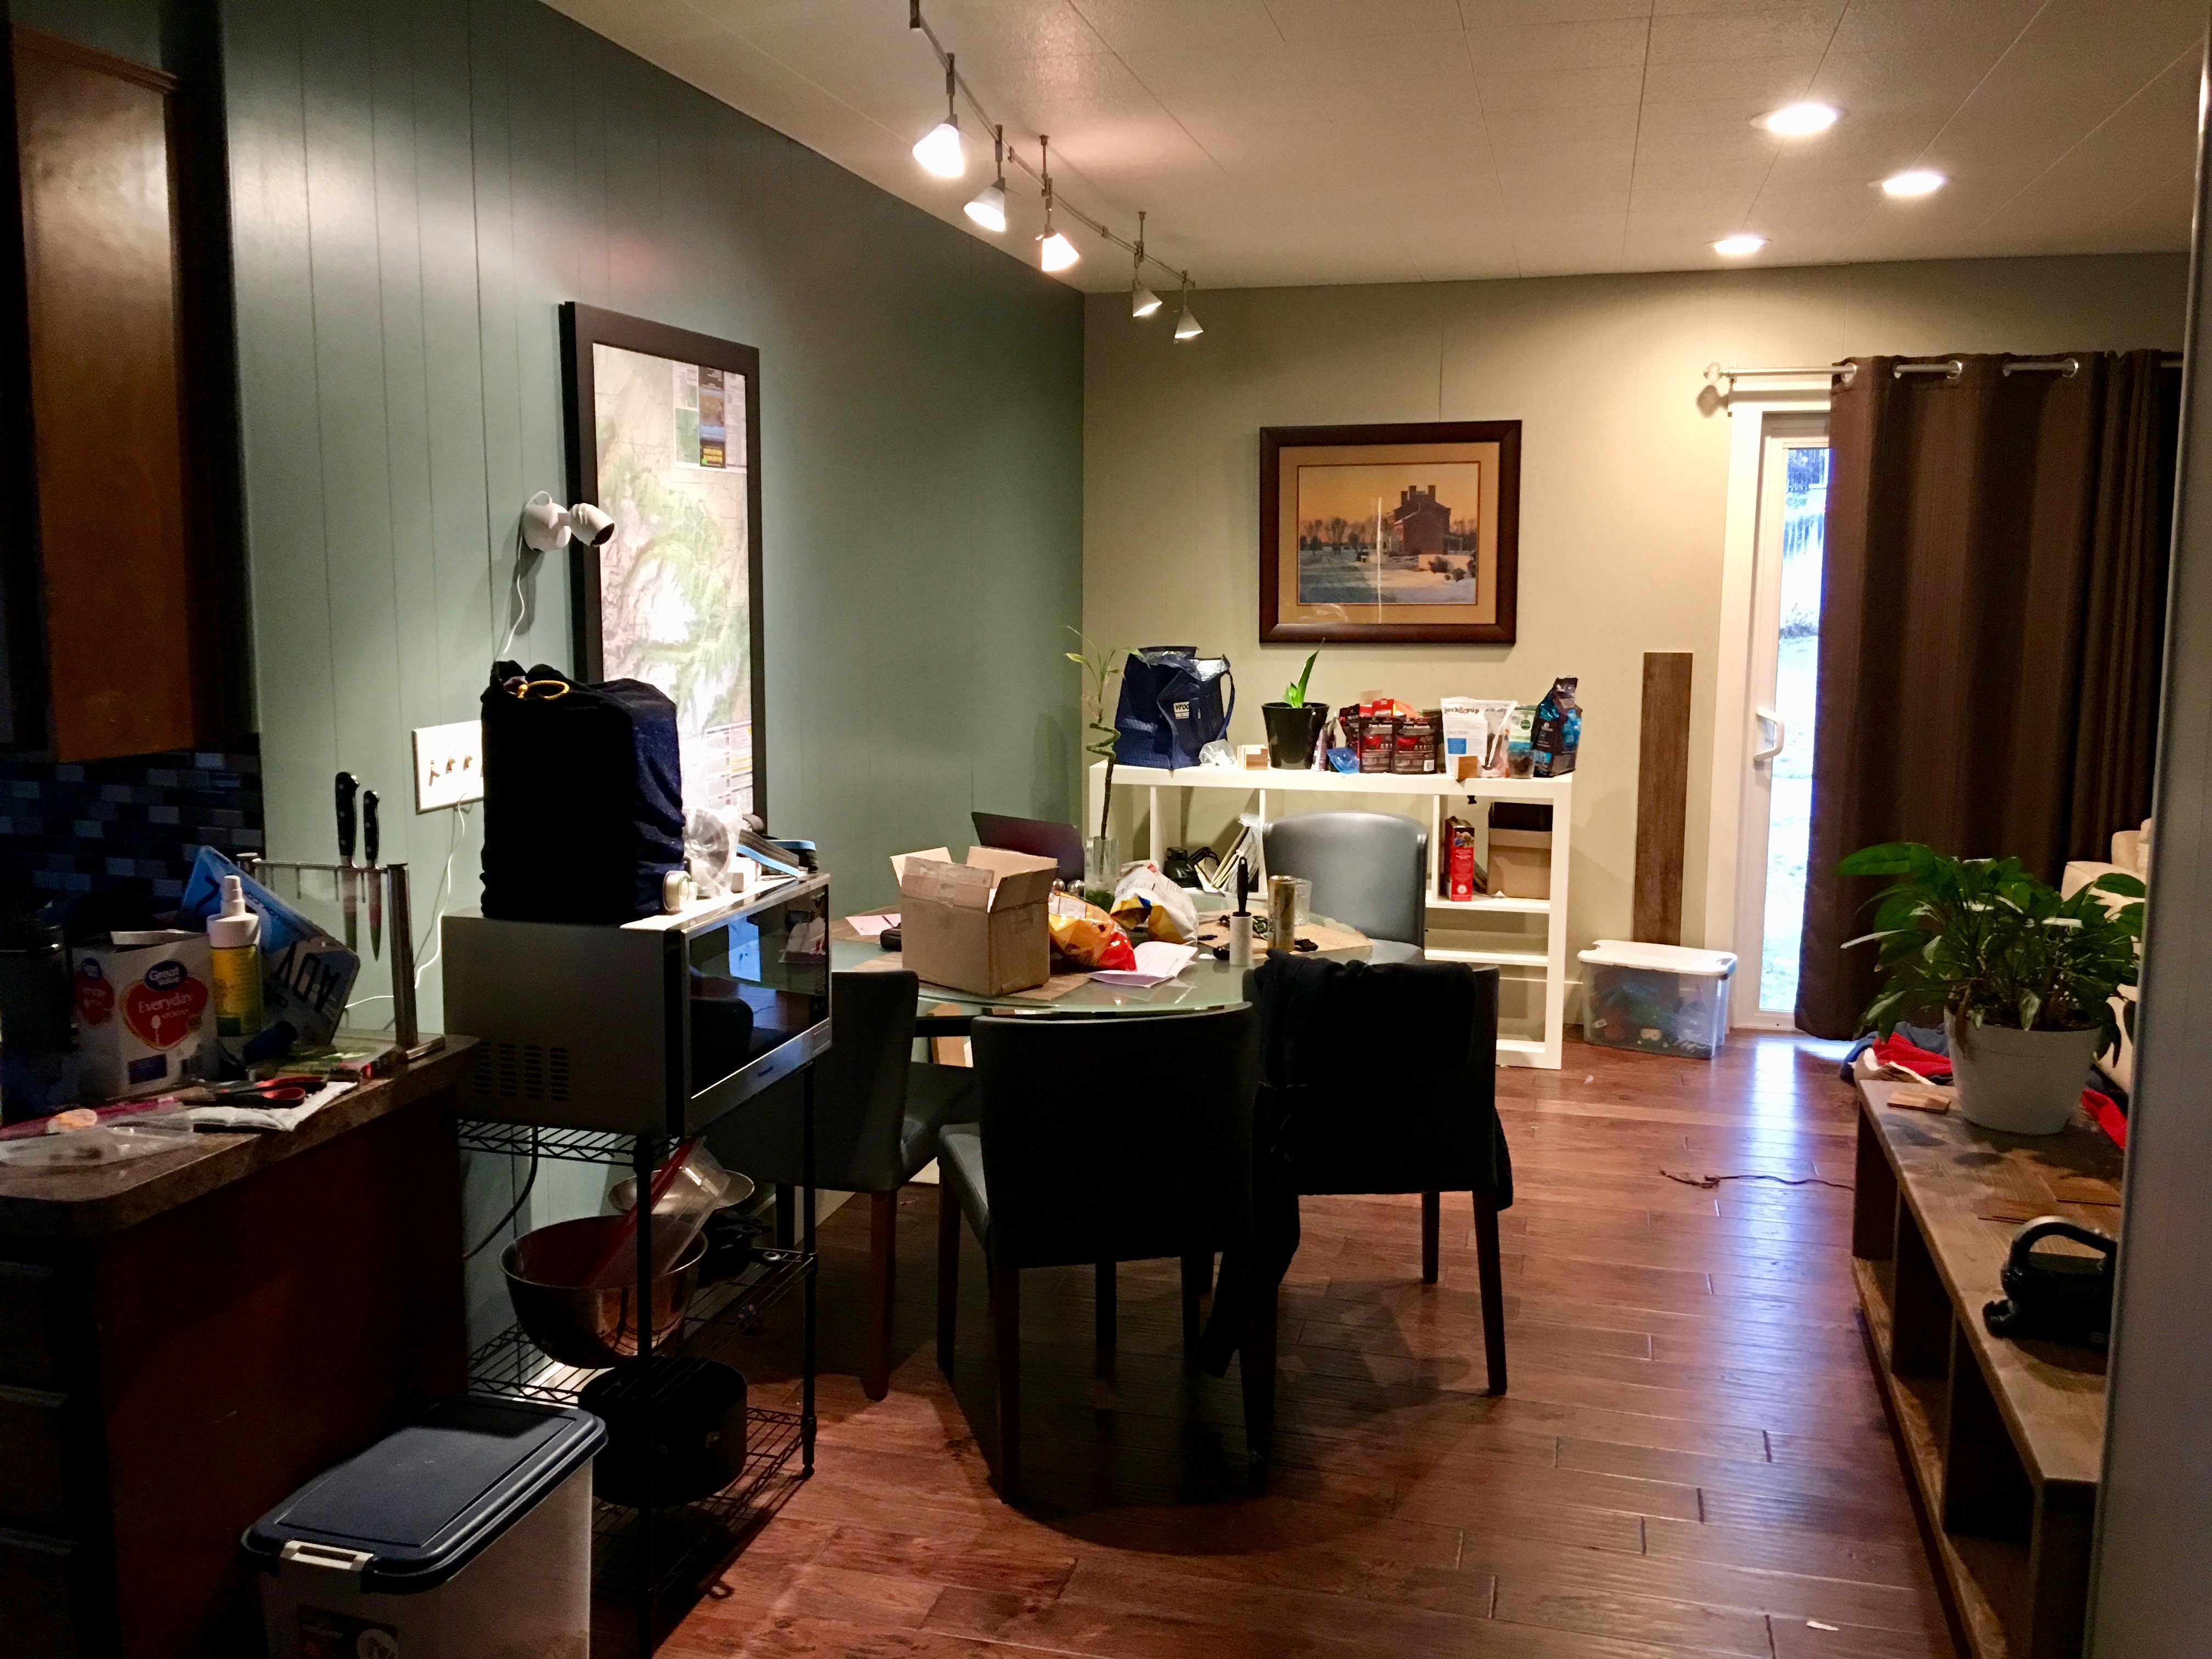
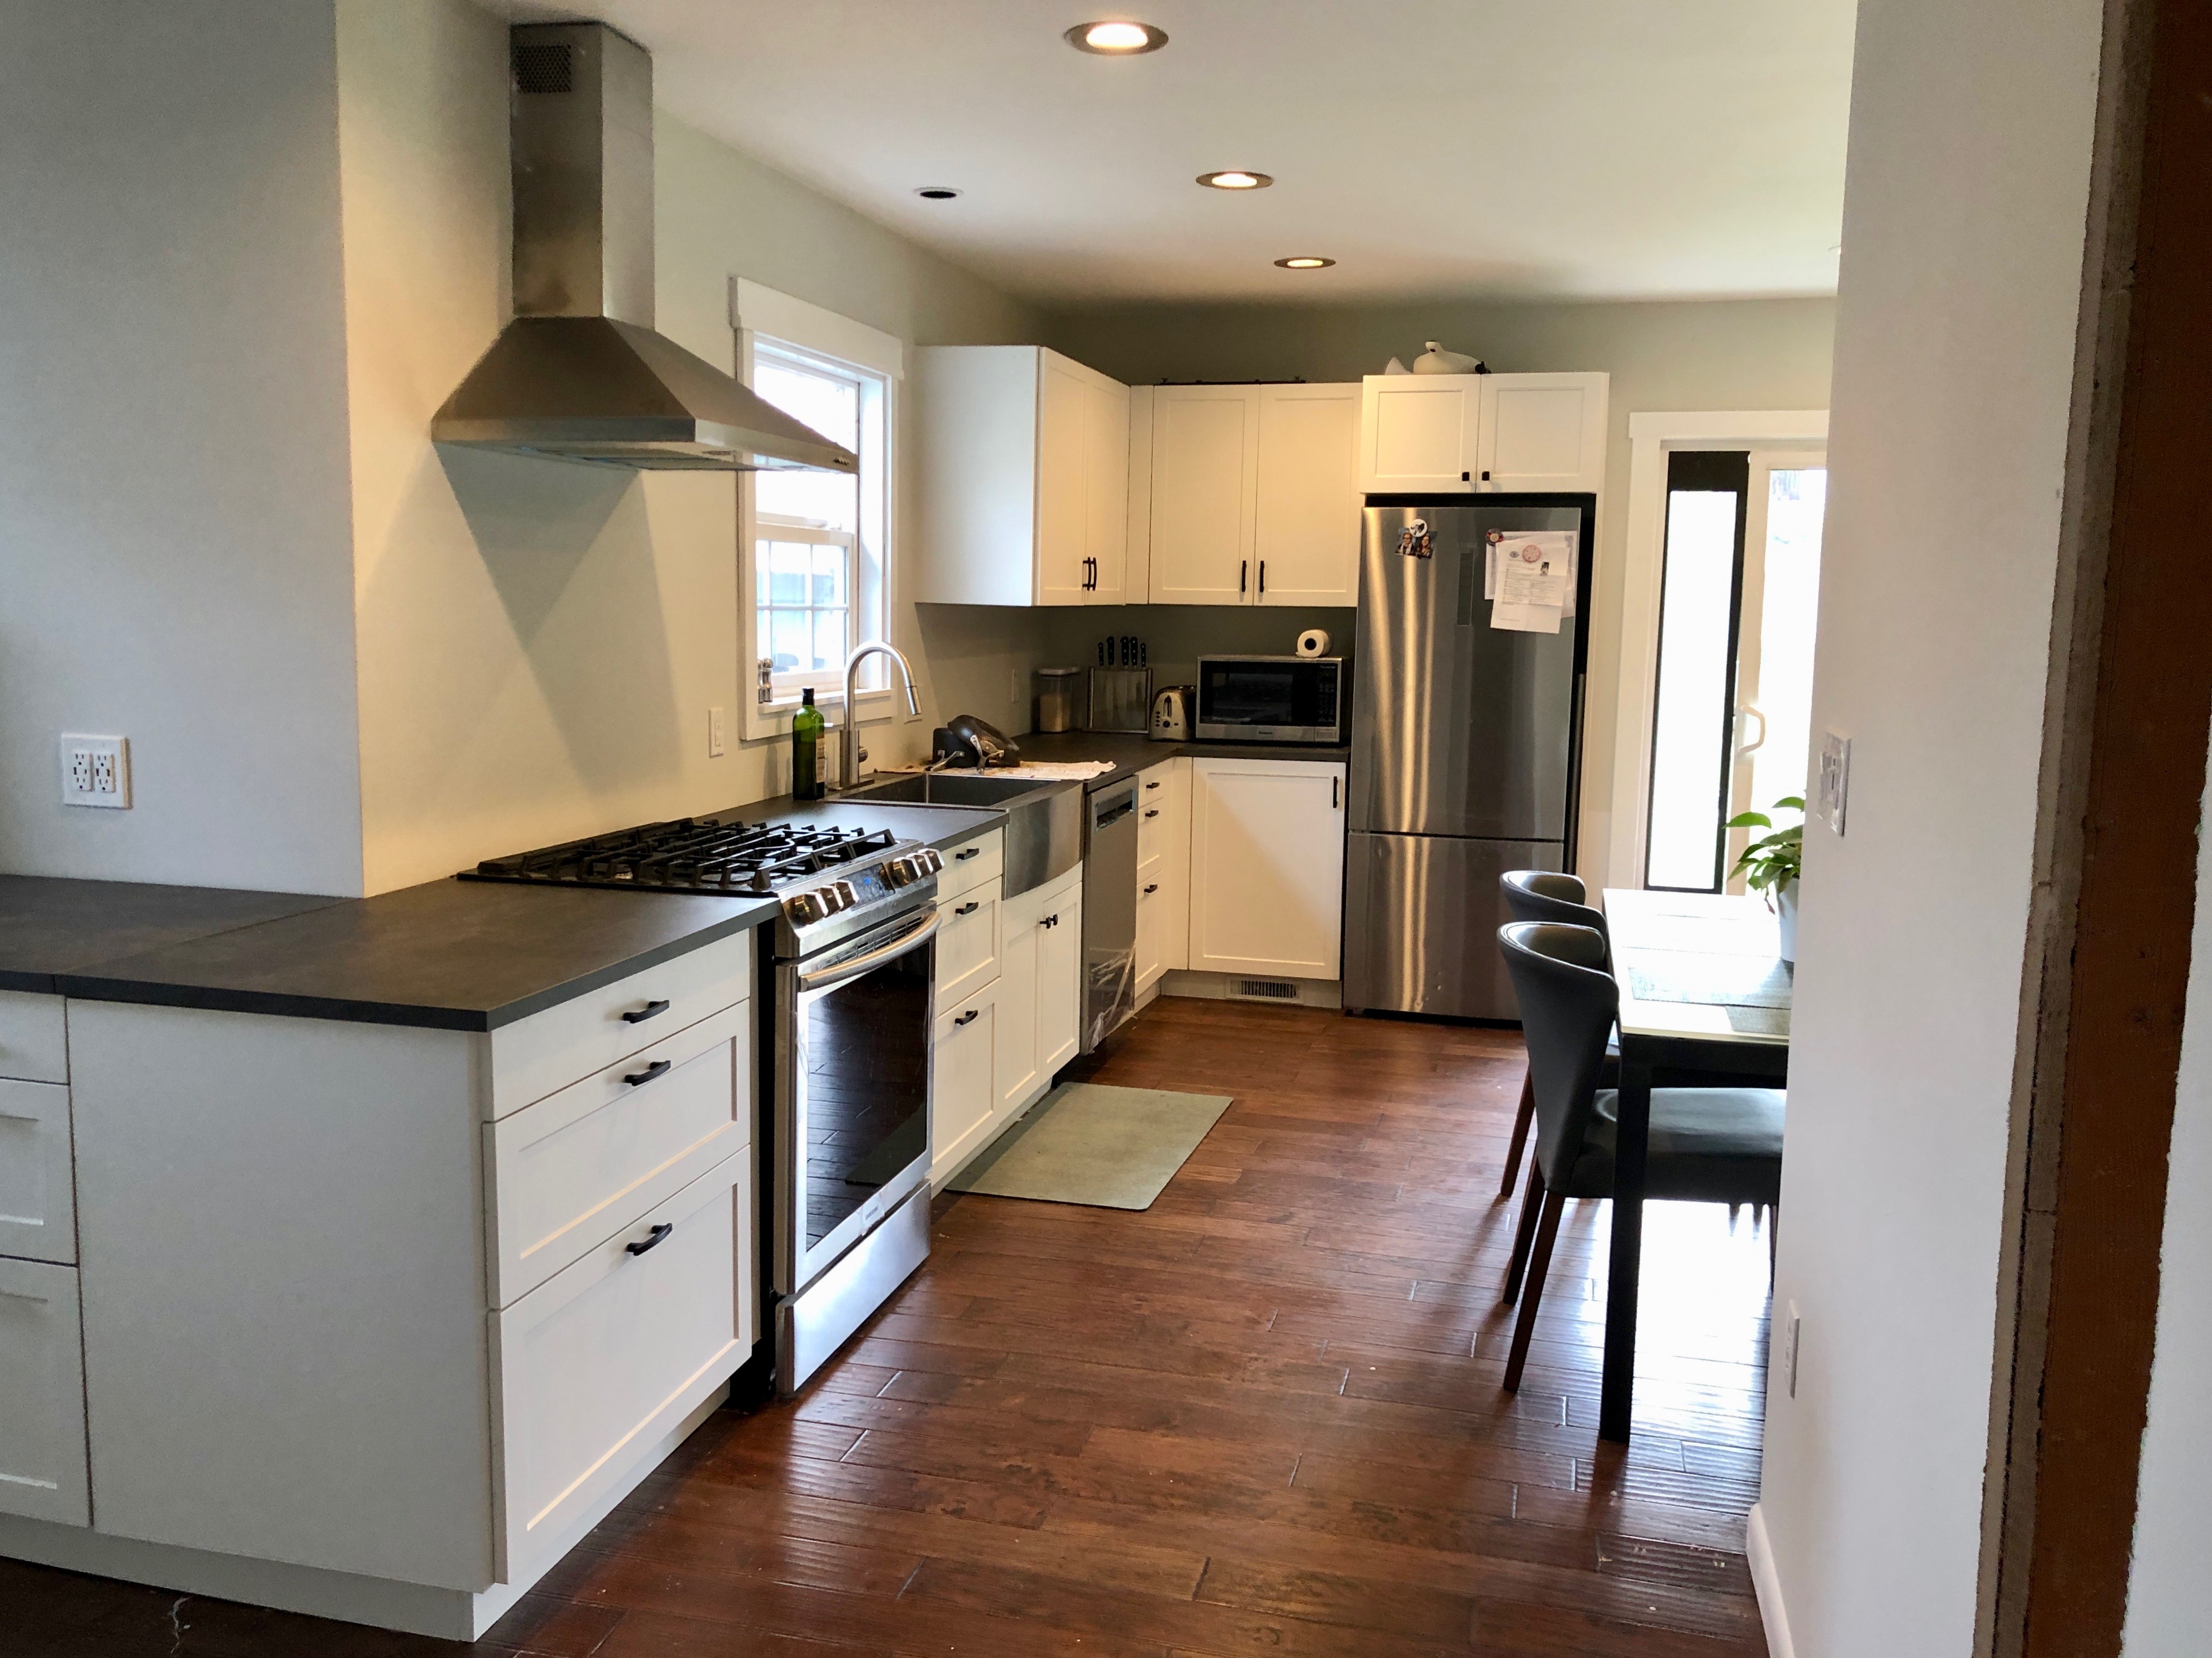
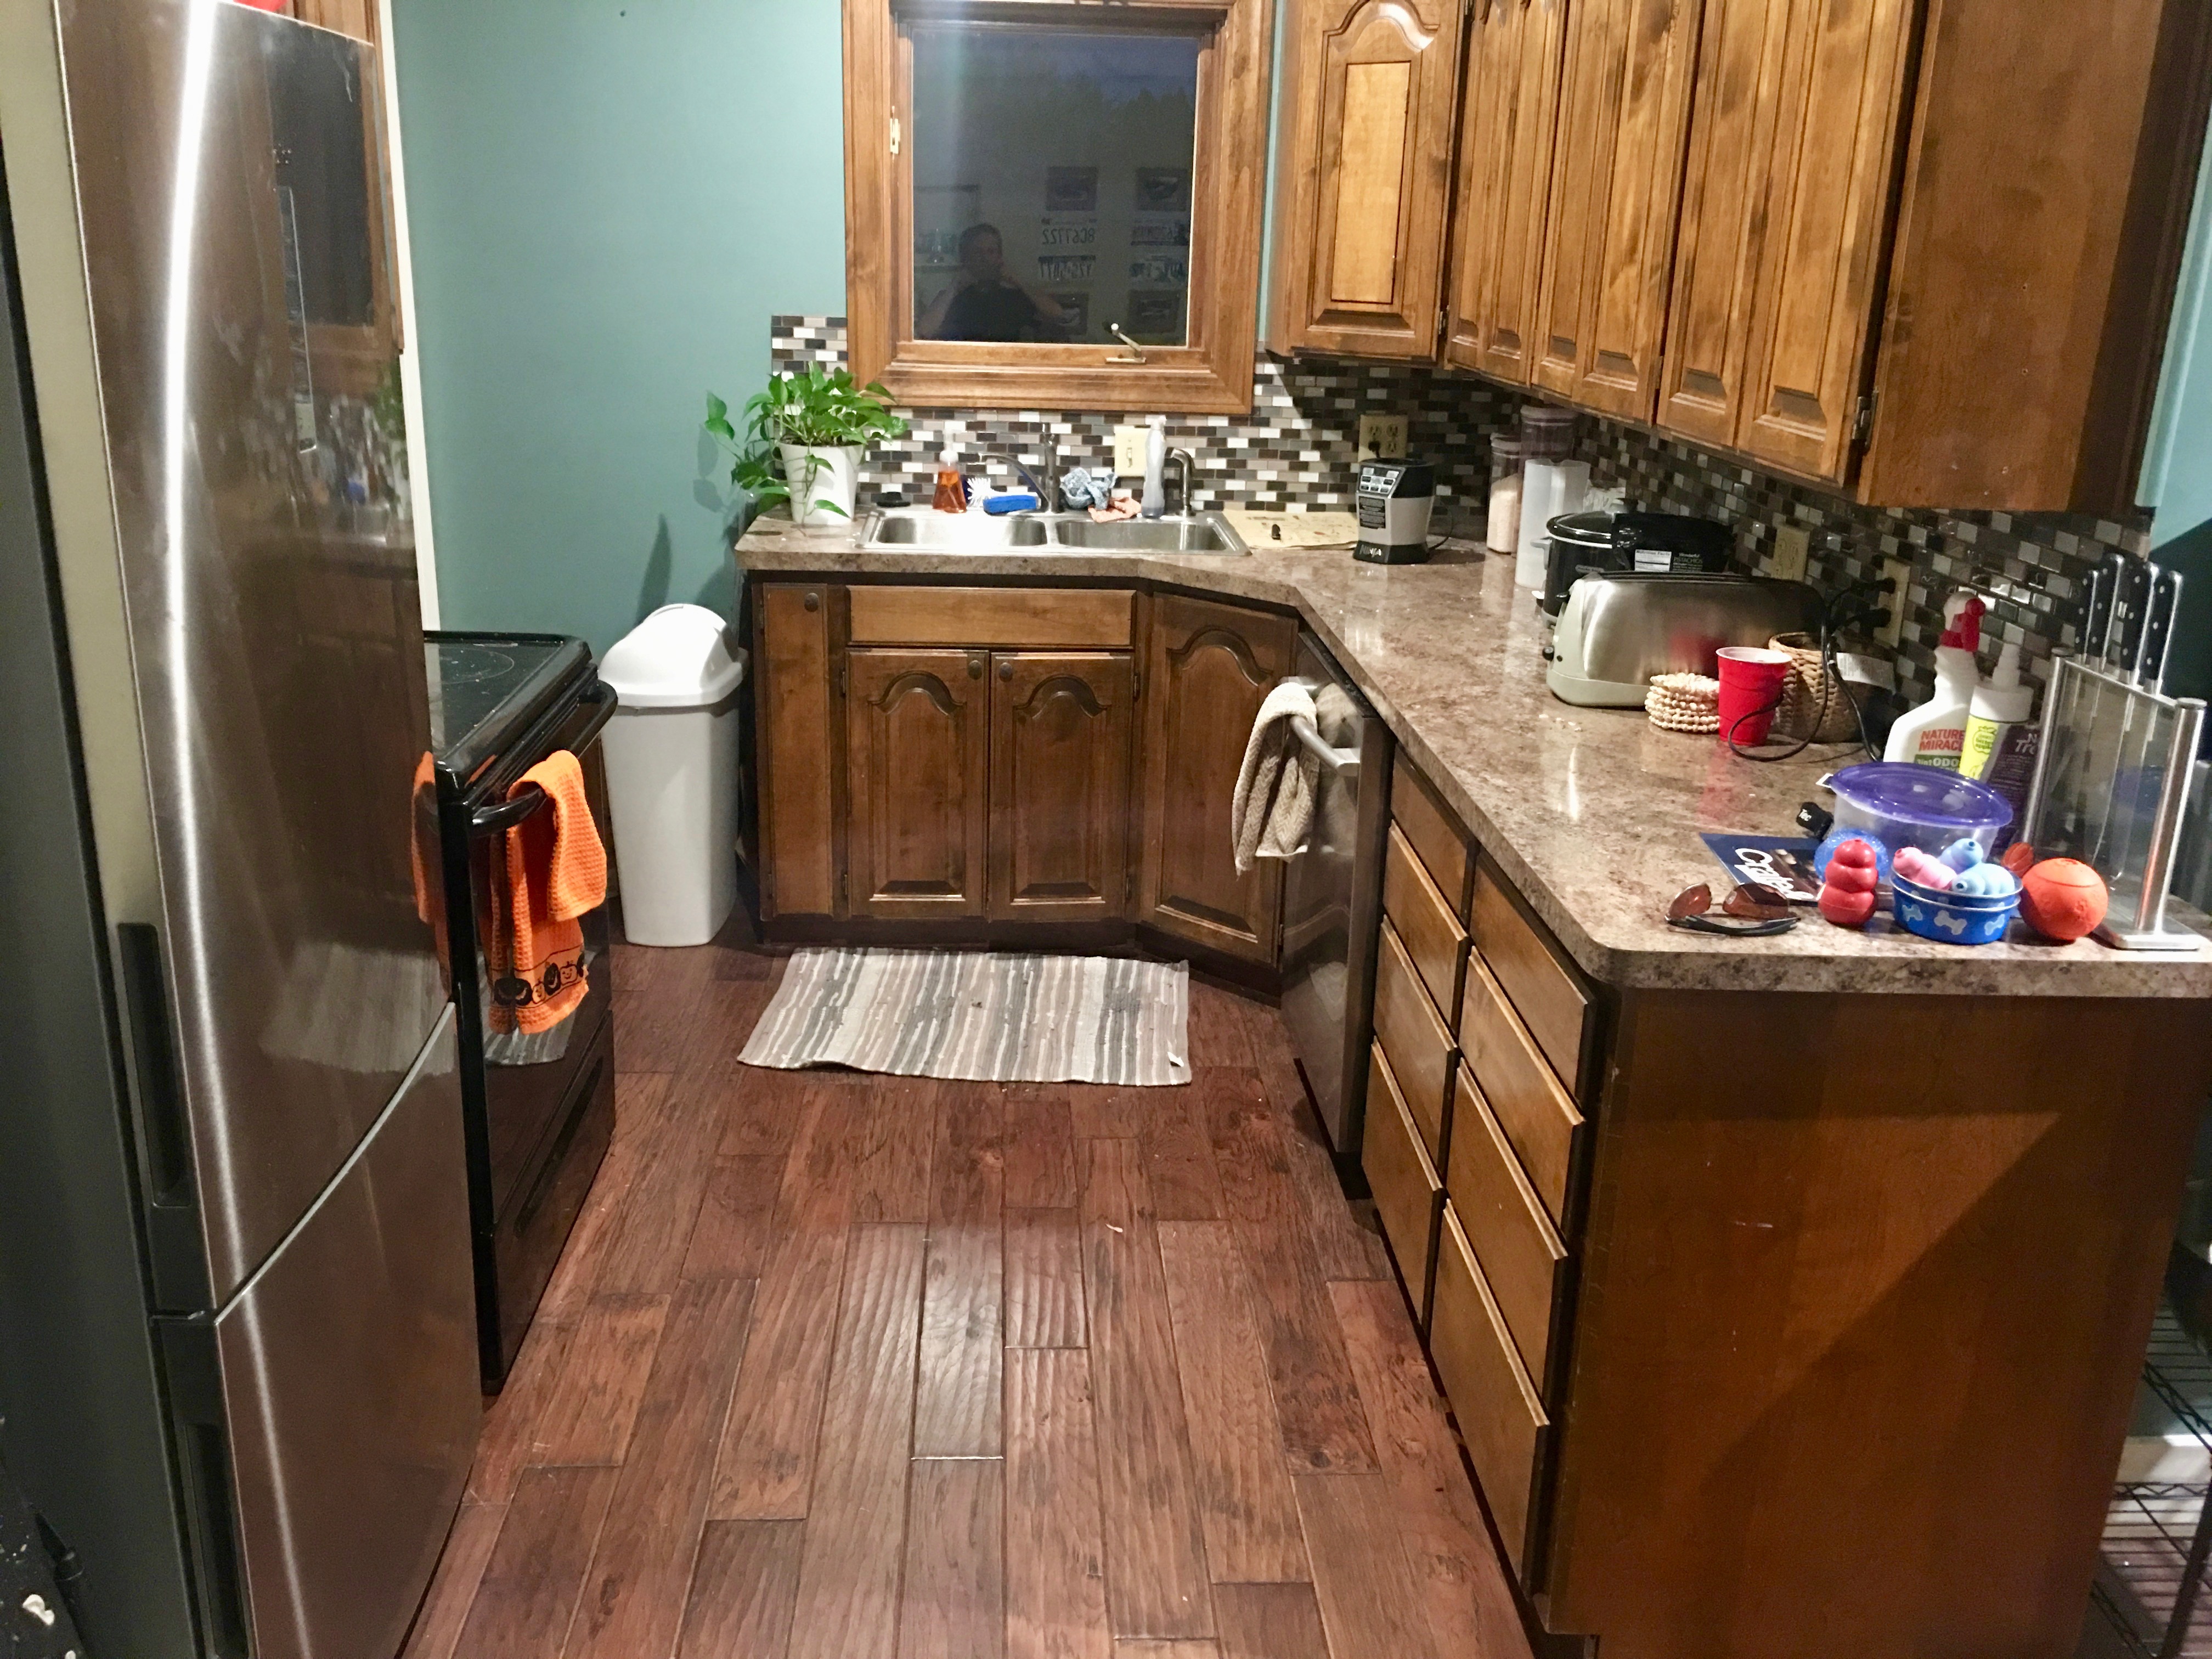
The Kitchen That Became the Mud Room

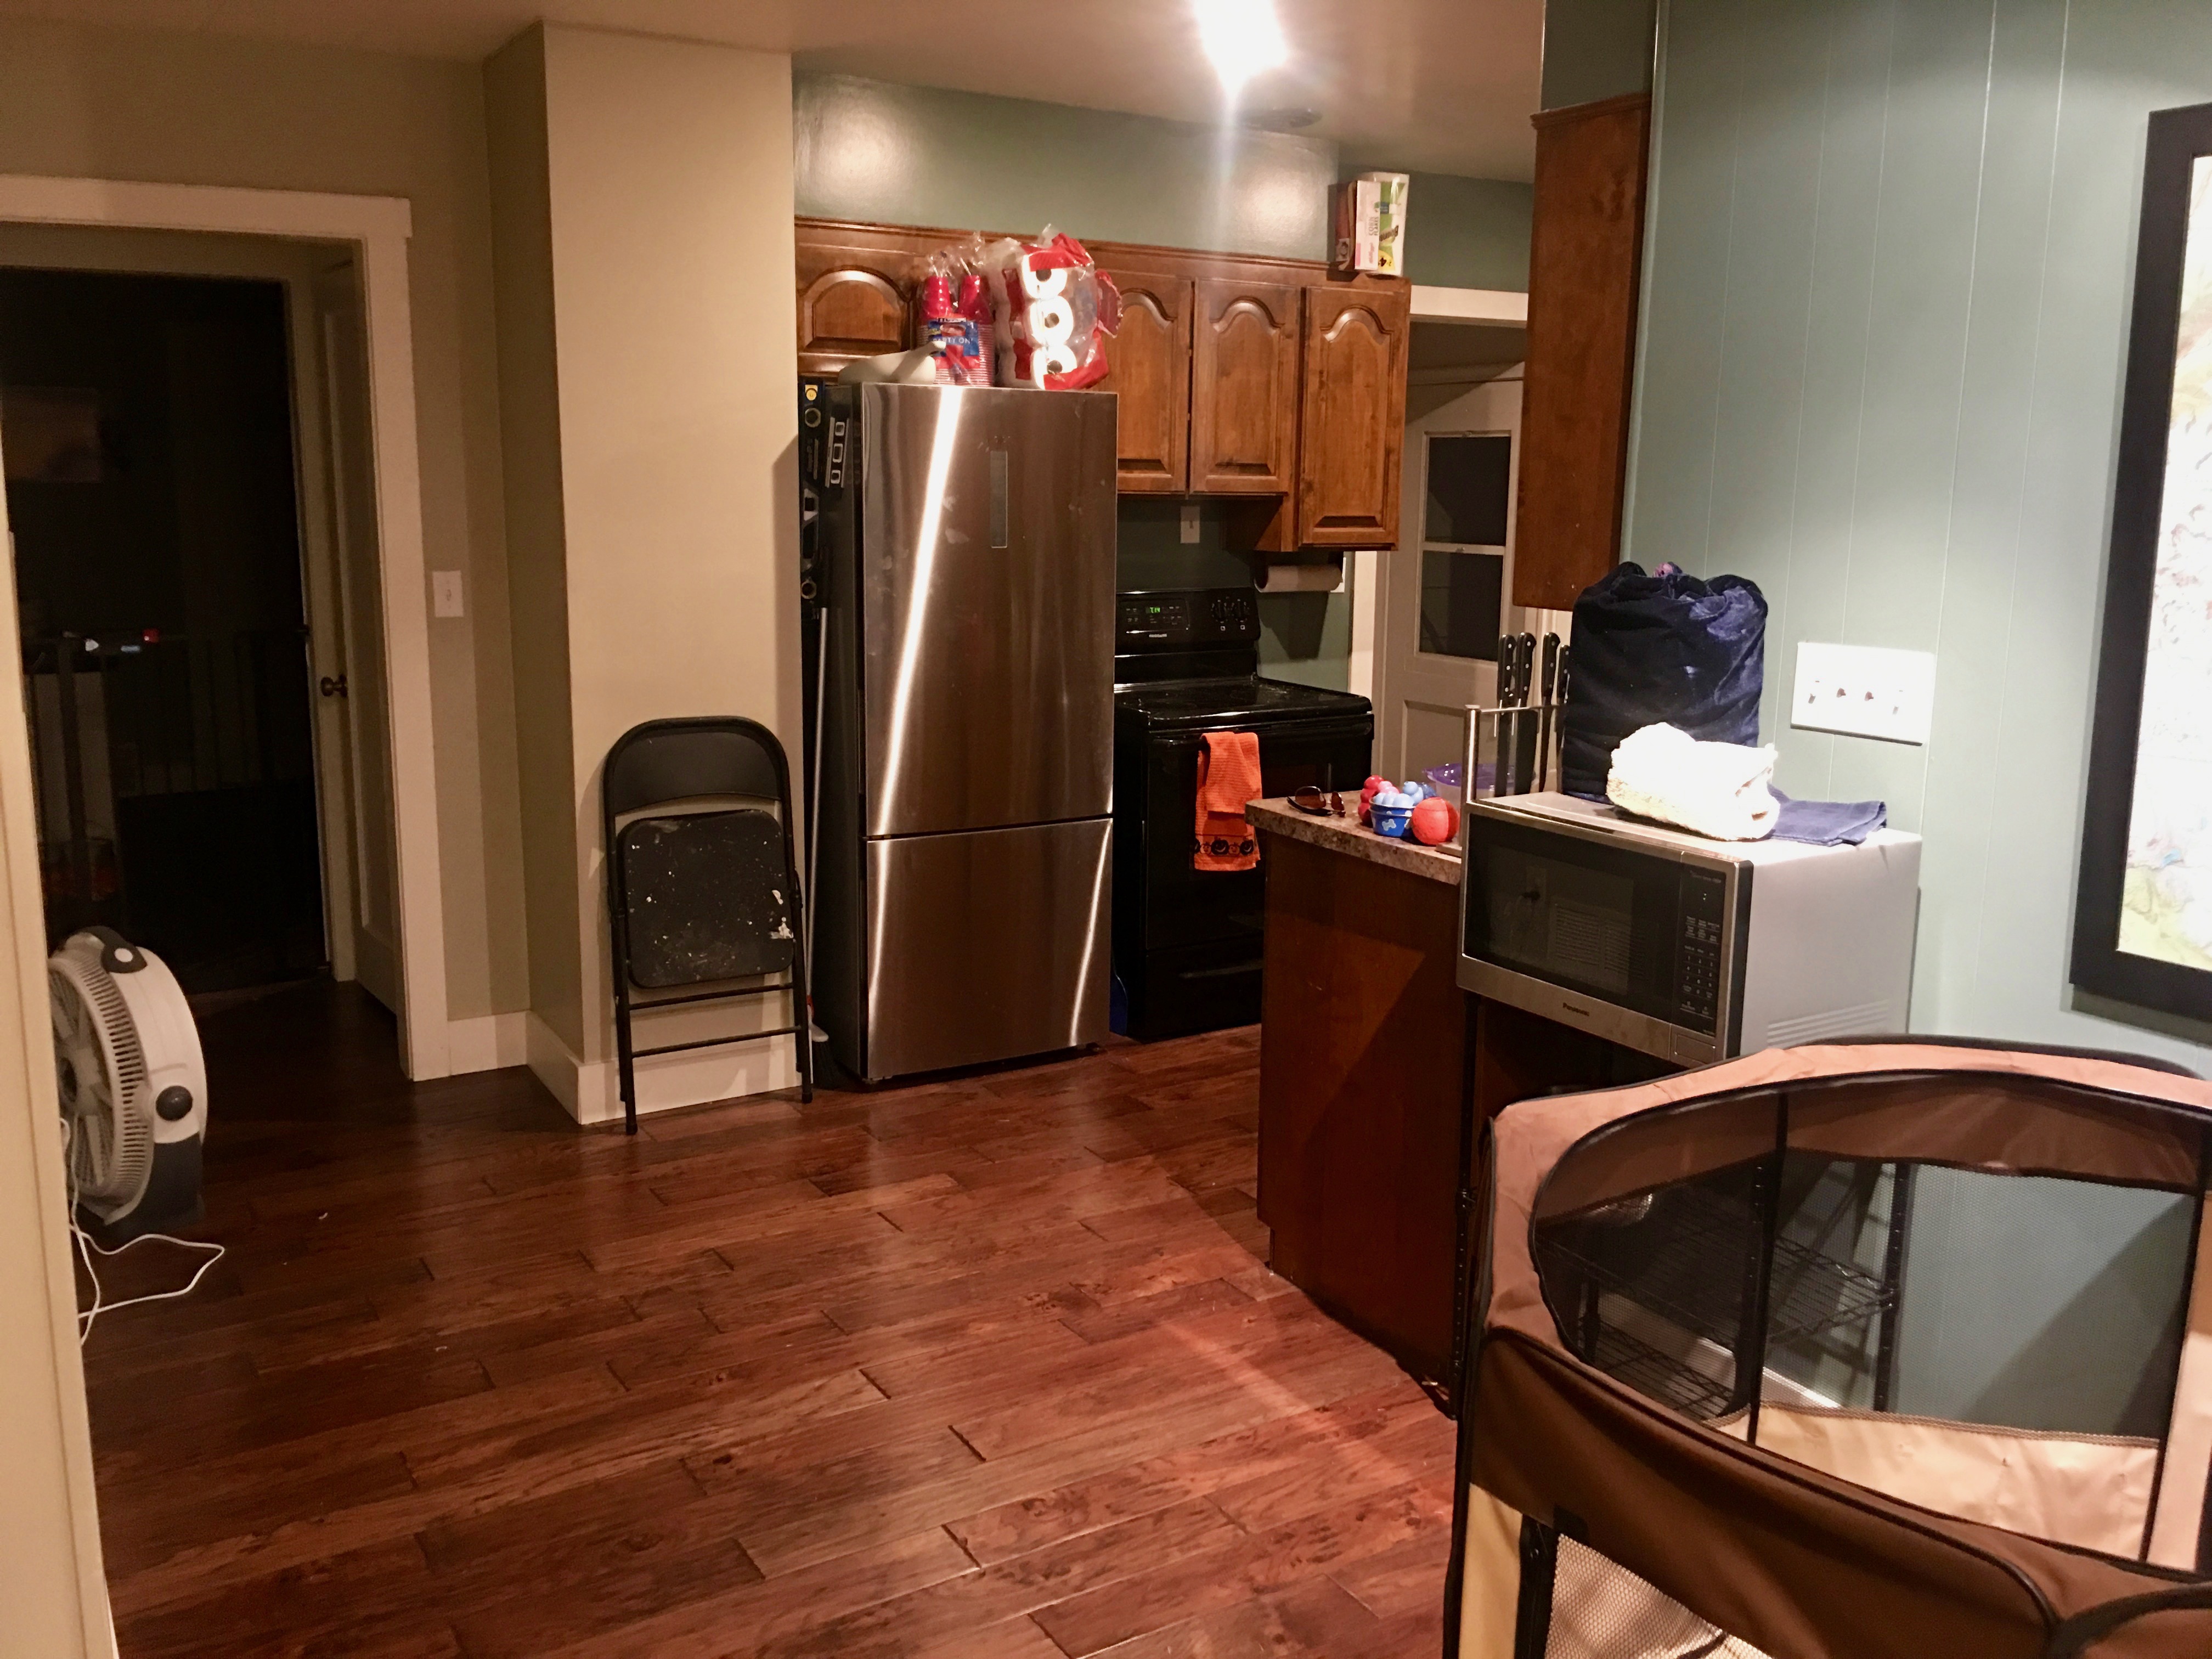
Reverse Angle of Kitchen and Mud Room
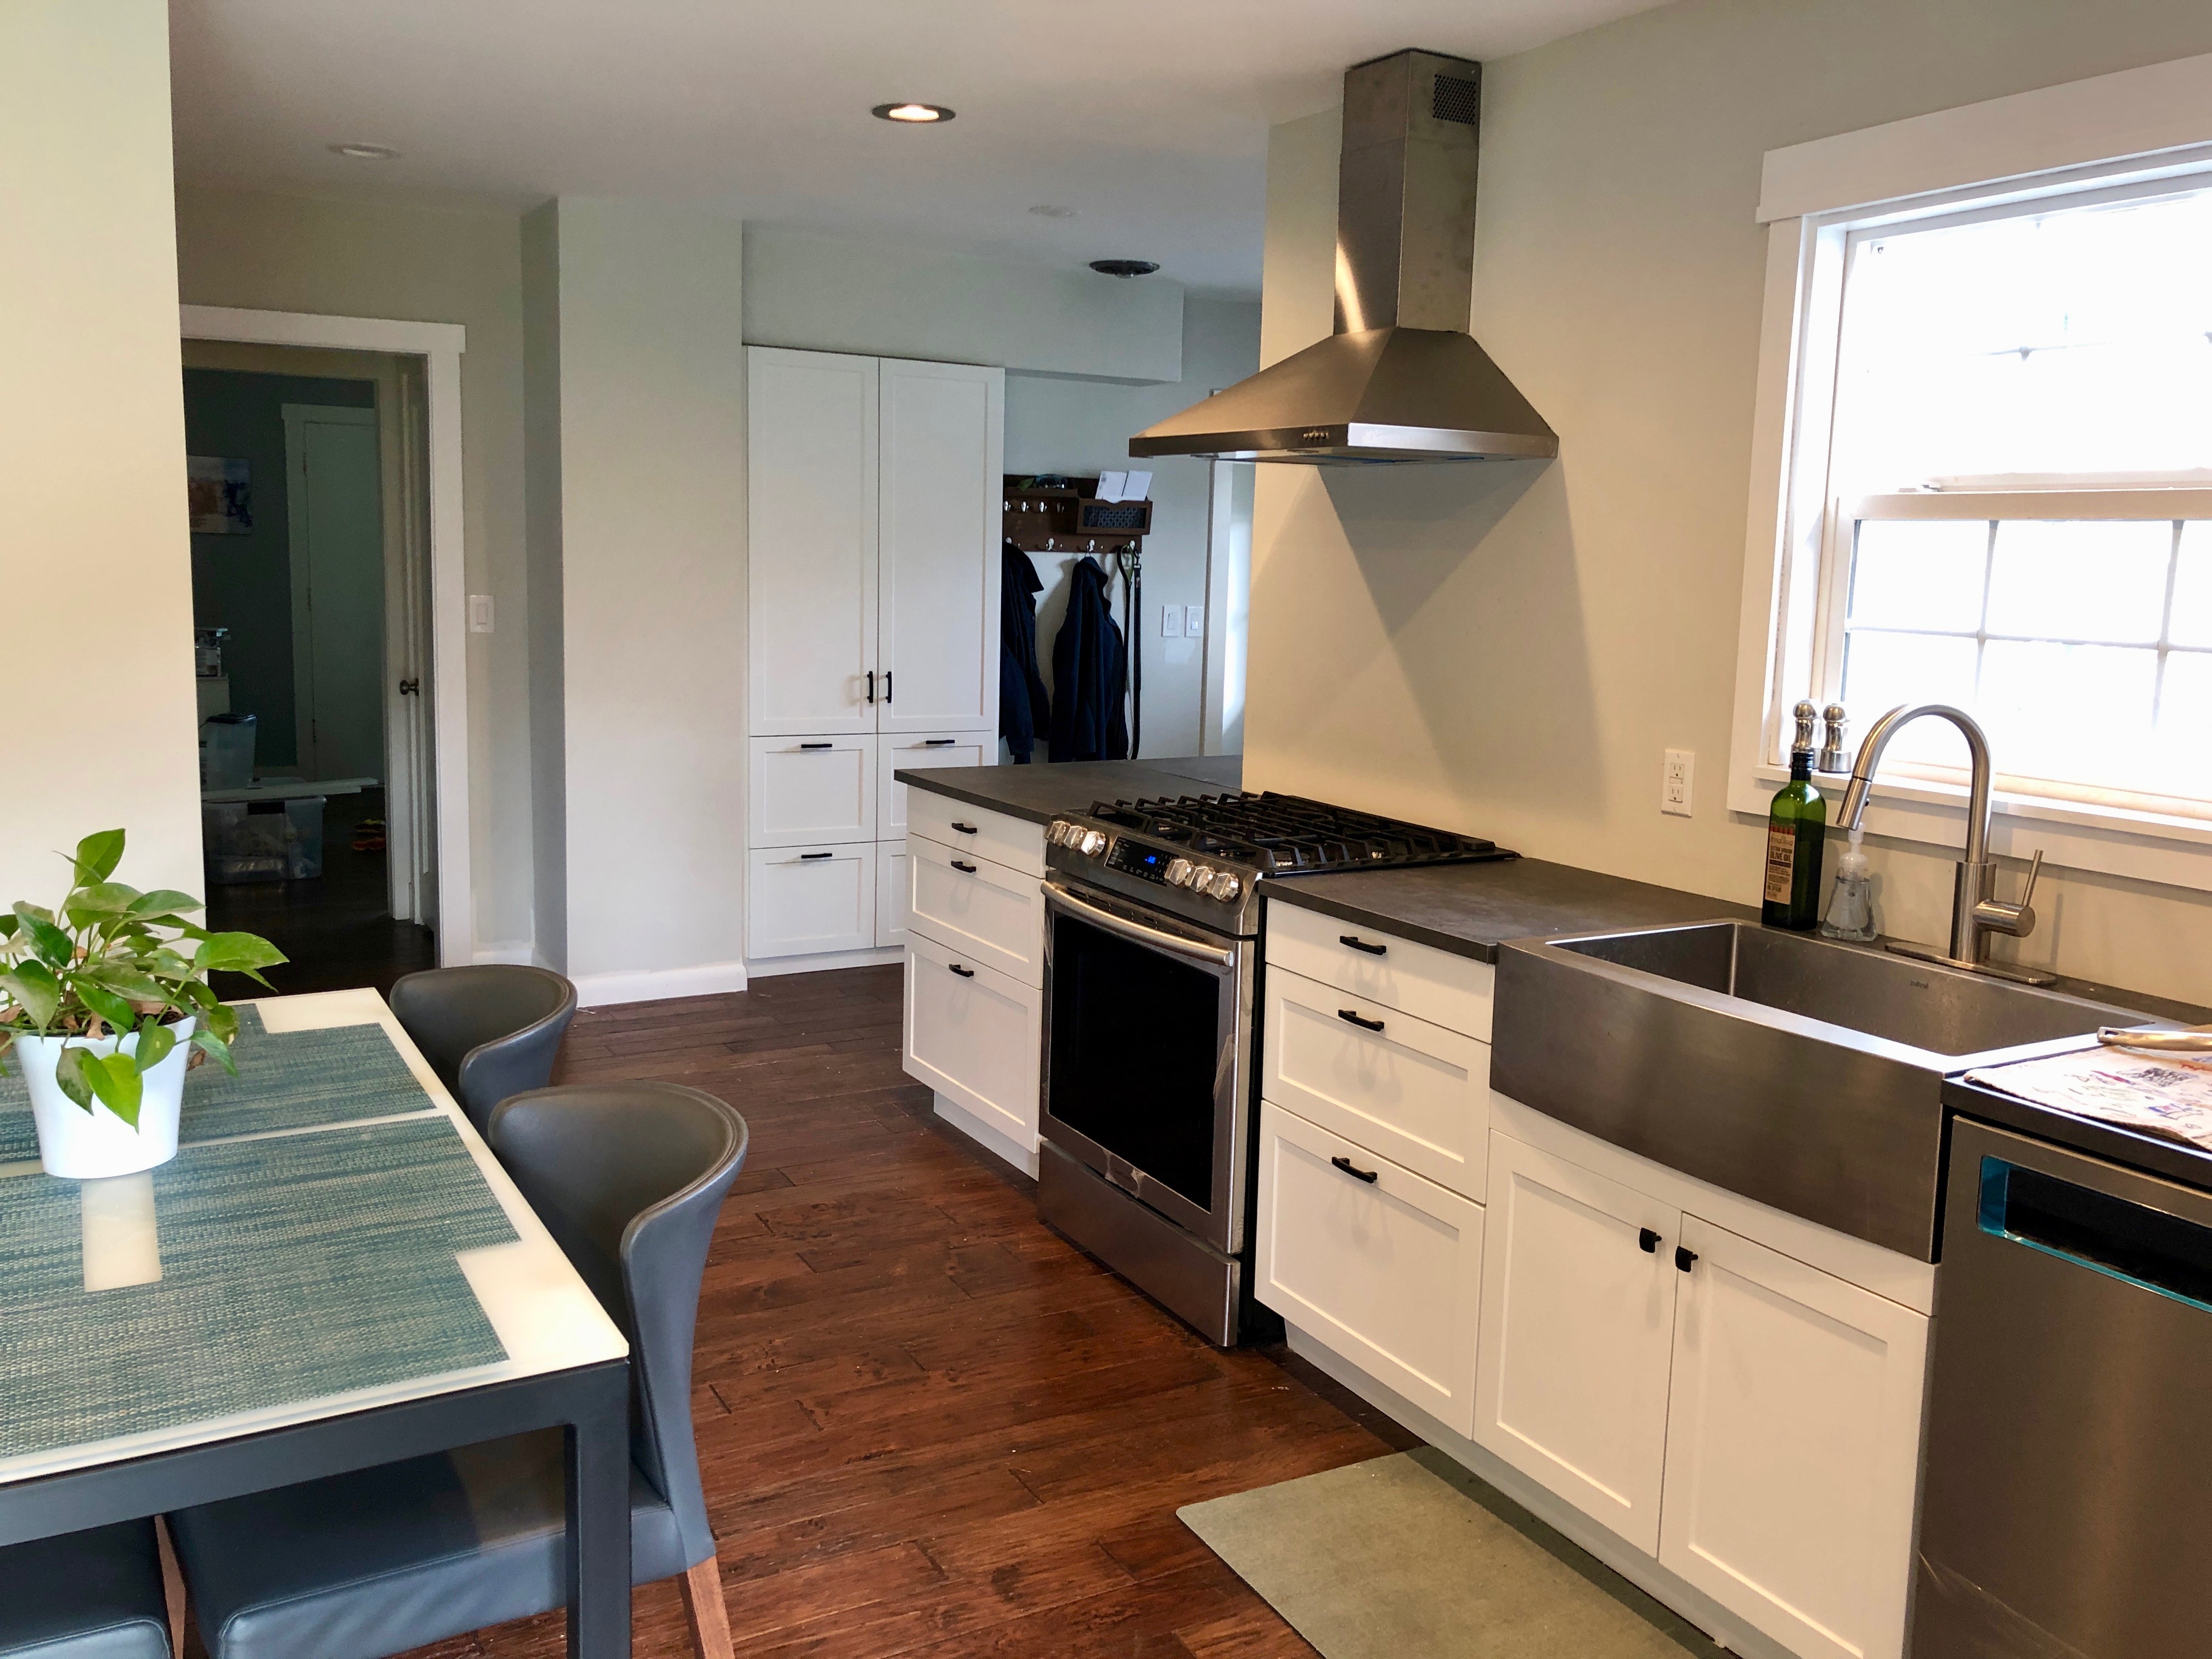
View from the Side Door Entry
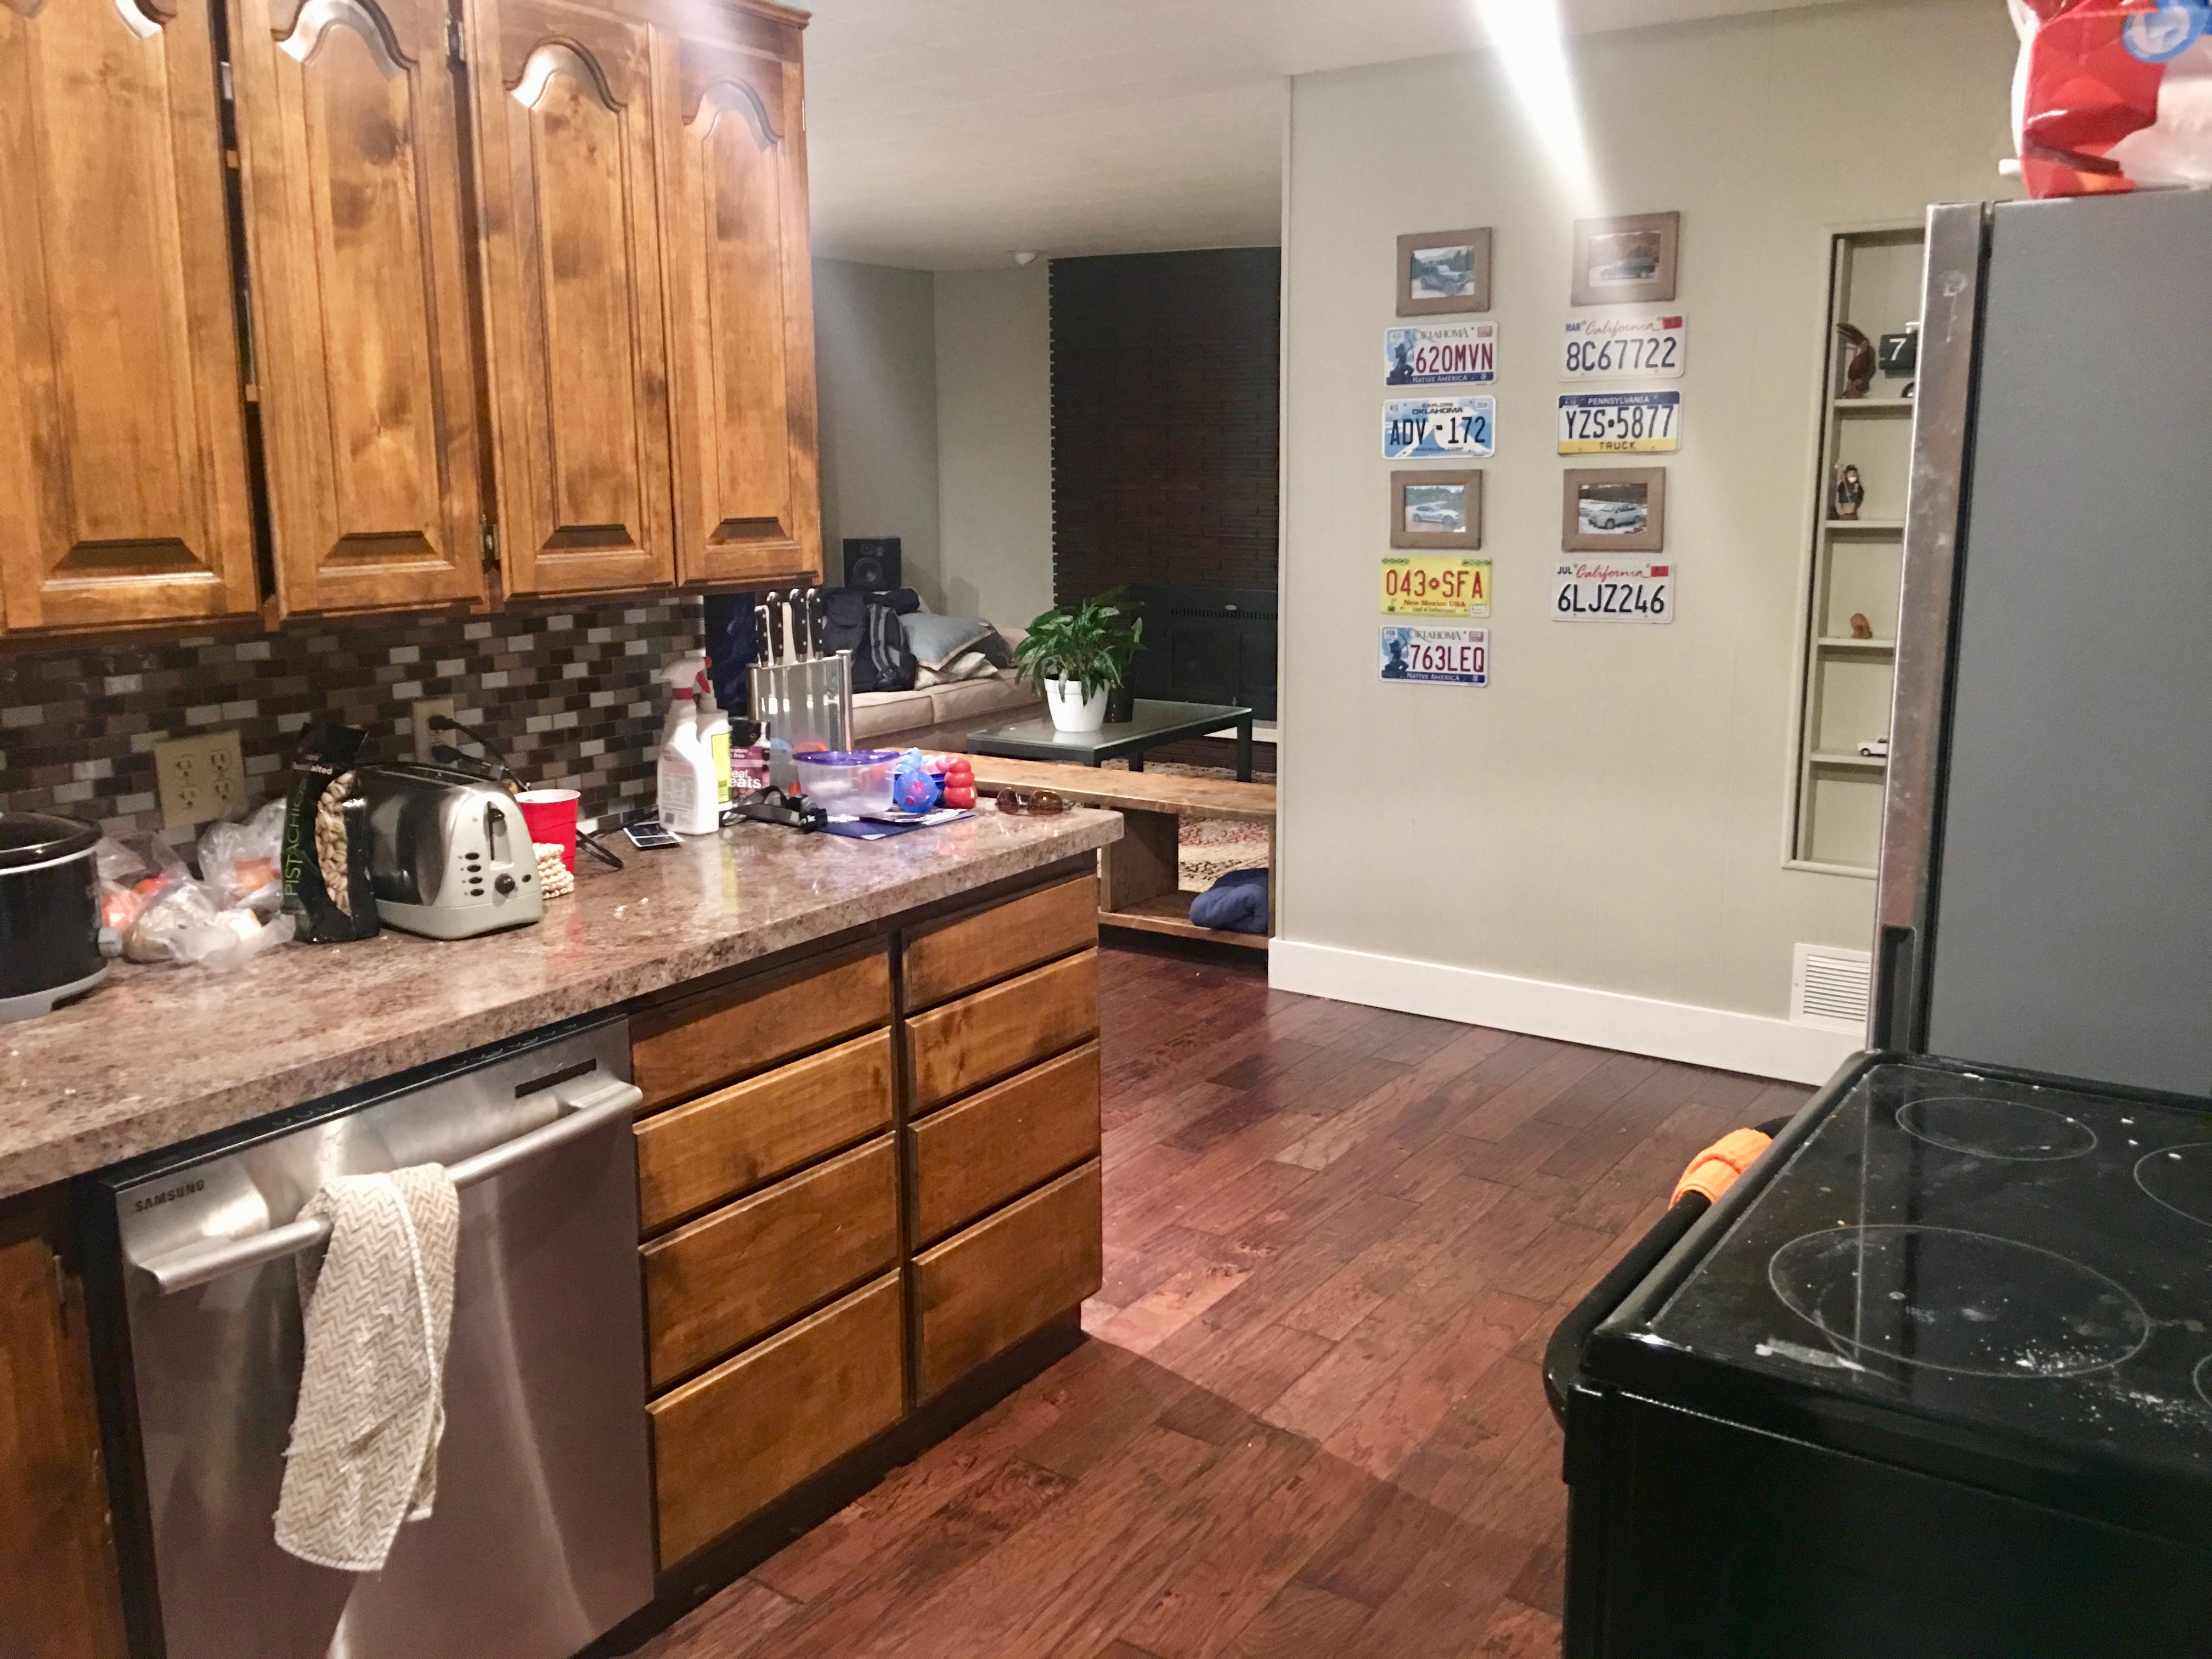

Now you know.
bkd
Tag : renovation


Now you know.
bkd
With the kitchen part of the kitchen “functional” by the end of 2018, most of the remaining effort happened in the mud/laundry/whatever room that used to be the kitchen. One awesome thing I got to do in there was tear down the old soffit that used to be on top of the wall cabinets that used to exist there. I used a mallet, tin snips, a pry bar, and a hammer. Knuckles were scraped, wire mesh was cursed.

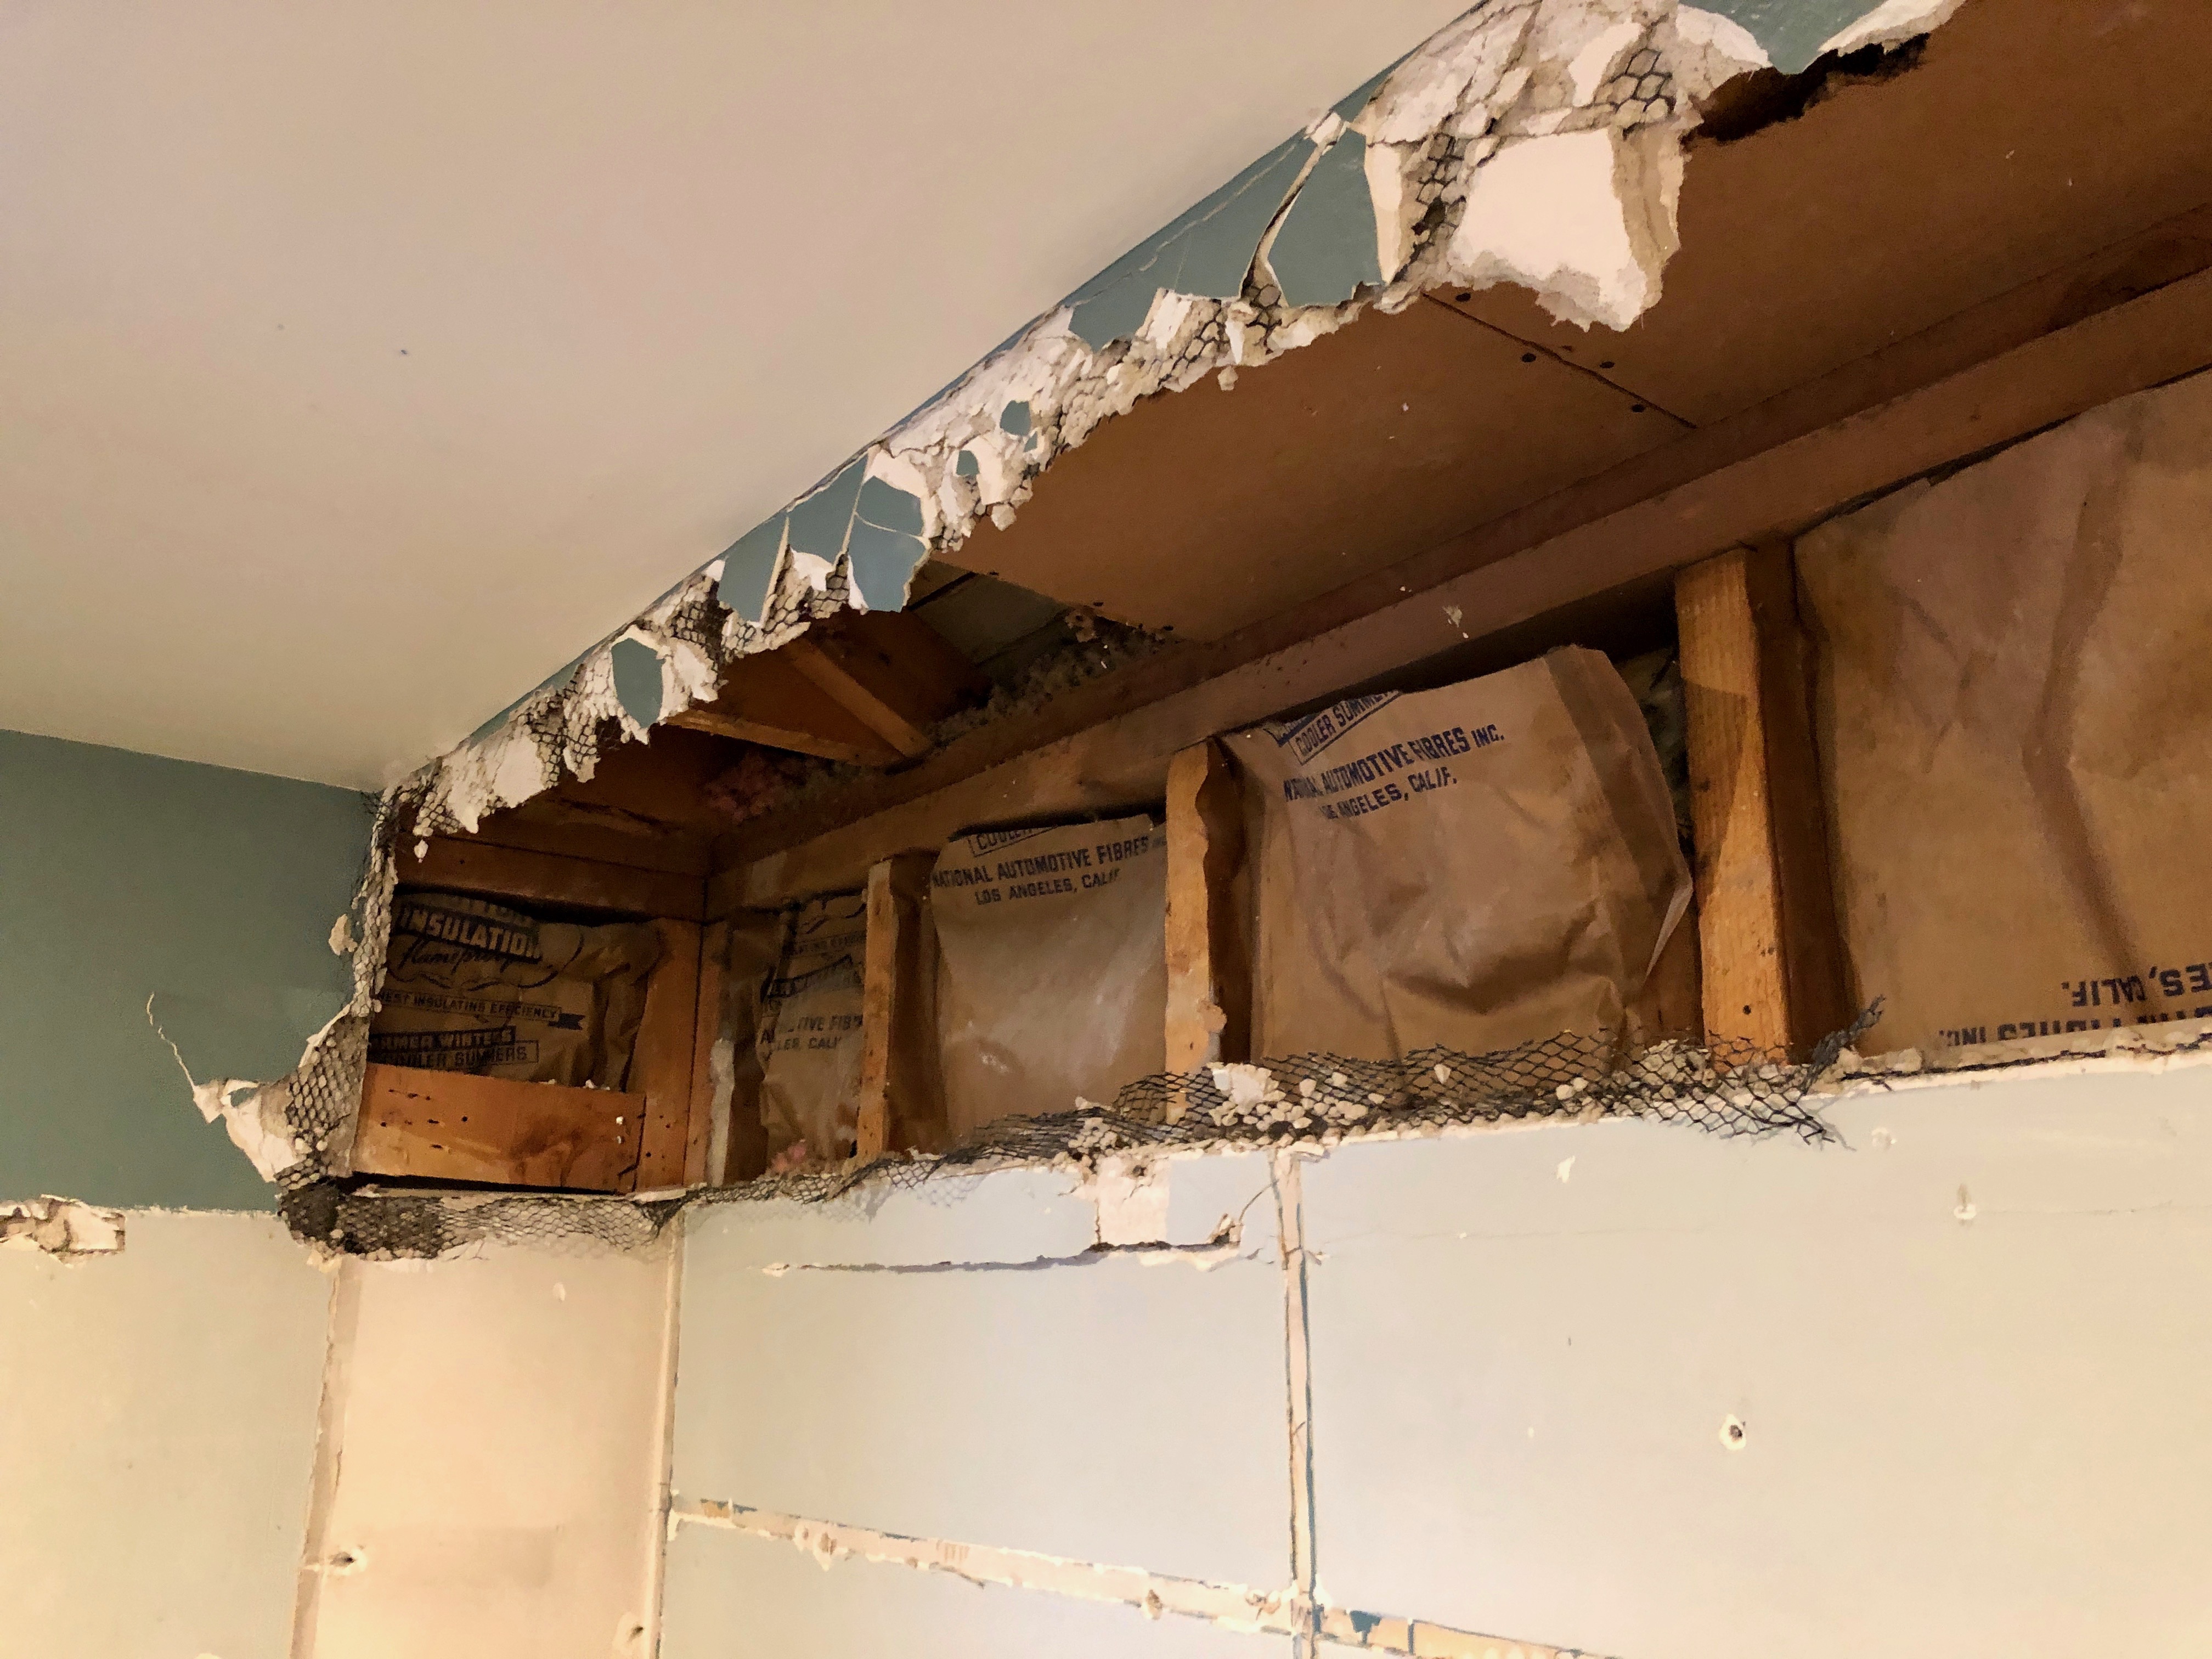
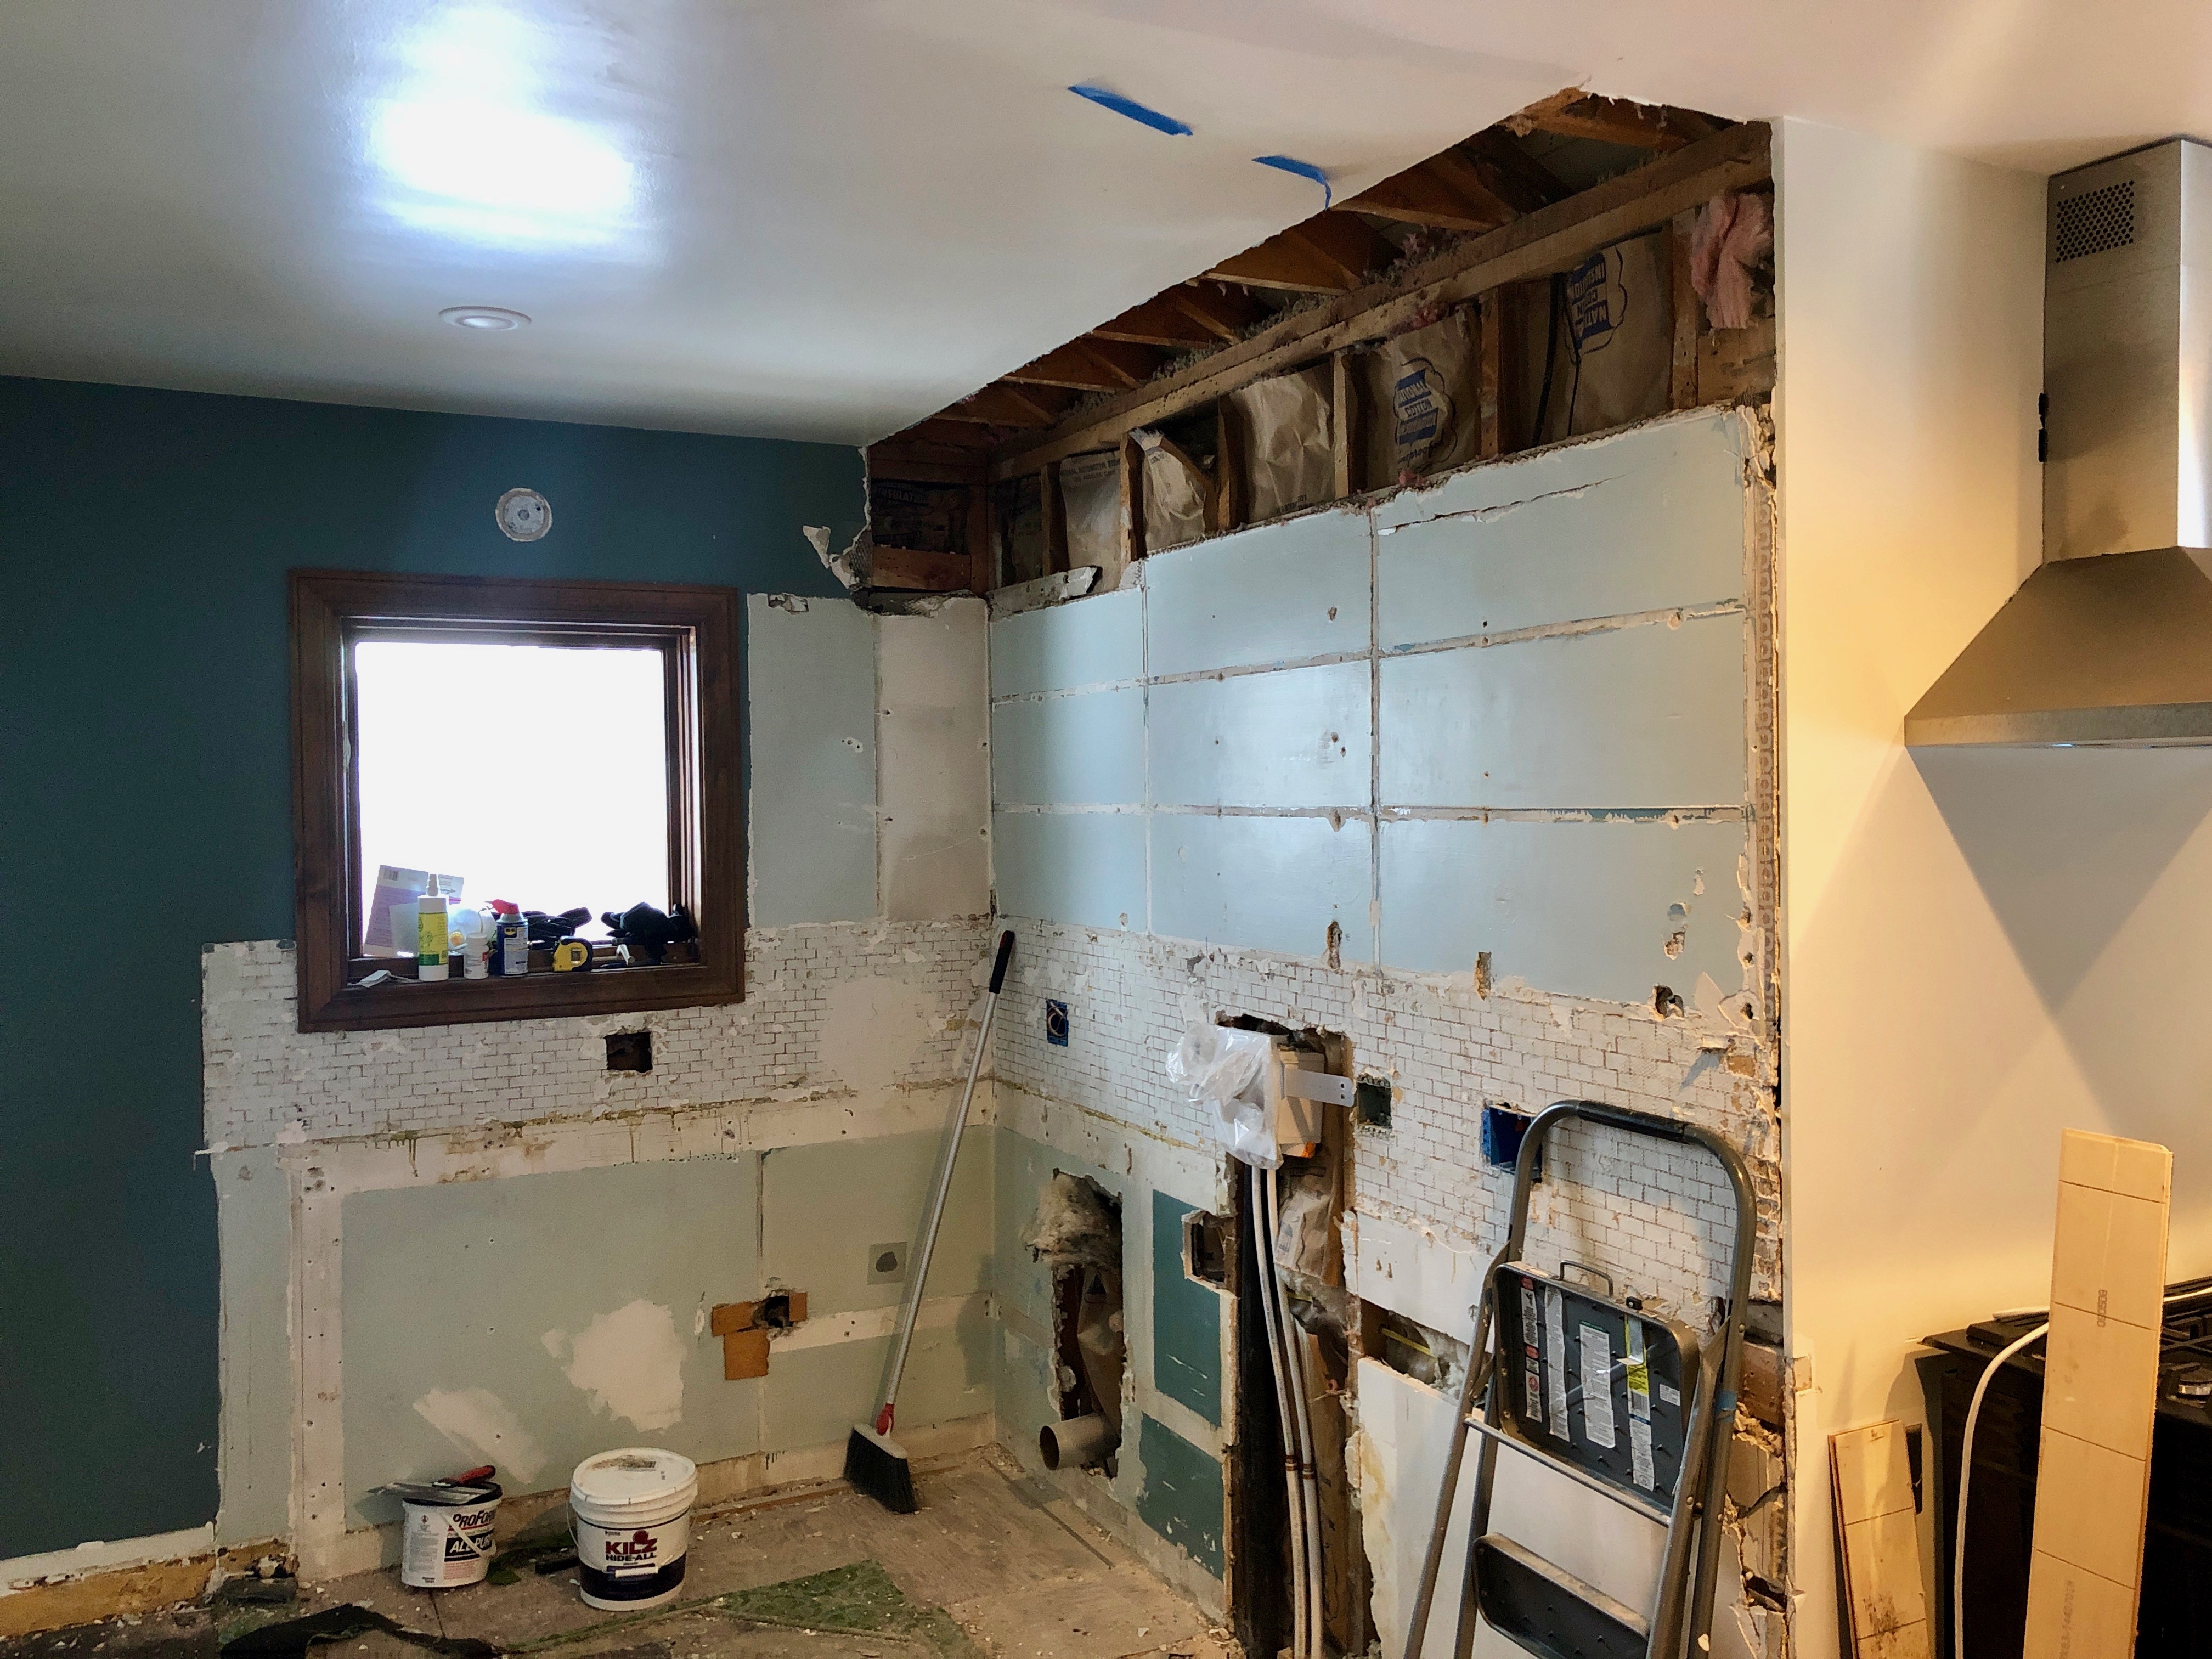
I’m not sure it really merited three photos. And then Rick the Drywaller came back again and made the walls look good.

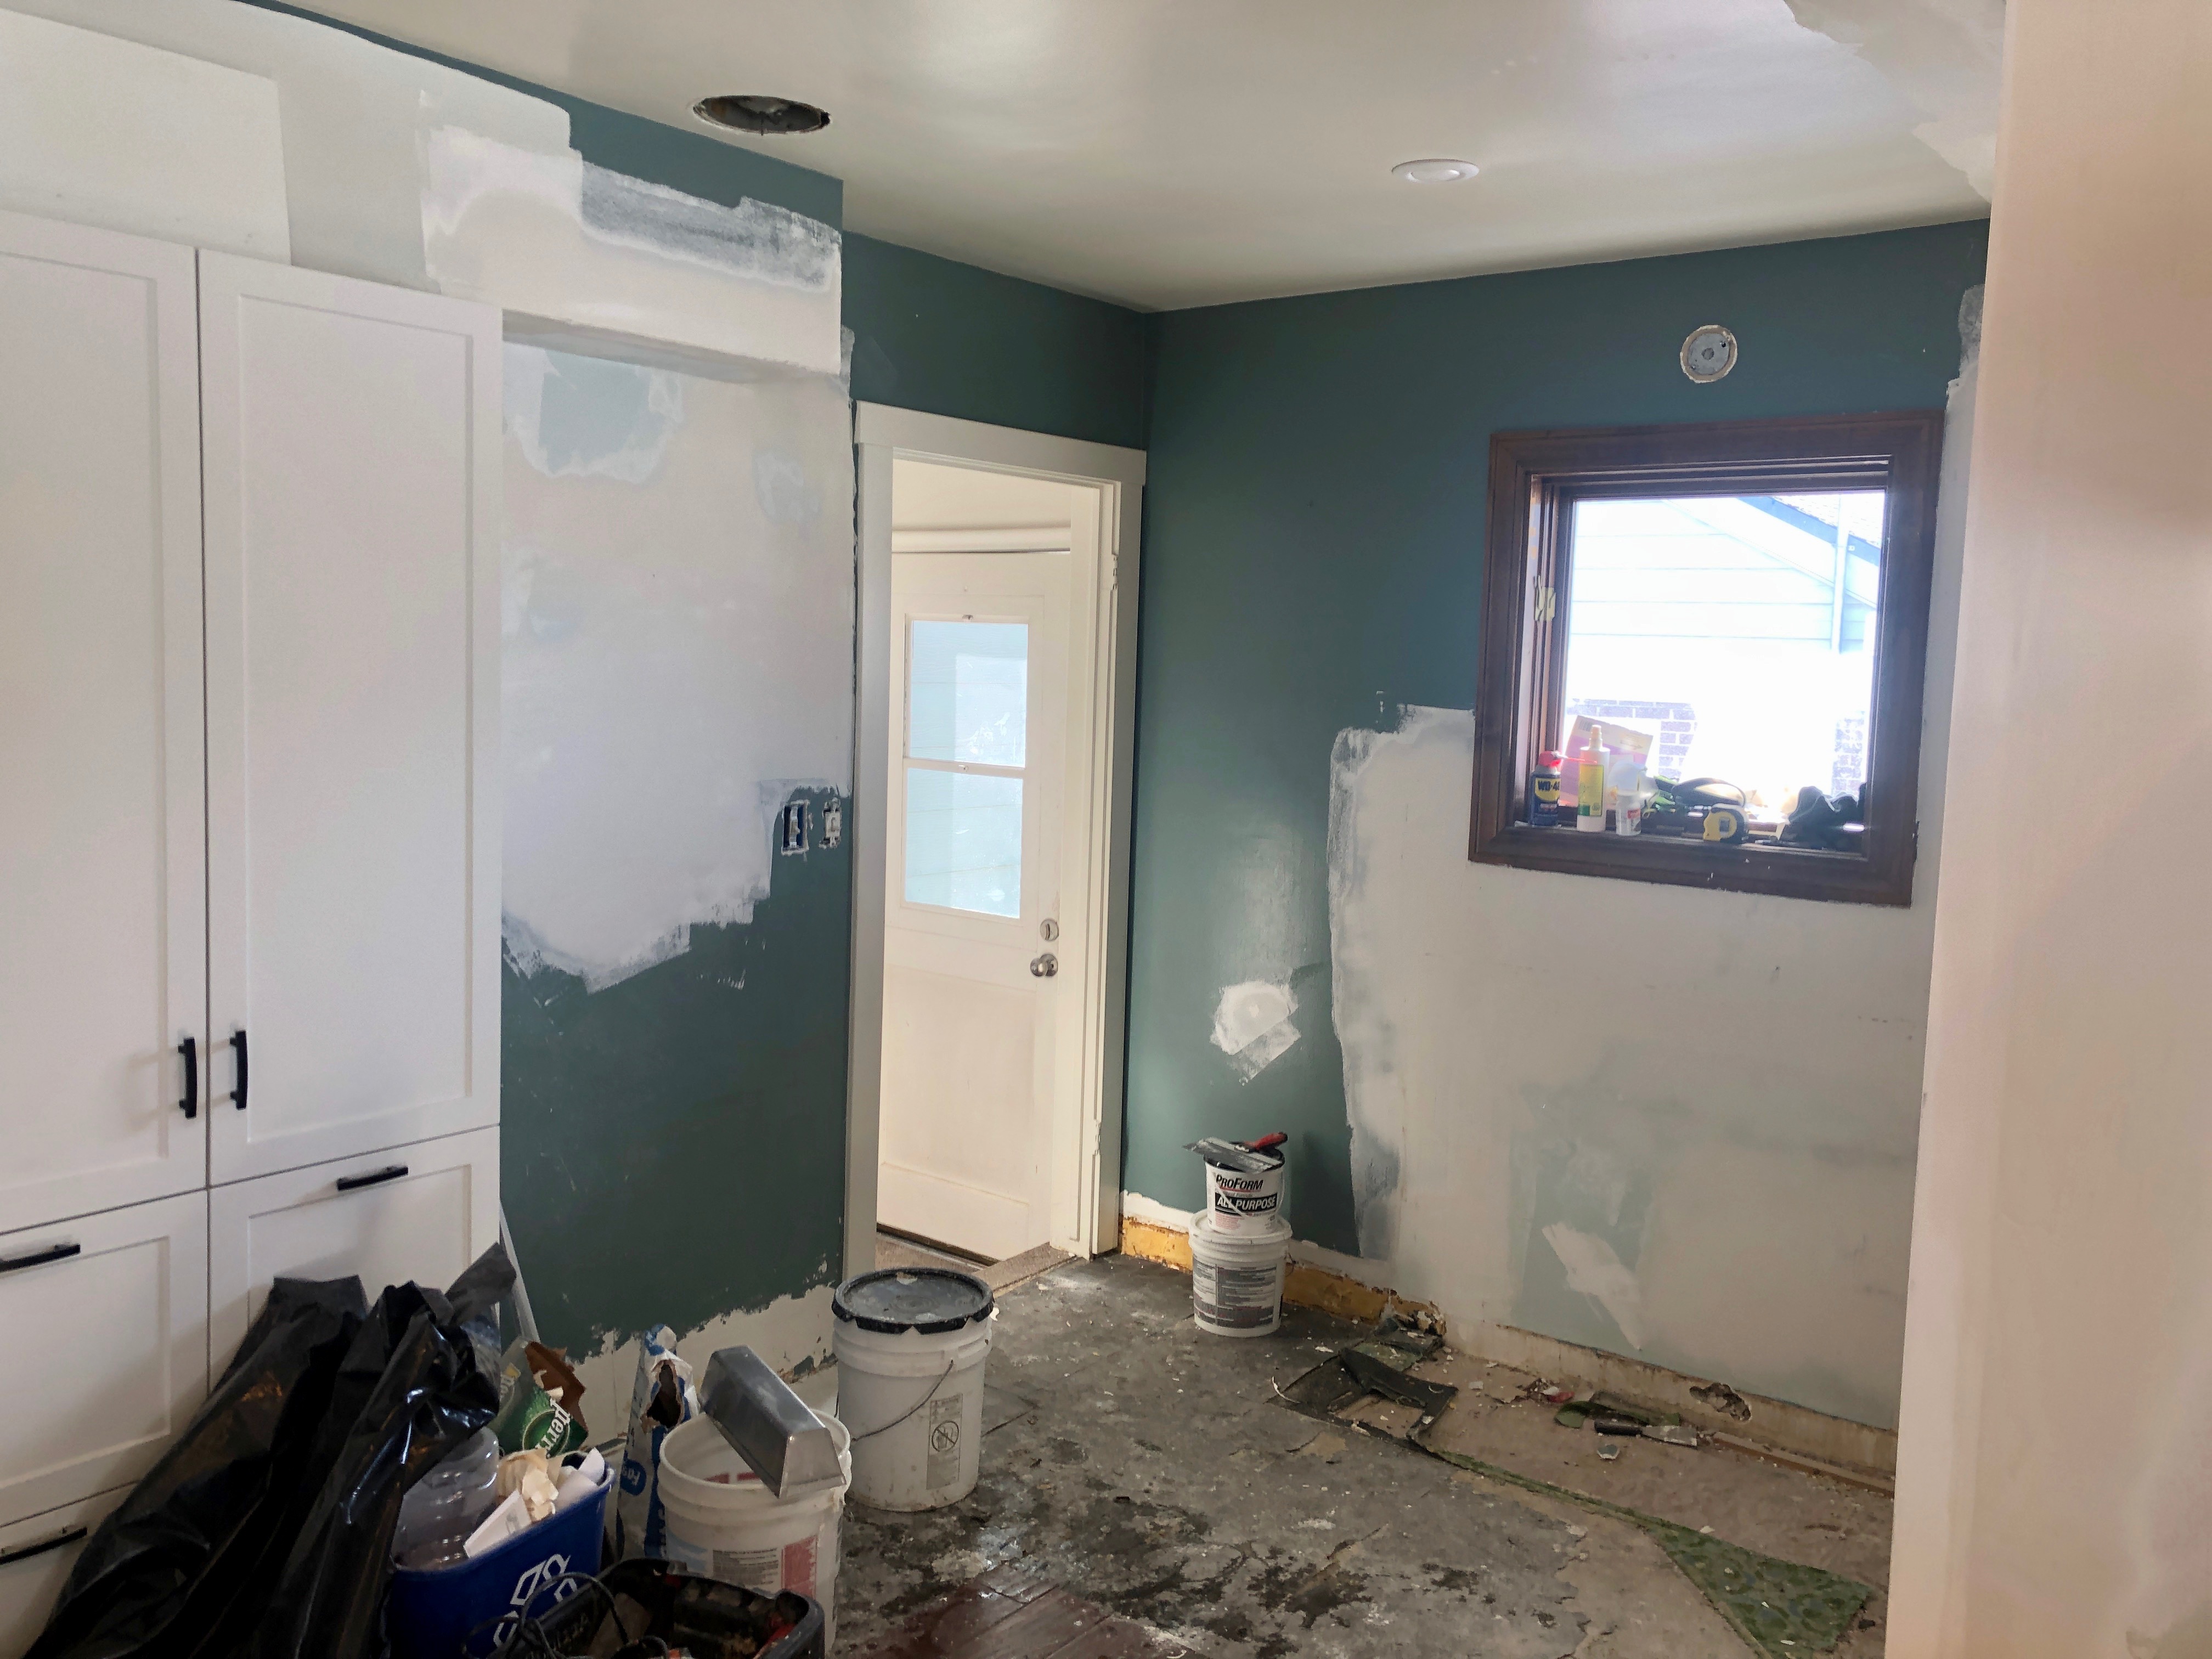
If you see that little green triangle at the bottom right of that last photo — that’s carpet, that I’m guessing was the (original?) floor covering in the kitchen that had since been buried under the cabinets. Fun!
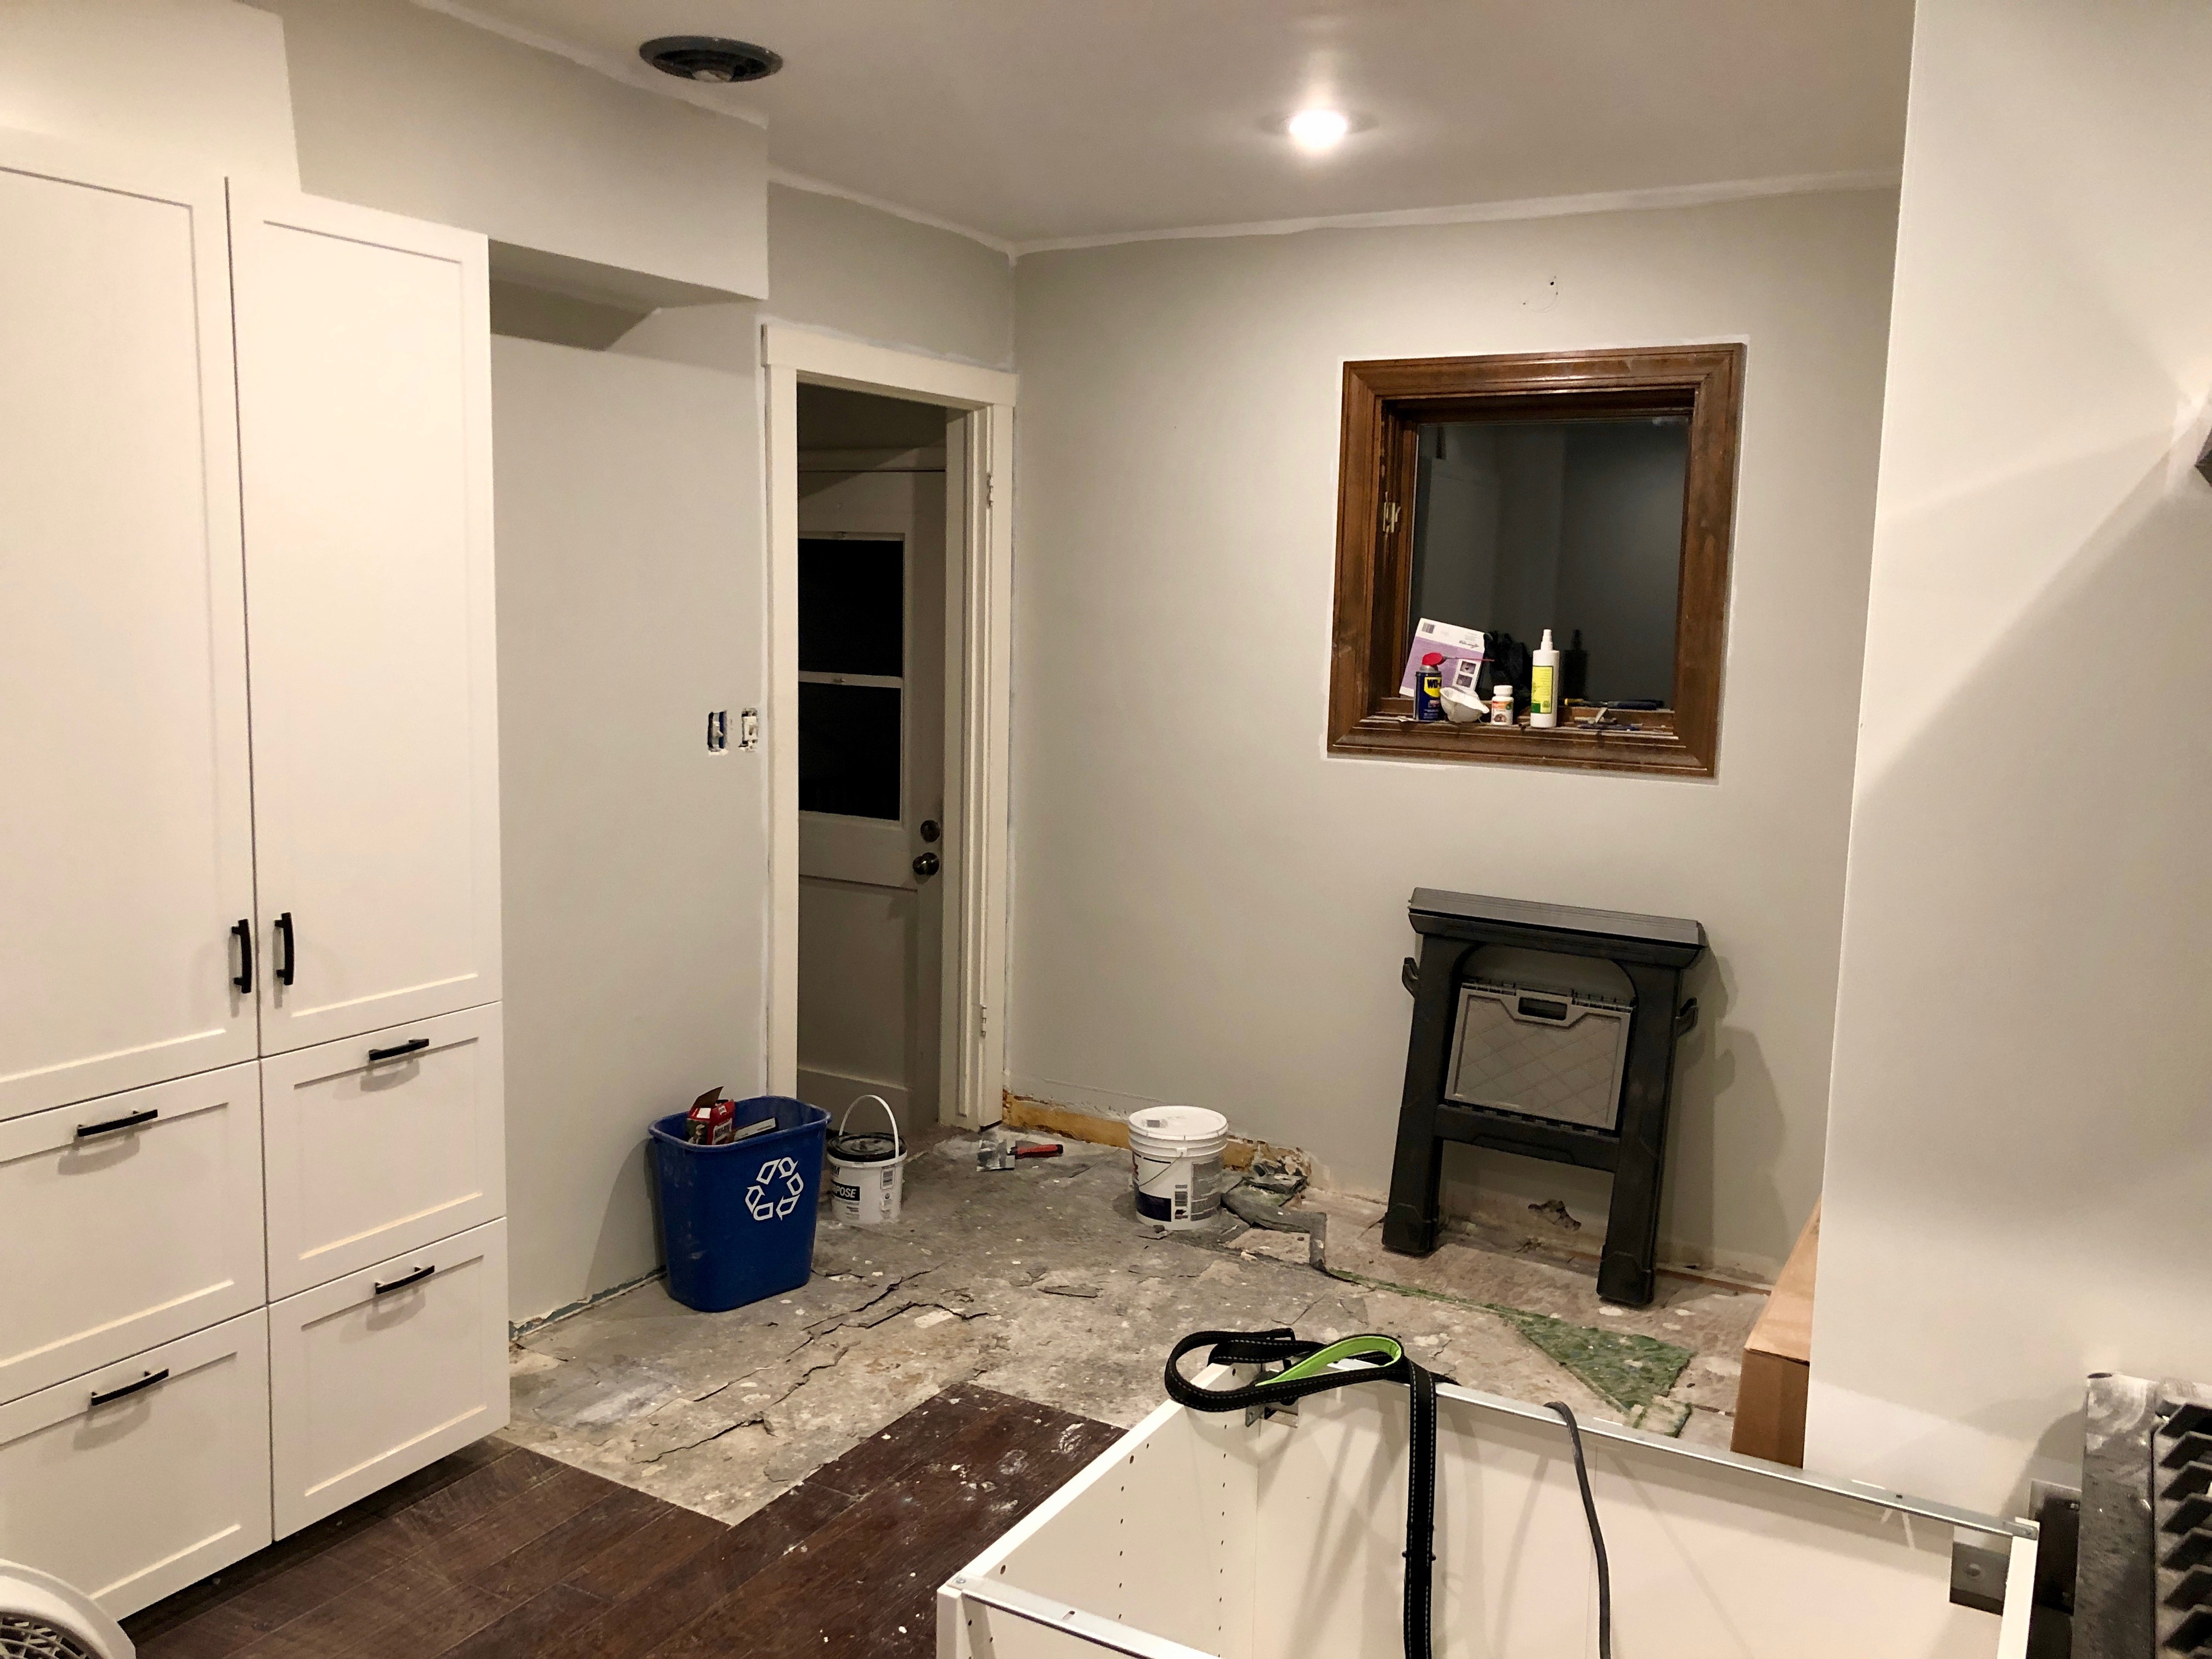
Some time in this vicinity I also did some stuff with the floor. Where the cabinets had been, there was just sub-floor, so I used some of the leftover engineered hardwood planks that the previous owners left behind to fill in some of that. And then I also cut some of that flooring out to sort of designate a line between the “kitchen” and the “mud room/laundry”. That line is pretty visible in this photo:
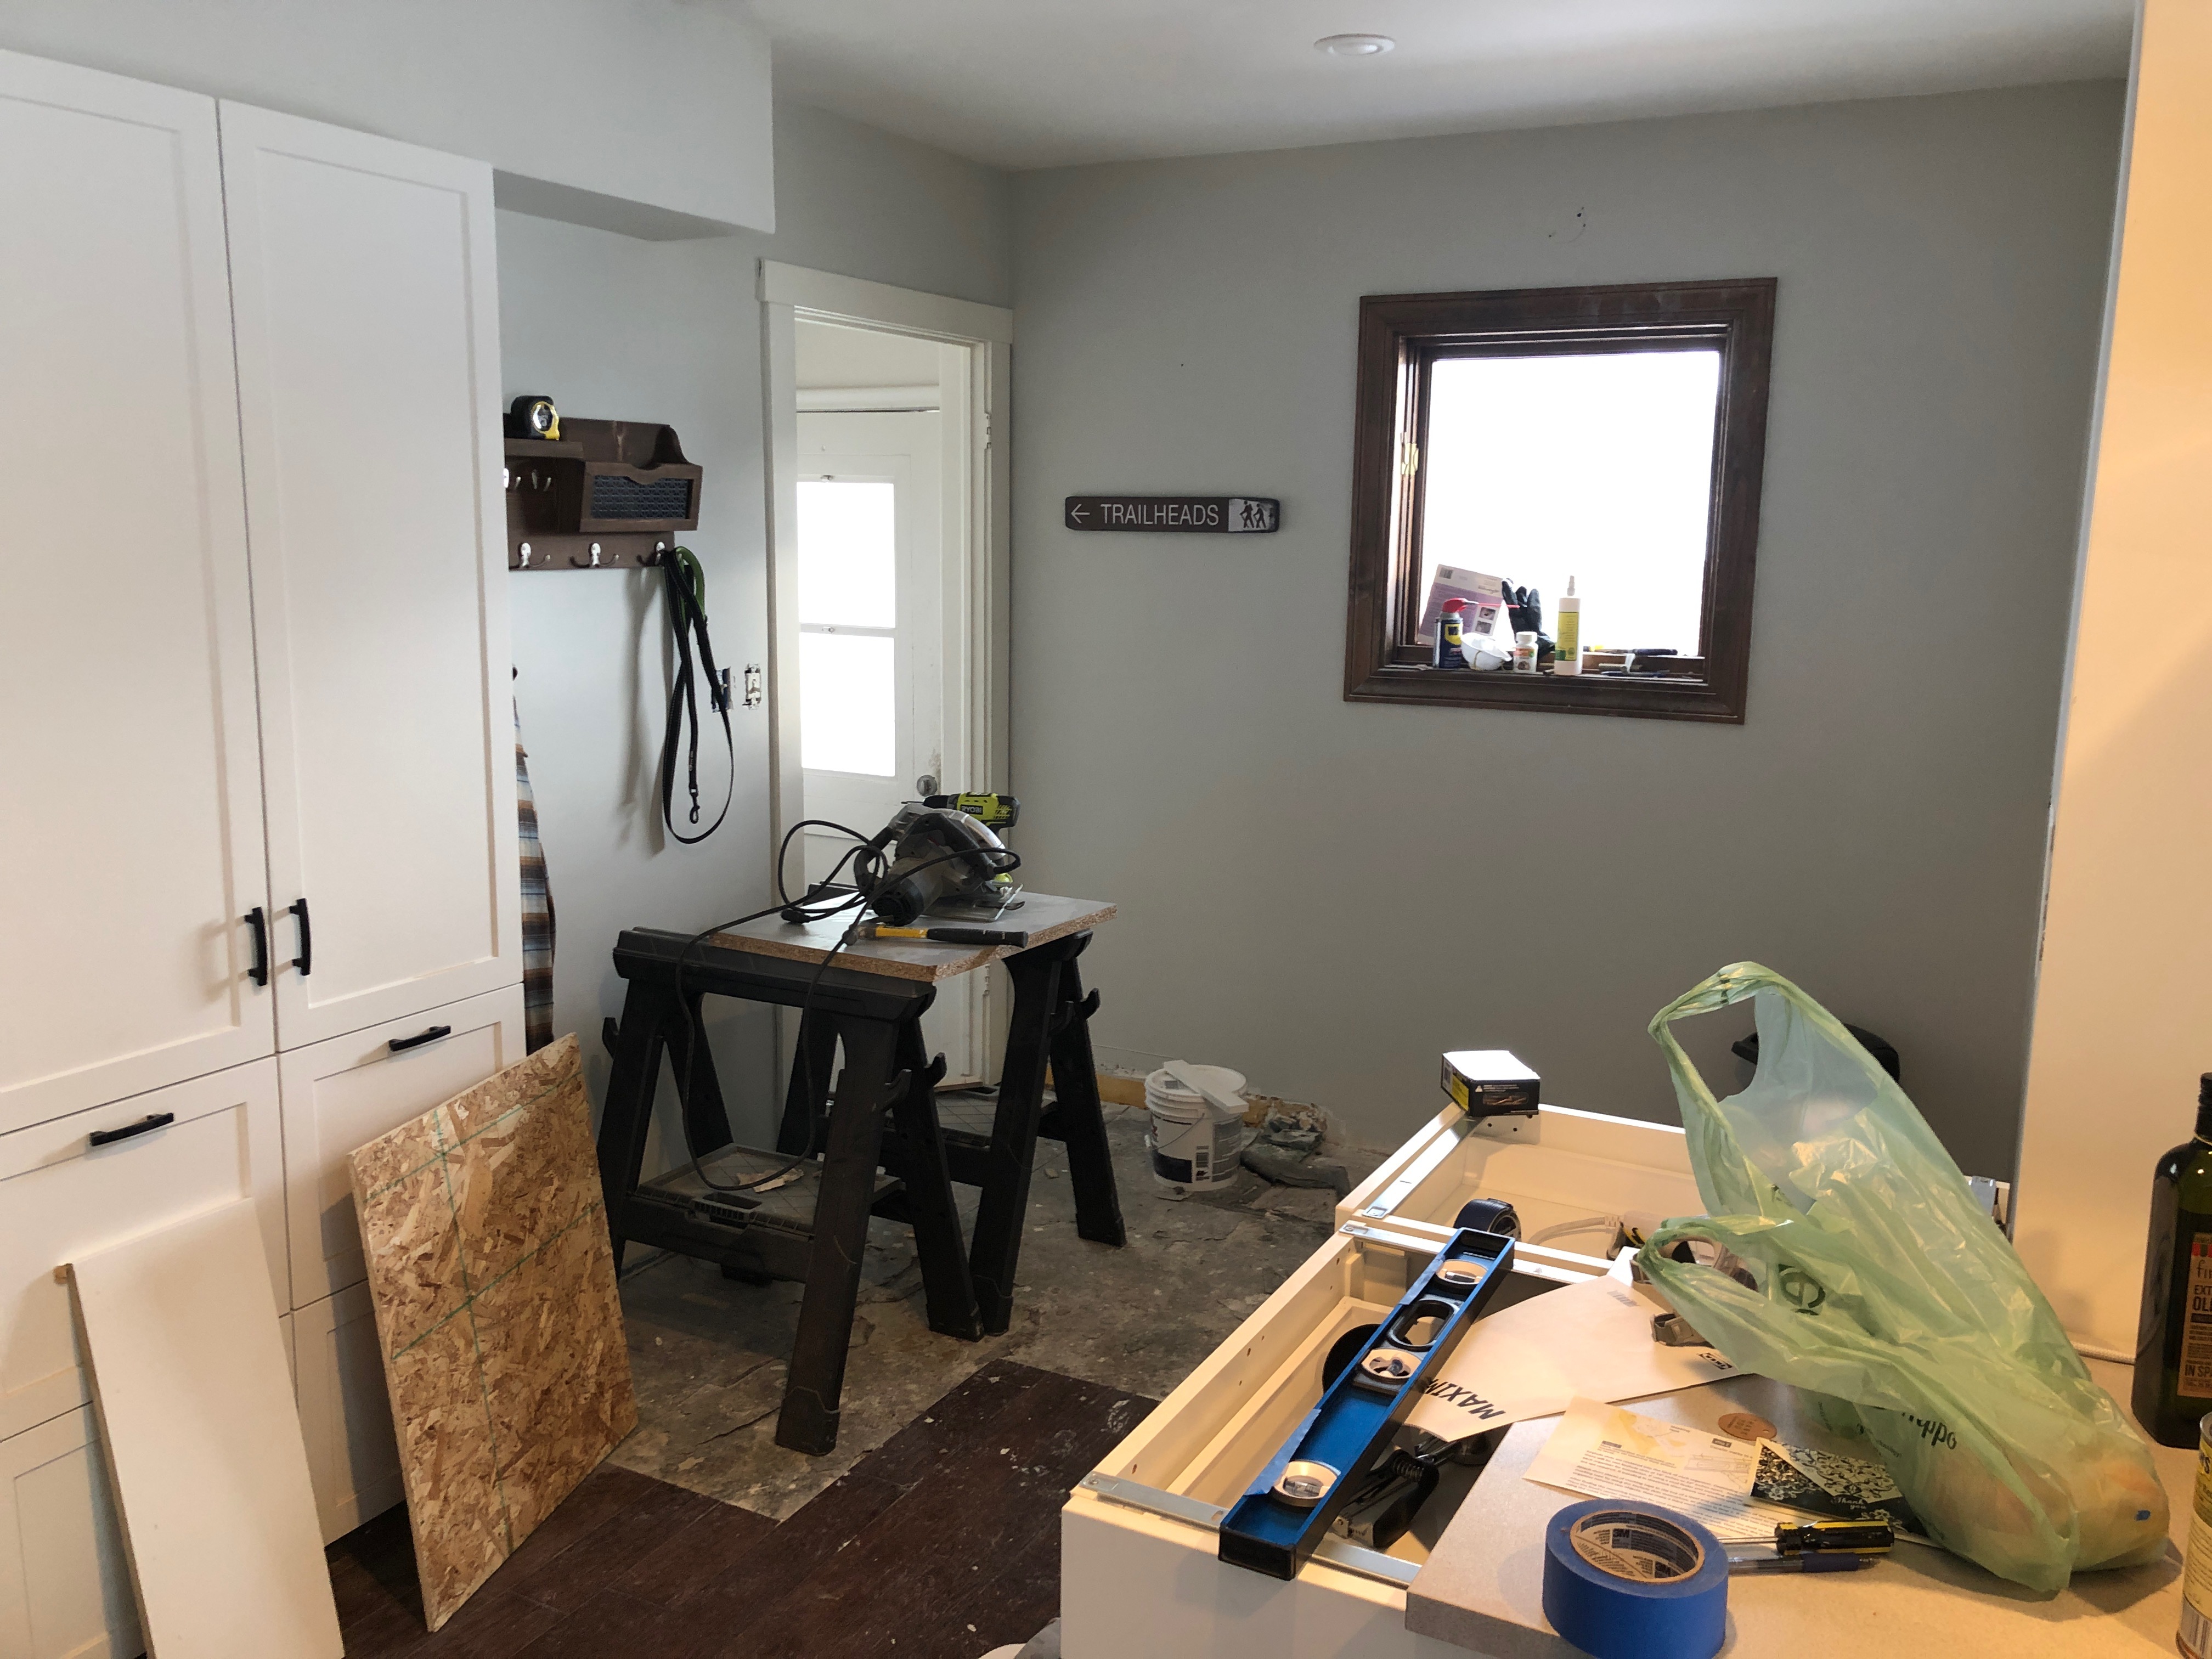
And then apparently some time in February I built one more base cabinet and bought/installed a coat rack thing.
It also turned out that the subfloor didn’t match up, plus — eh, it was weird, there was glue used, hidden nails, uneven surfaces, etc. I was going to have to remove/replace the subfloor before tiling the mud room. It didn’t seem that fun, plus it was the middle of the semester meaning it was about time to just hold my breath and wait for it (the semester) to be over, meaning that nothing was moving.
Fortunately, fate intervened and my friend James Waite, whom I knew from the ward in Pittsburgh, was moving back to Clearfield and starting up his construction company. So I had him come out to Logan and, you know, do almost everything that was left to do. He got the sub-floor pulled up and put down backer board, then did all the tile.

Which was finished in time for Easter.
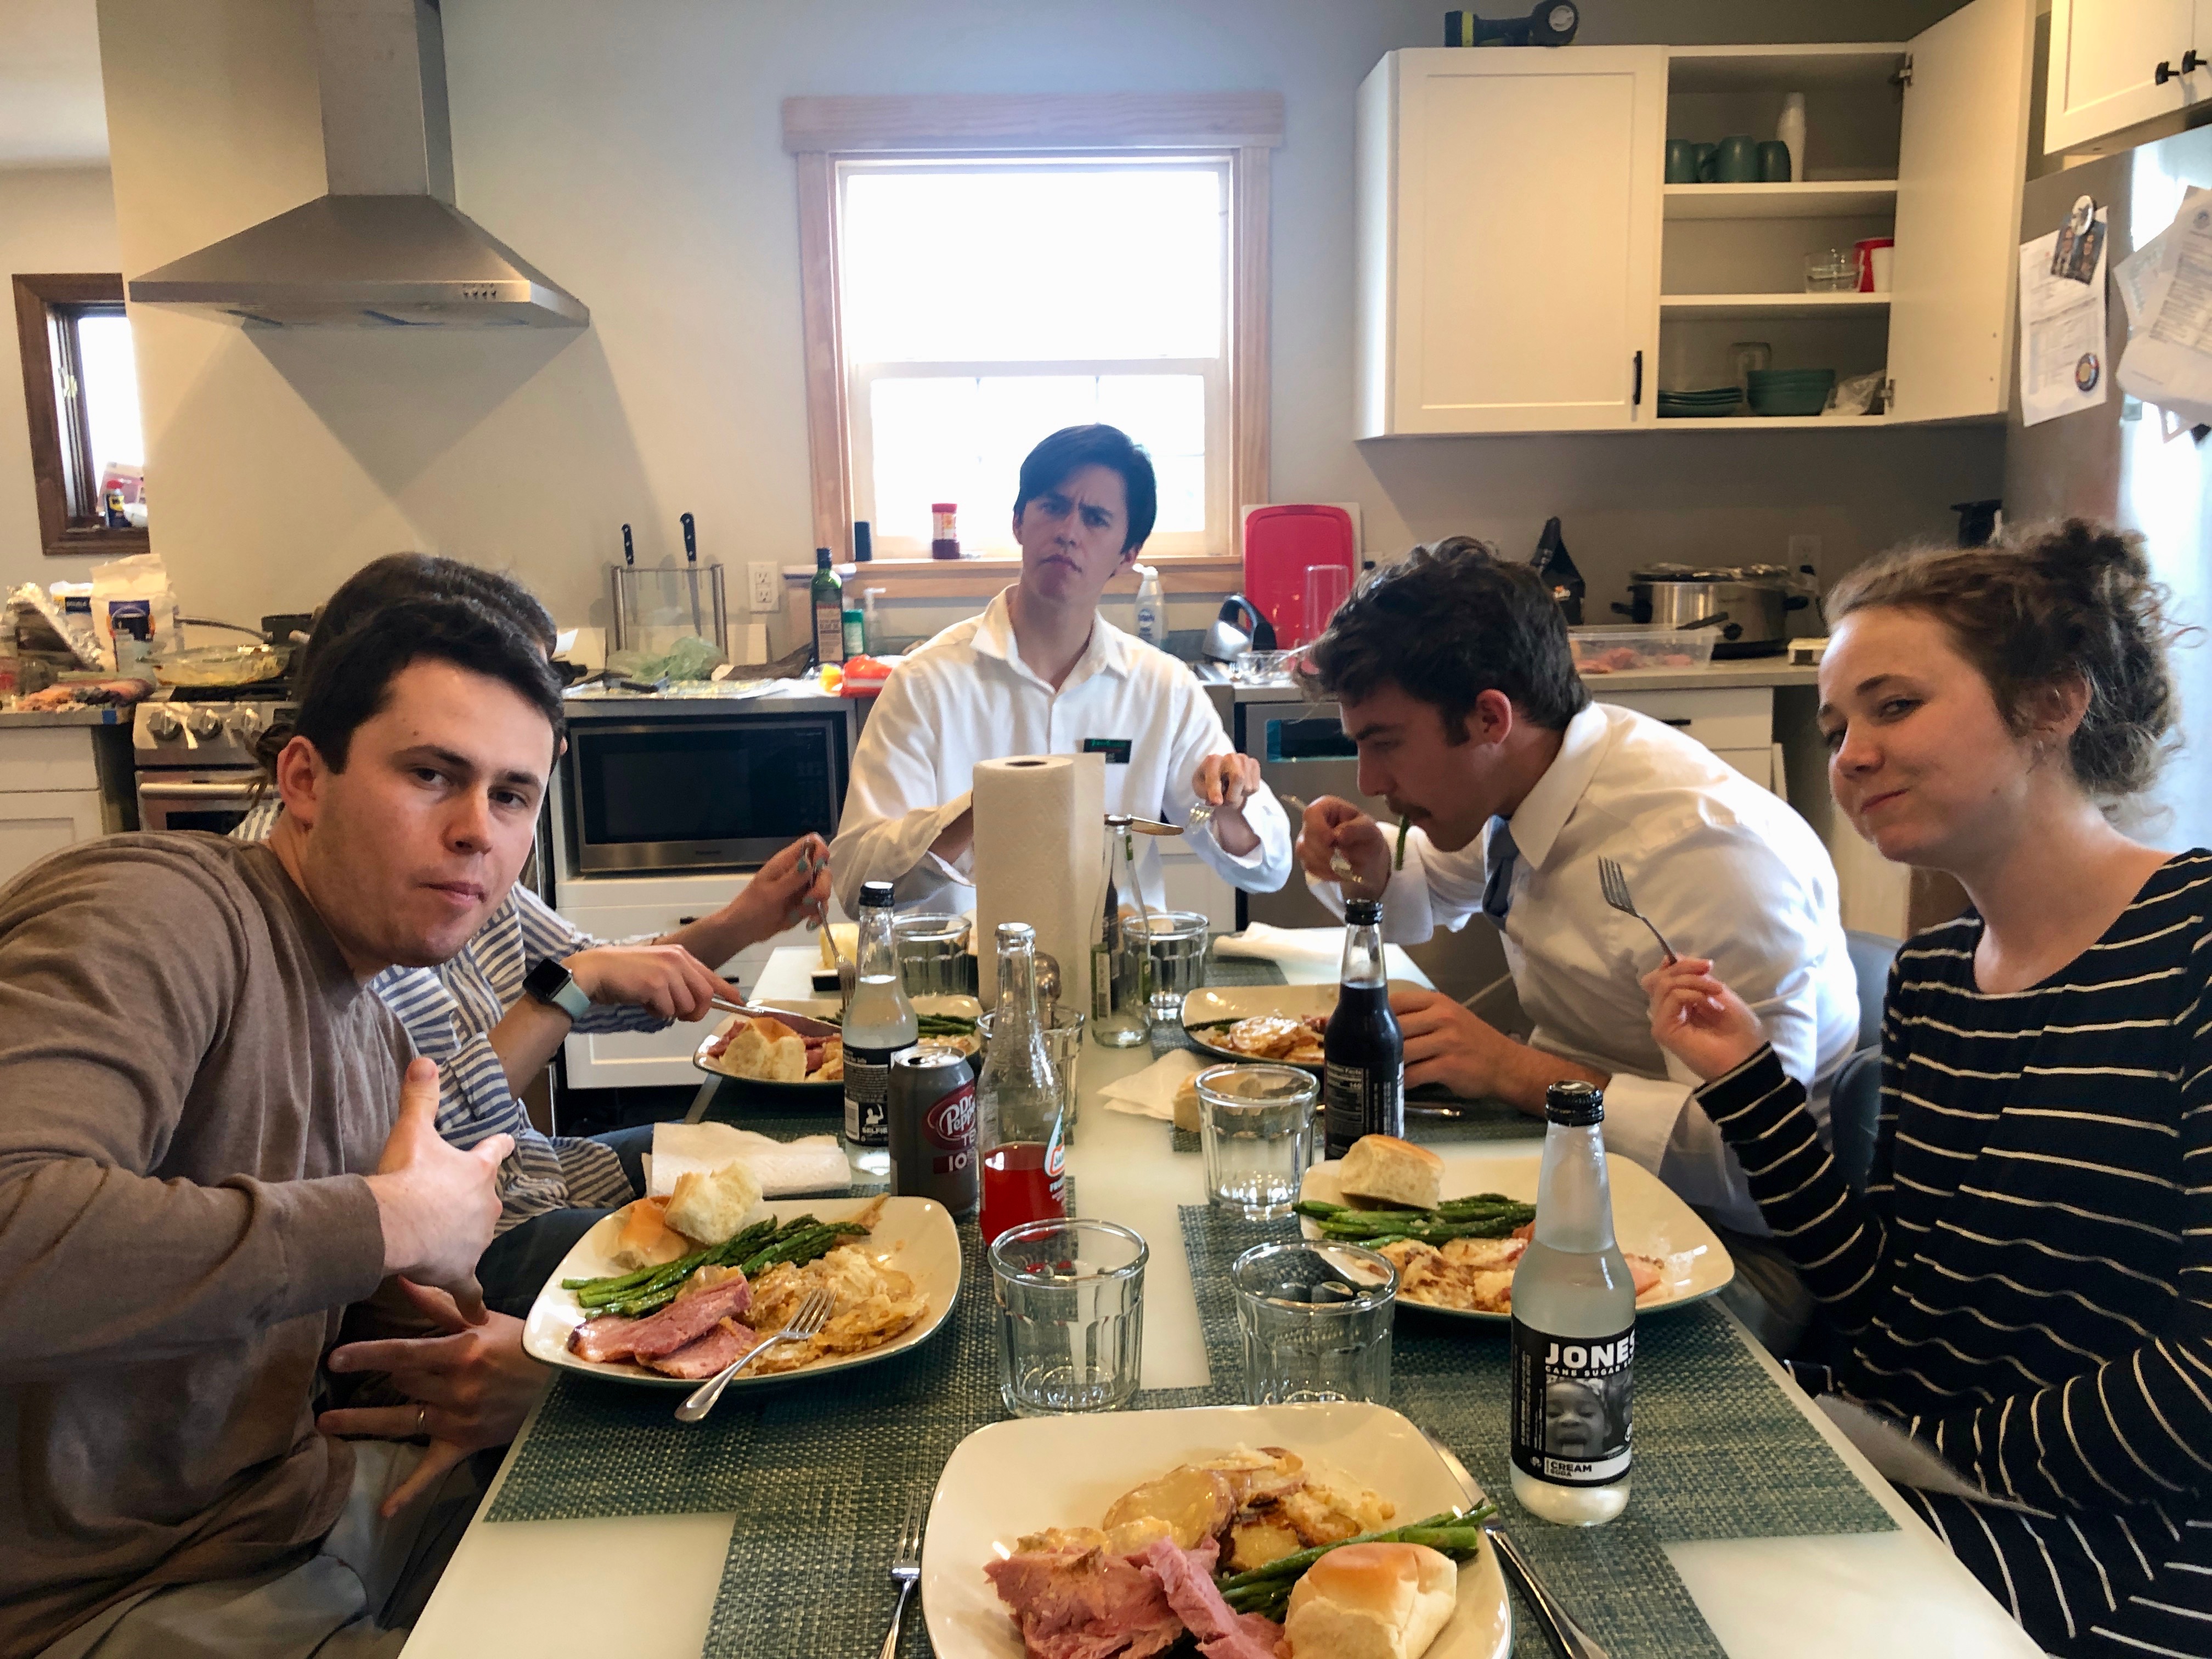
I suppose I should’ve closed that cabinet before taking the one photo I was going to take on Easter. And, like, composed the photo.
James also did all the cabinet trim, all the end pieces, all the baseboards, the transitions from the tile to the engineered hardwood, and a nice transition between the side door landing and the mud room tile. He was also nice to the dog.
After all that got stuff buttoned up, I still had a base cabinet and some drawers left to build. That’s when the real IKEA problem showed up. (Spoiler alert: it worked out, it just cost time and money.)
When I placed my original order, IKEA’s internal system specified all the materials I would need from them to complete the kitchen. These materials included the cabinets, some of the hardware, and the countertop. At some point in the project, it became clear that IKEA had shorted me about 6 linear feet of countertop, which given that IKEA is located in Draper (about 90 minutes from here), was irritating.
I decided that once I had the base cabinets built and therefore had a place to actually put the countertop, I would trek on down to Draper and just buy what I needed. Built the cabinets, trekked on down to Draper in May, and found out that IKEA had stopped making/carrying the countertop that they had sold me the previous August. And, to make things more exciting, they were not stocking any countertops in Draper because they were “remodeling their warehouse” (that sounds made-up, right?).
So I drove home, went to IKEA’s just absolutely awful website and bought the new countertops, accepting that I was going to have to tear out the ones I’d already installed (since there was no way to match them). And then when the delivery day came, it was the one possible time-day combination I couldn’t be at home to accept the delivery, and IKEA corporate insisted that I had to be there to accept it. So I hung up on their rep, took my chances, and, fortunately, the delivery guys bailed IKEA out and just left the counters at my house without a signature.
Whoever the delivery guys were: thanks. IKEA: I’m probably done with you.

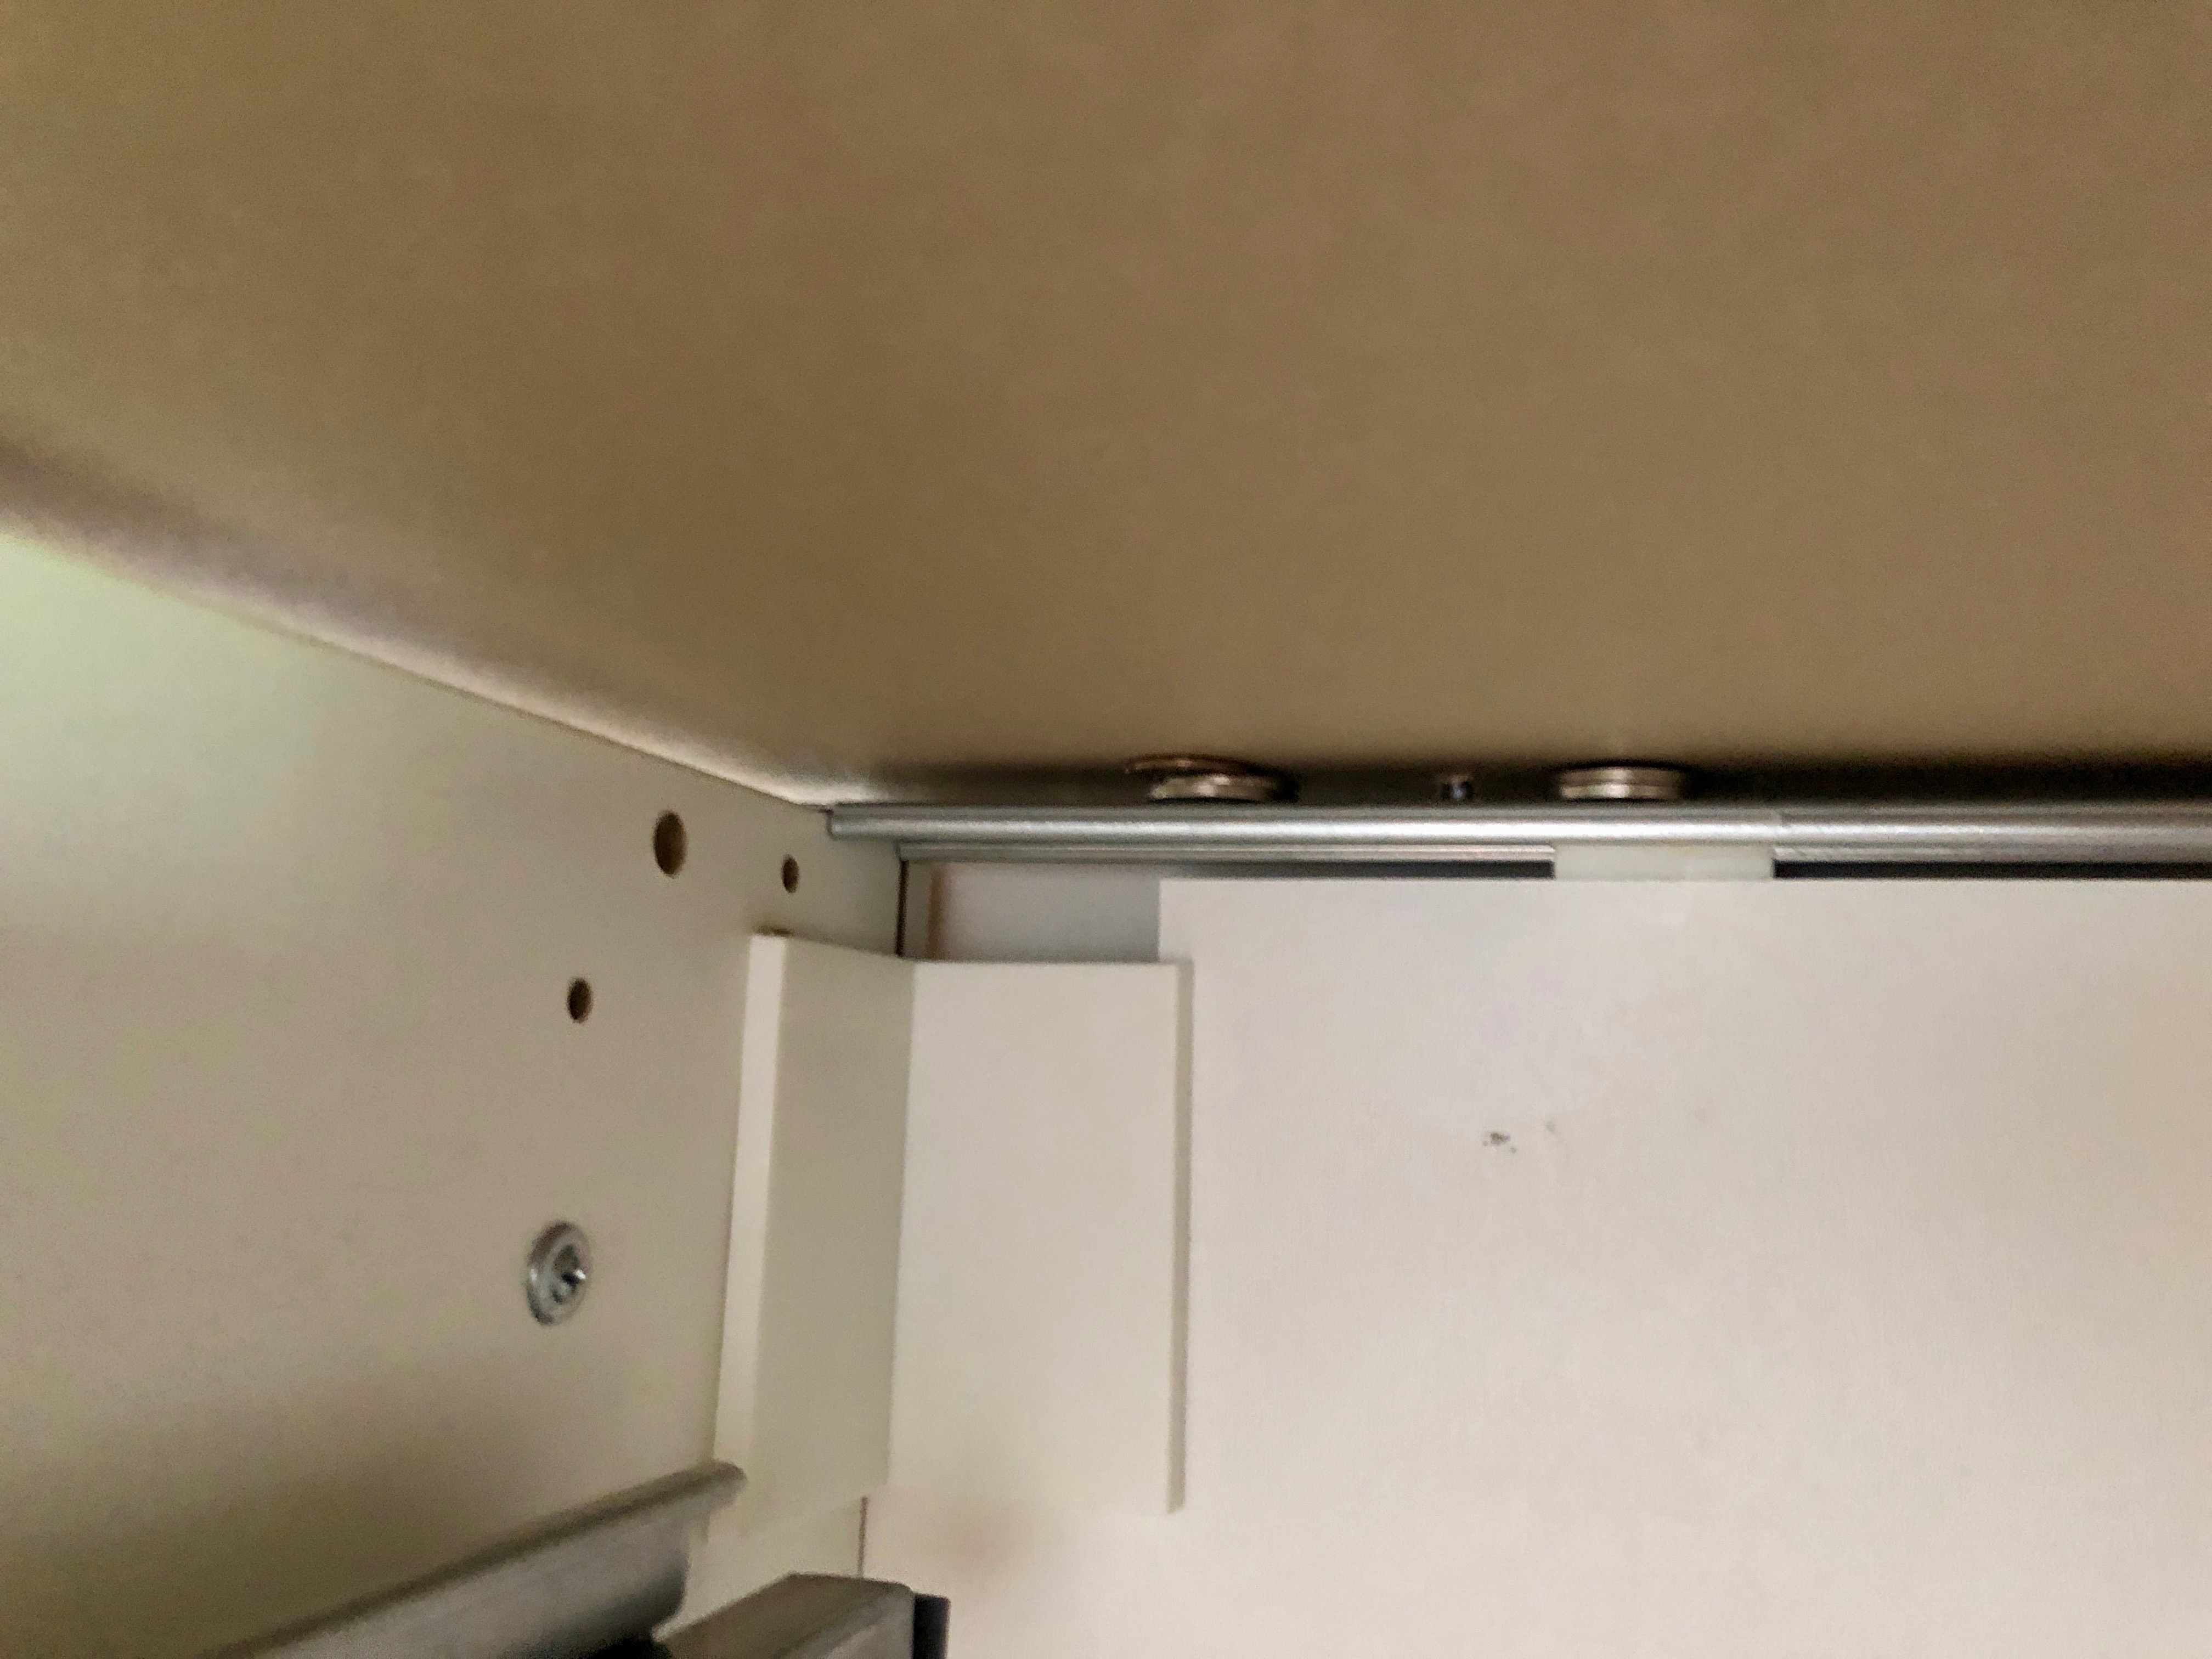
That last photo shows the nickels and pennies I was using for shims to try and get the countertop level across the seams. Pretty exciting.
Here’s the countertop at a fun in-between stage. You can also see the cabinet trim, toe-kick, and register additions.
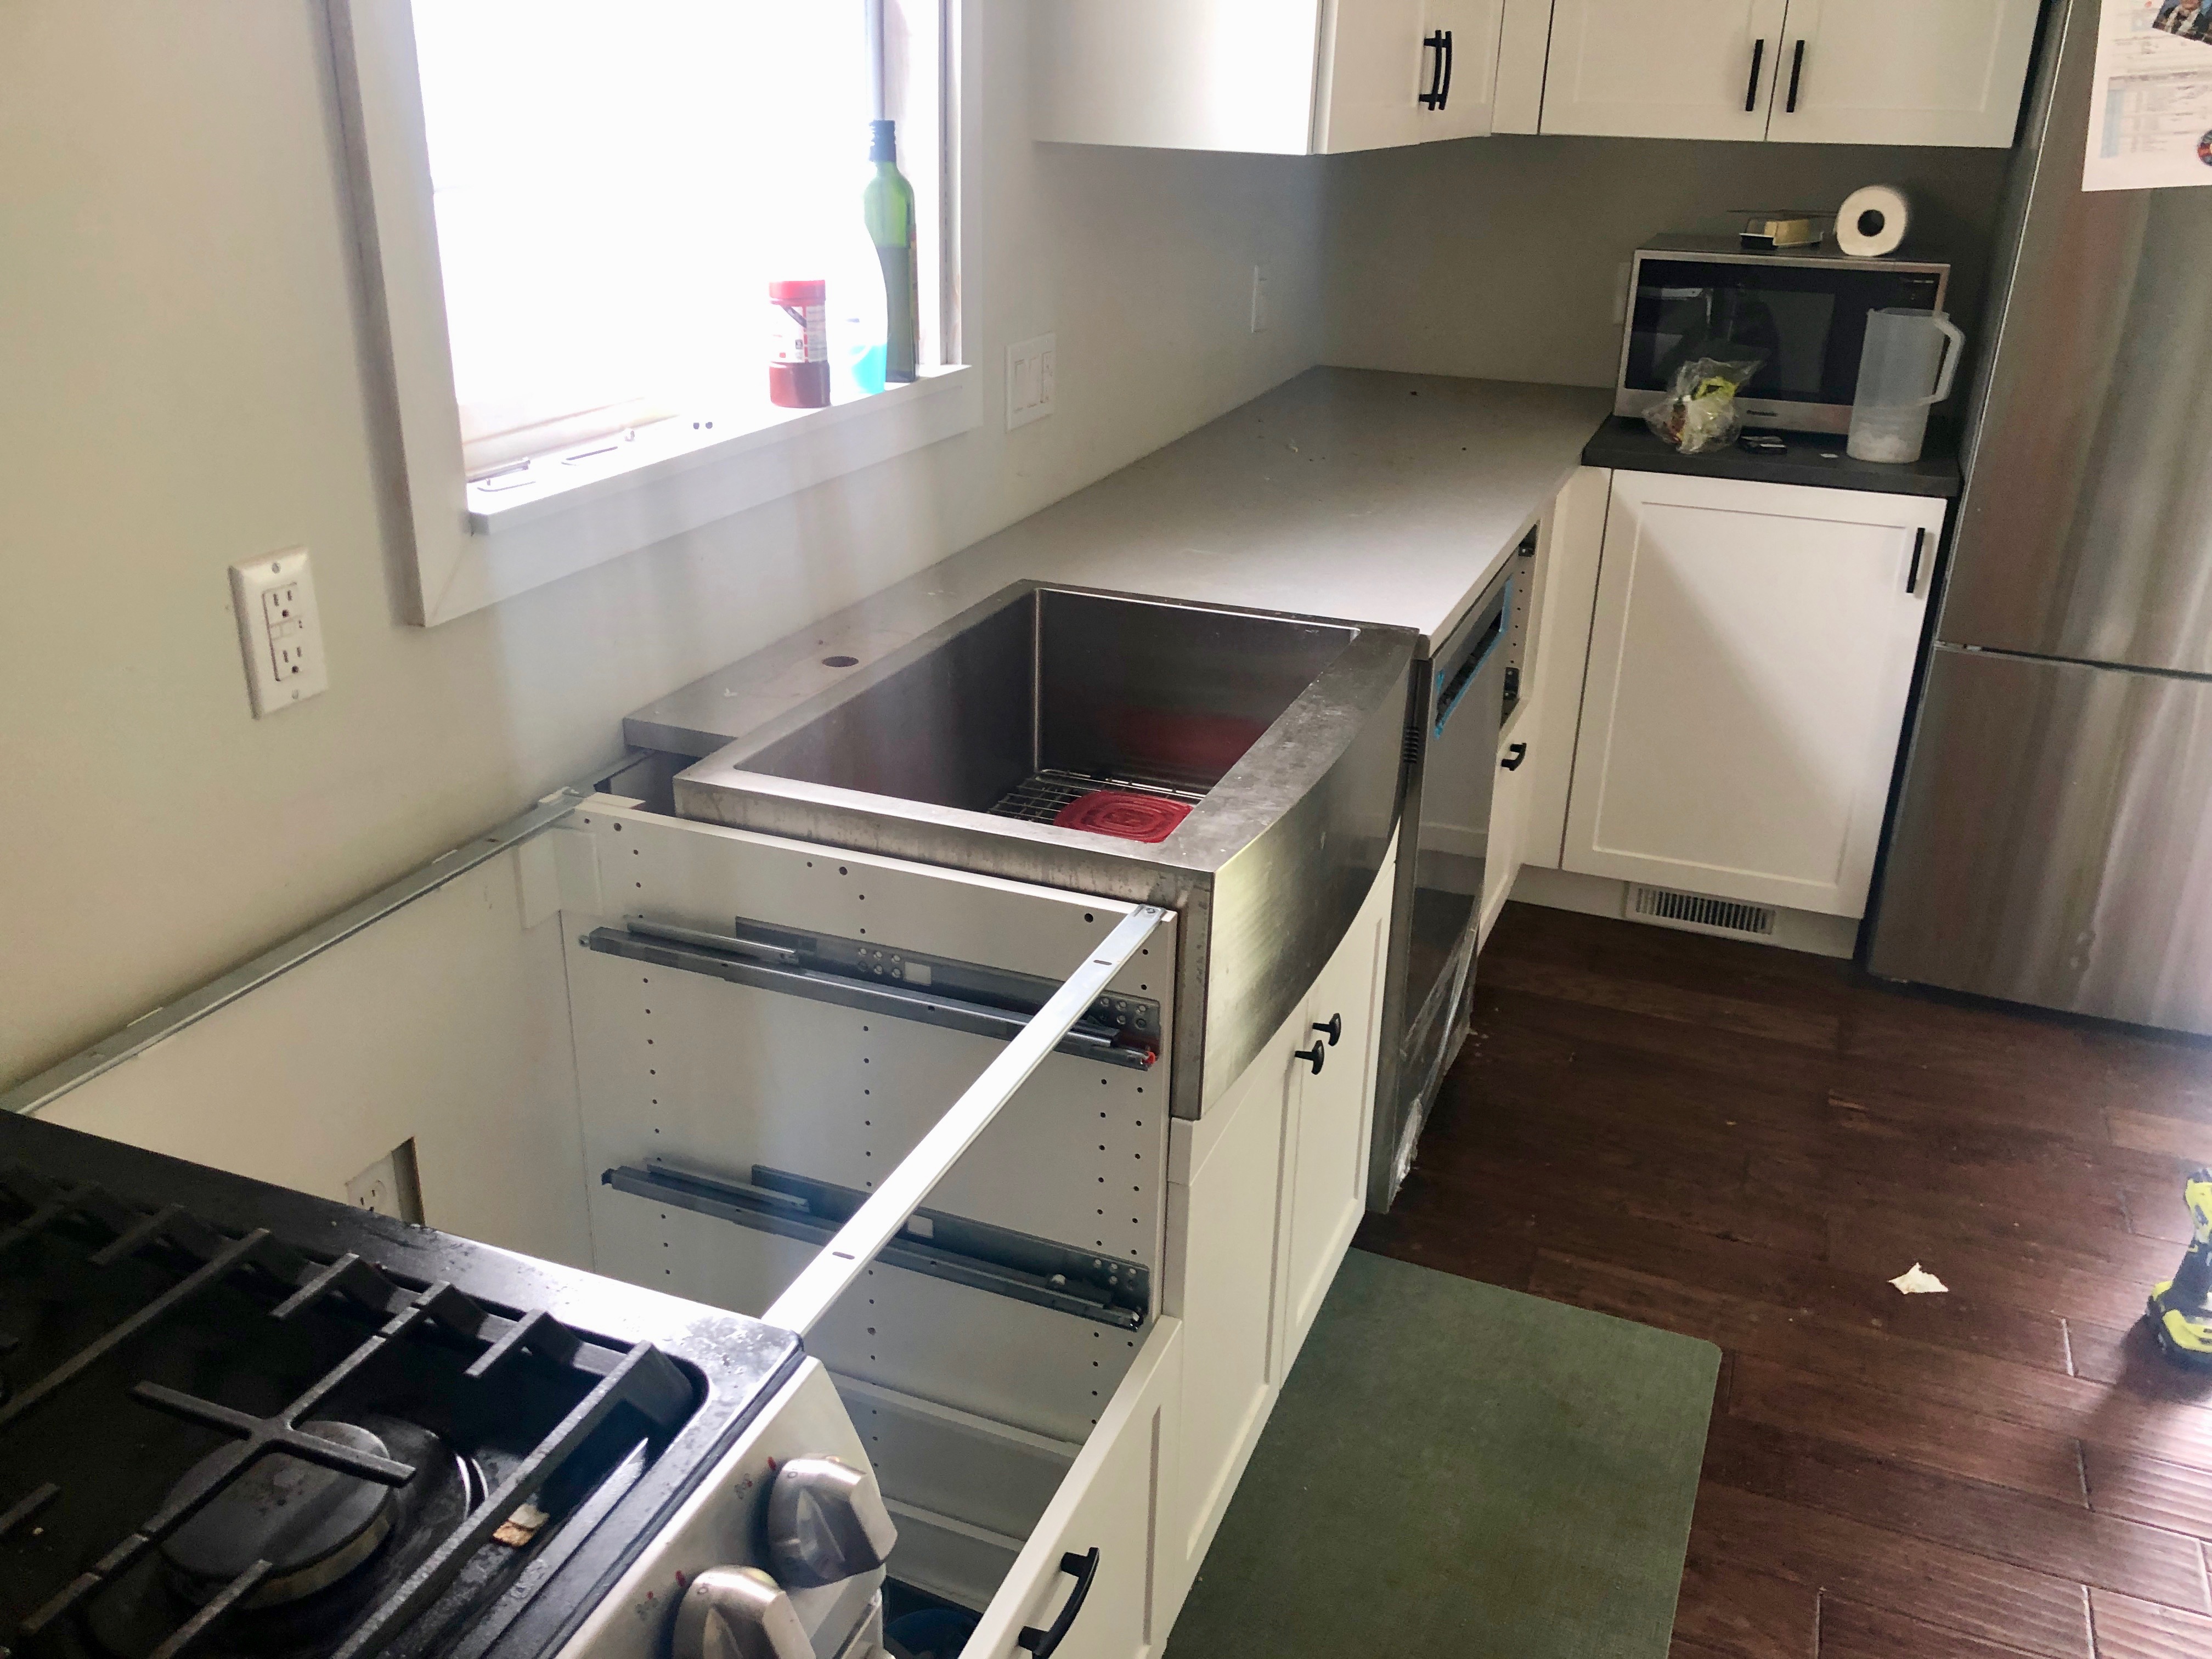
And then the plumbers came out to re-install the faucet because it was still too hard for me. It was a different plumber this time (same company), and this one also hated the experience because it was too hard.
I also changed my mind on the below-countertop microwave. That was a pain to use. It would probably work better with the drawer-style under-counter microwave. Maybe next house, but probably not
Which brings us up to the present time. After some attempt at cleaning (which involved stashing a lot of things in the front living room), the kitchen looked like this:


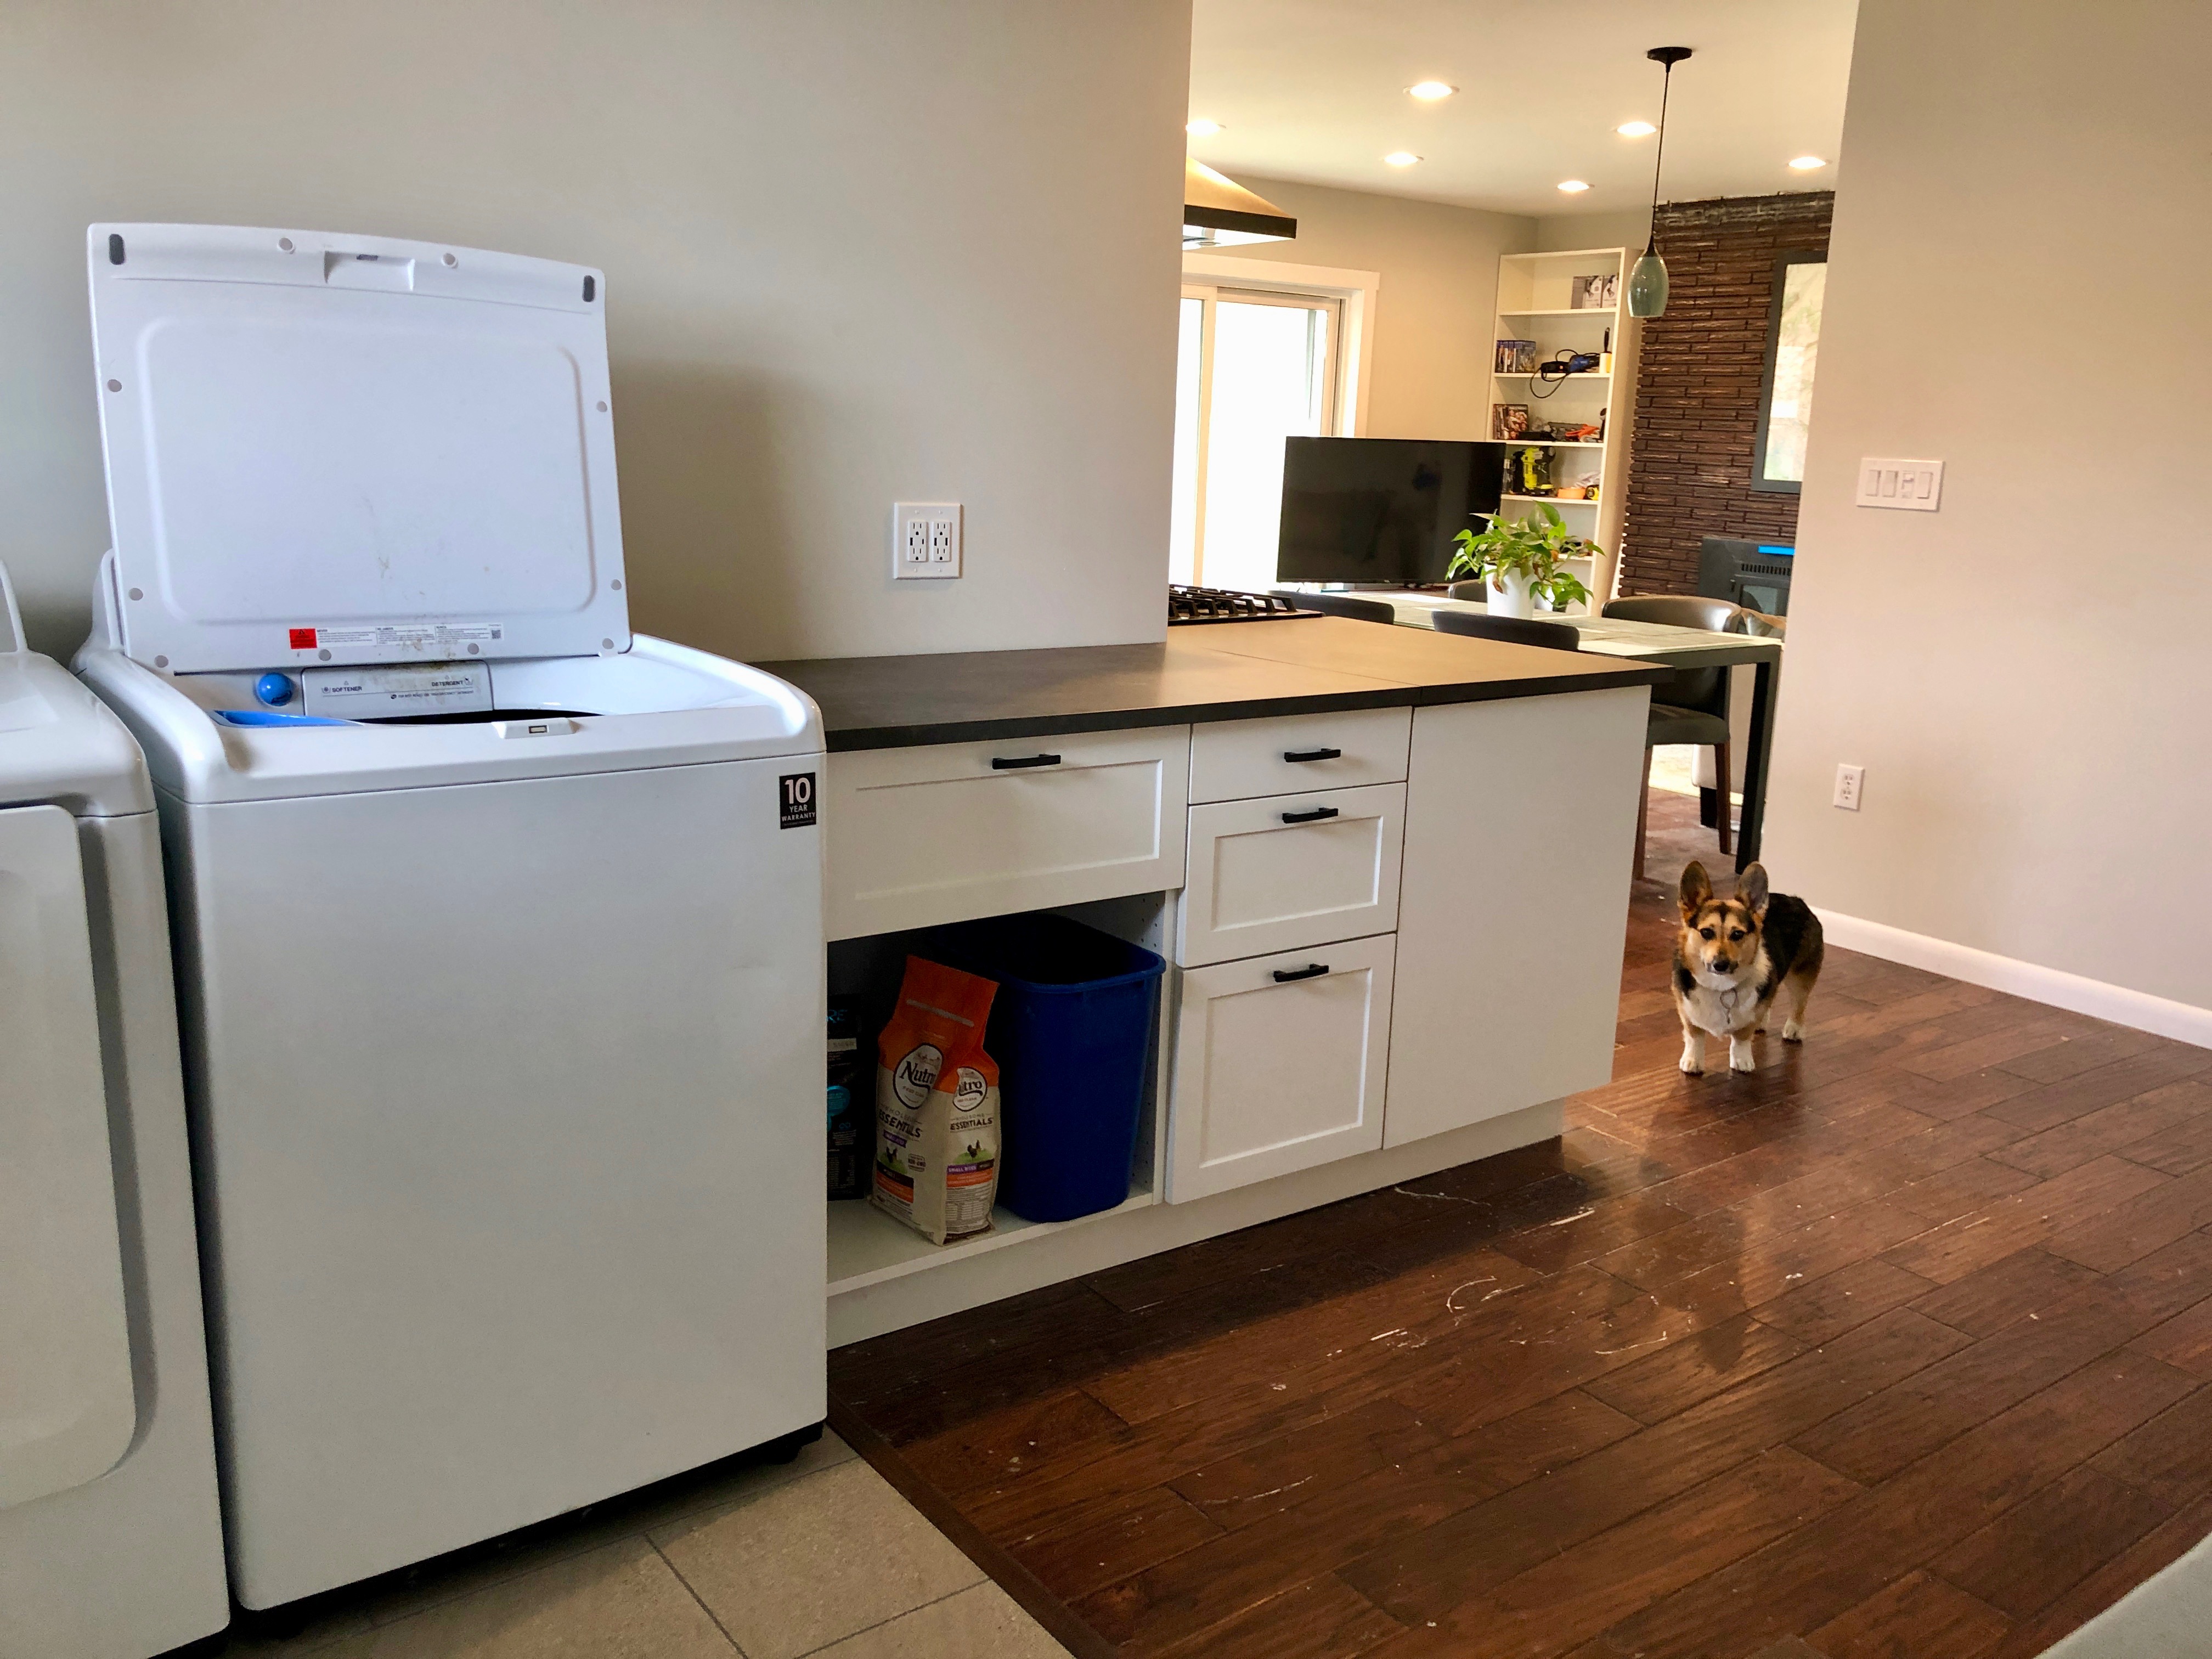

It’s not quite done yet, but at least it’s also no longer absolute, soul-draining chaos taking up most of the living areas of my house. After only 14 months. So that’s — that’s good, right?
Here’s what’s not done:
So I have those things to which to look forward.
I’ll post some before/after pics next time out I guess.
bkd
They were always going to slow down once school started back up. And then there’s this weird thing that happens to me about the middle of October every school year where I just can’t do anything but deal with school and wait for it to be over. Which it isn’t until April (well — there’s a reprieve in December).
In “September”, with the kitchen functional-ish, it was finally time to start revising the space that used to be the kitchen. In its place was going to be a pantry cabinet, a “mud room”, a laundry room, and some more kitchen cabinets and counter space. But it was all still just going to be in one room.
Took all the doors off the old cabinets and for some reason the Re-Store seemed happy to take them.
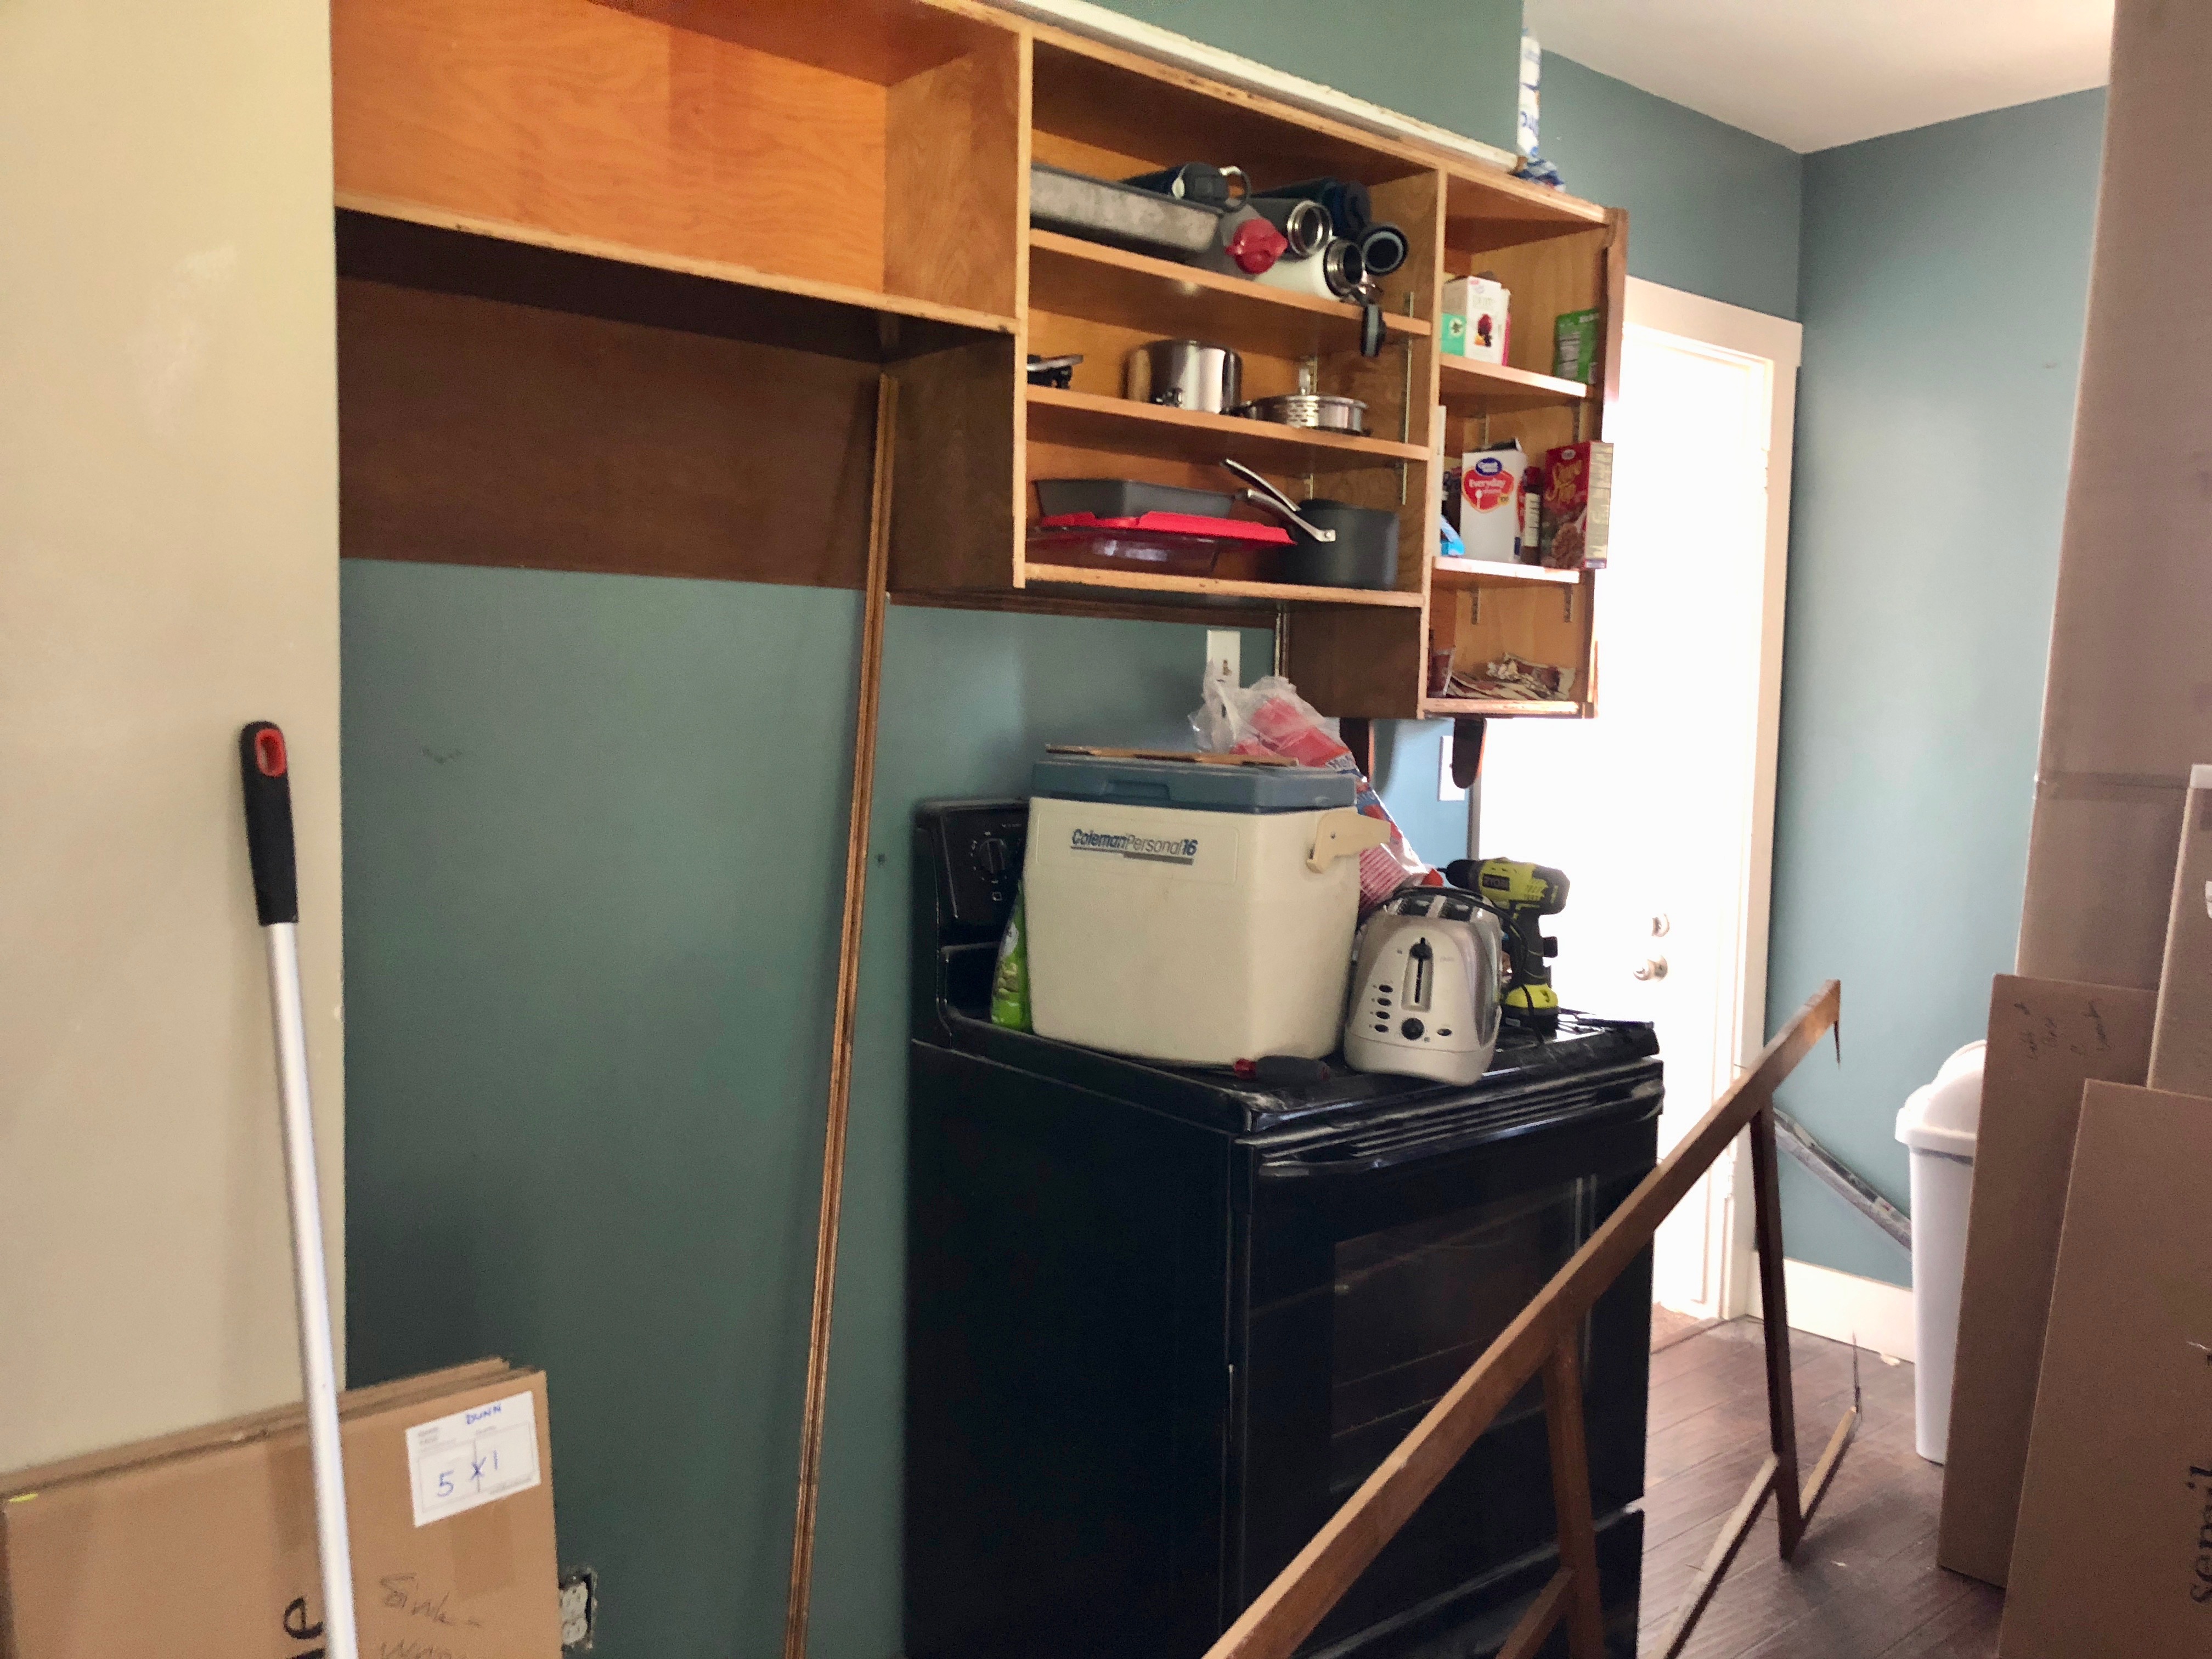
I felt a little bad about taking these old cabinets out, since it turned out that my electrician’s uncle, who’s also in my ward, put these up a mere 30 years ago. Sometimes Cache Valley is a very small town.
The cabinets weren’t the discrete boxes with doors that I expected them to be, but rather were kind of like a plywood grid system attached to the wall. That probably made them a little harder to take out than they otherwise would have been and probably spoke to a certain level of craftsmanship.
I think Dan, who hung these older cabinets, is disappointed with me for replacing them with MDF. It’s hard to keep secrets in a small town. (I’m sure Dan’s fine, I’m just off the Christmas card list.)
Once that side was done, it looked like this:

There was so much cardboard in my house for so many months.
It bothered one of the electricians that the switch to the old ceiling fan was in the middle of the wall rather than next to the light switch (the old configuration is shown above). Again, I like to encourage that kind of OCD, which resulted in some cutting of drywall, which then revealed this fun splice:
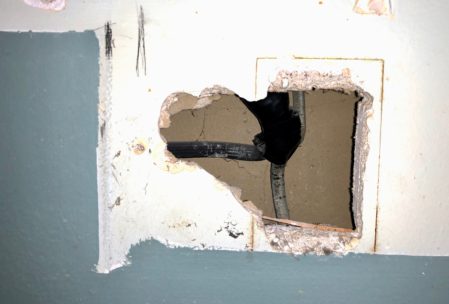
Pictured: wires spliced together inside the wall (and not accessible) and the wires then wrapped up in electrical tape (rather than wire nuts). I’m sure it was easier that way, and why not take the easy route, right?
Also, though, the electricians convinced me to keep the ceiling fan in the mud room even though it wasn’t over the stove any more. It looks cool, gives it sort of a period vibe. It also vents straight into the attic, which…
Then for some reason I stopped worrying about demolition and put trim around the new window.

Please don’t ask what the outside of this window looks like. I got a guy coming for that. Soonish.
Then, some time in October I decided that I could get rid of all the demolished wood and stuff by burning it all in my backyard fire pit (if only I had a backyard fire pit). So I bought a little fire ring and…

…And determined that that’s not going to work out. I’ll just give in and get a dumpster some time.
Then, later in October, I started pulling out the cabinets on the other side of the room as well as taking out the tiny glass tile backsplash.
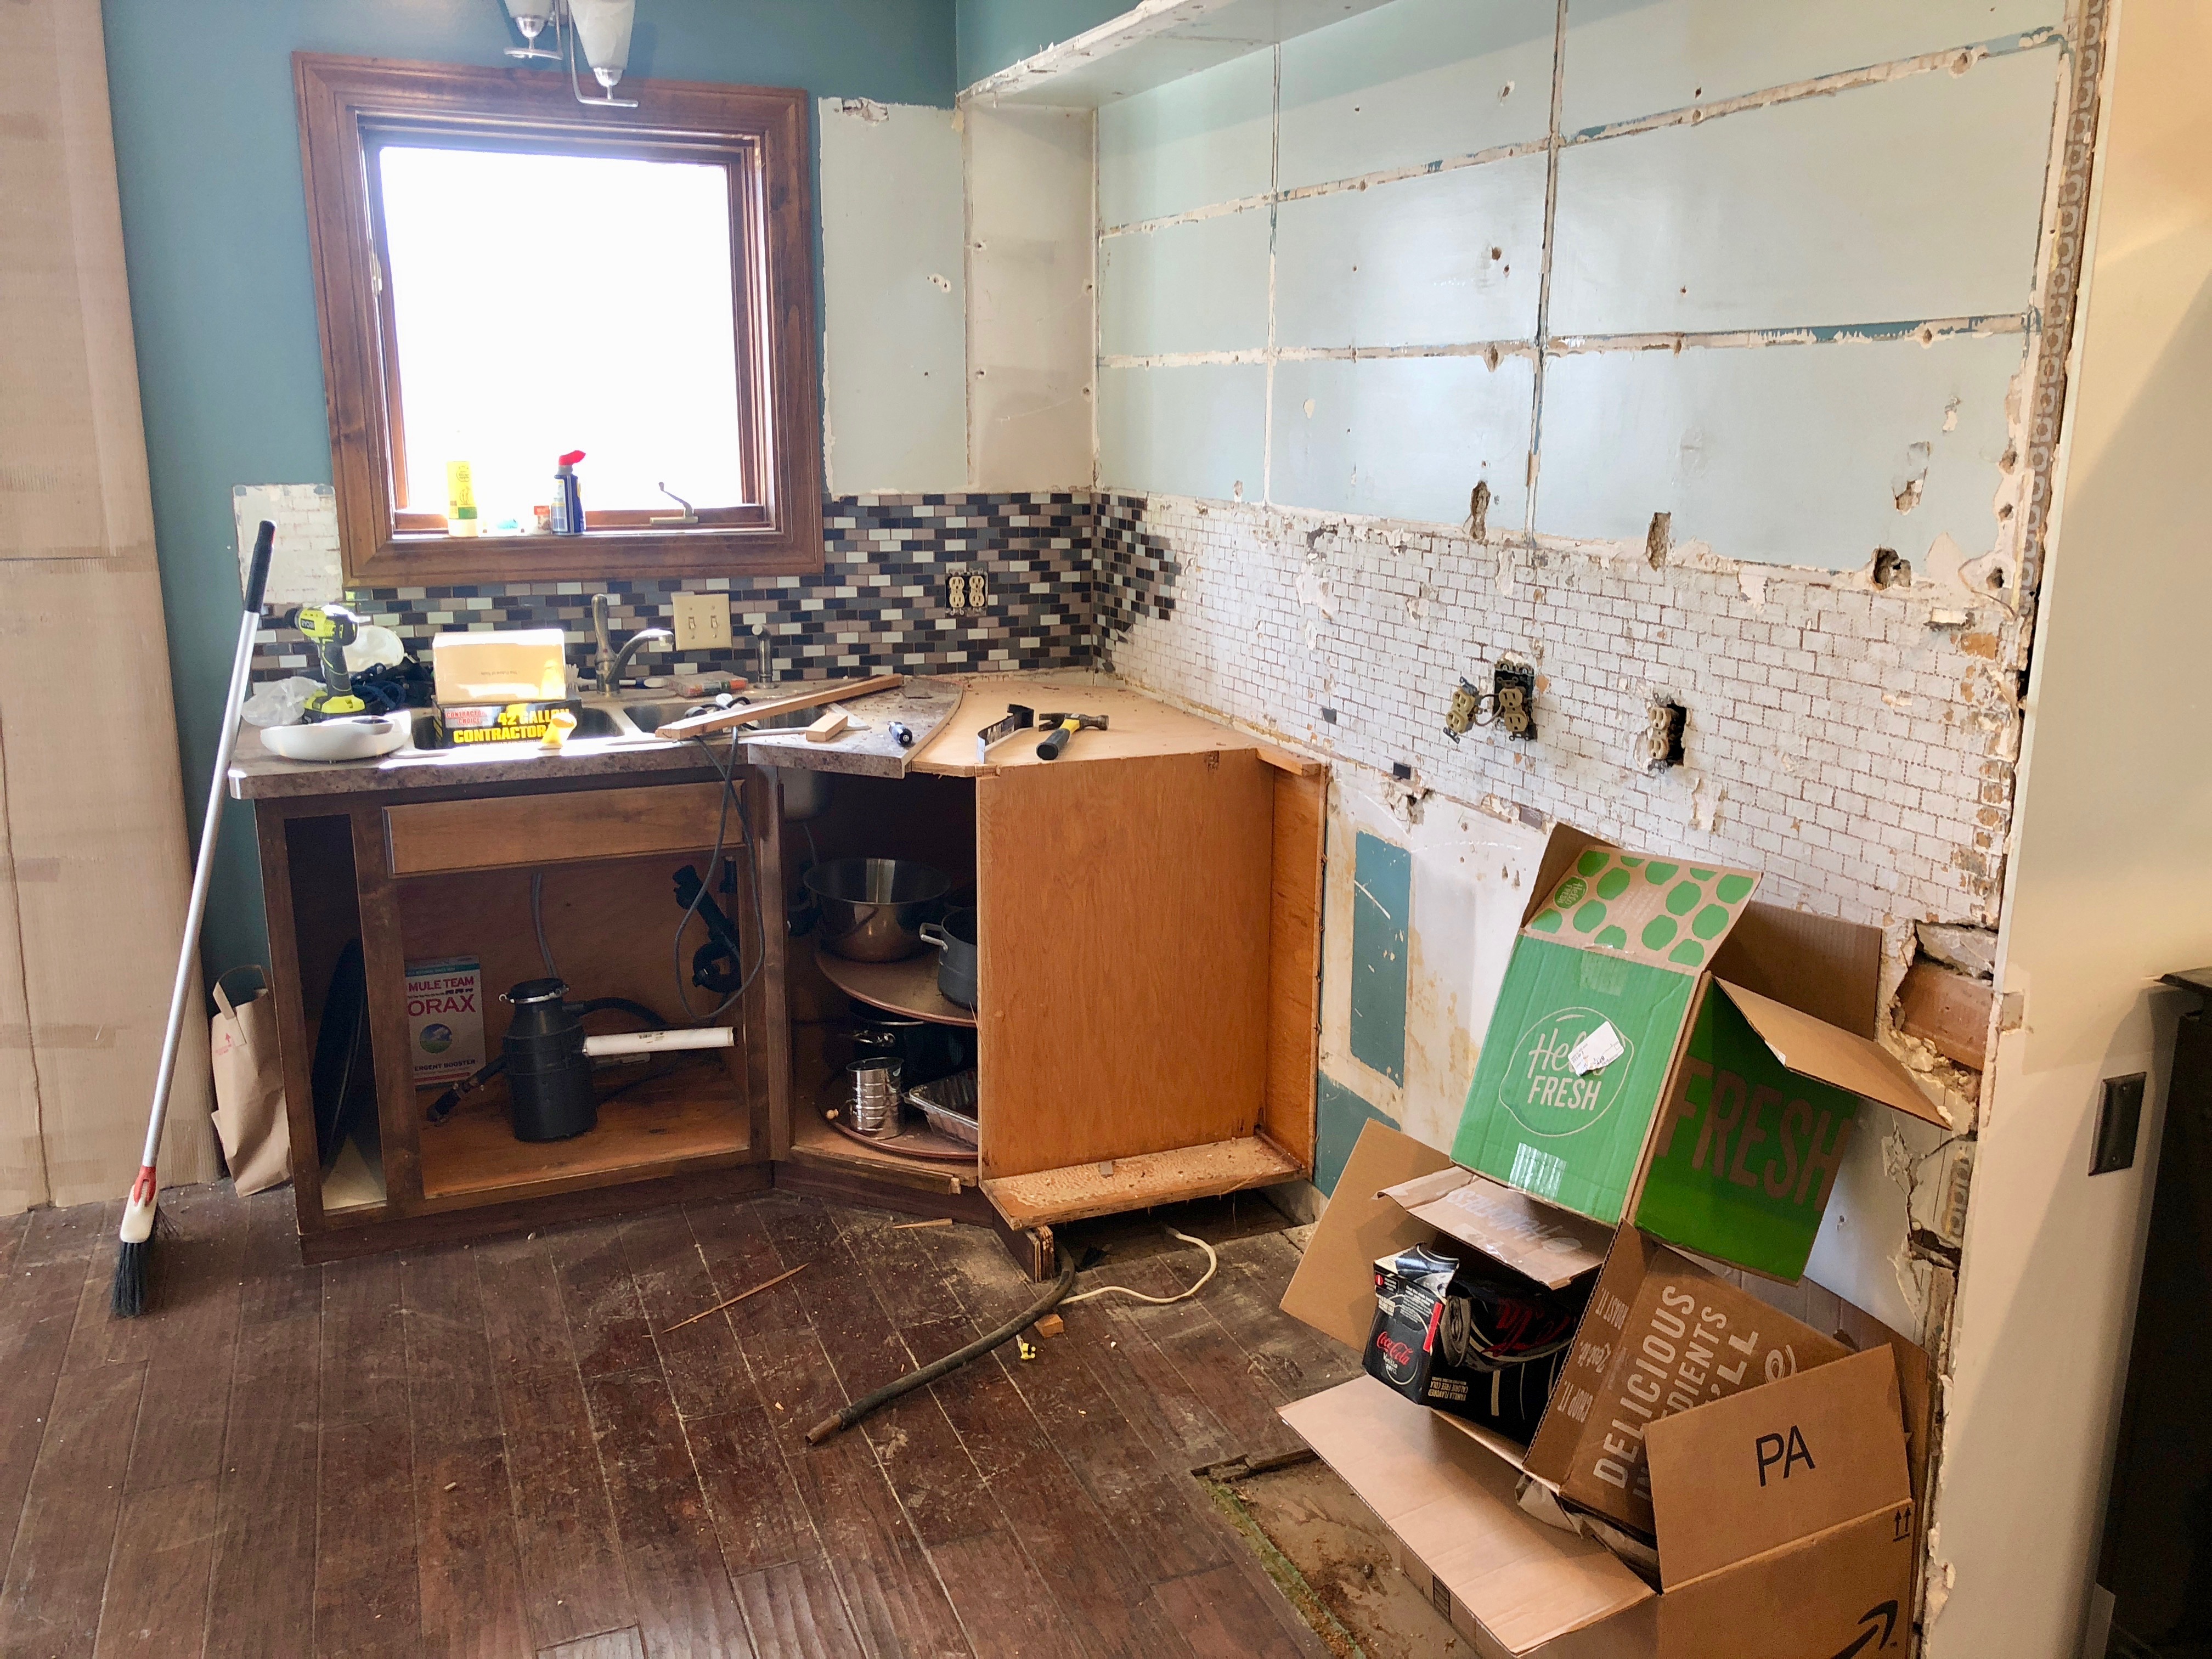
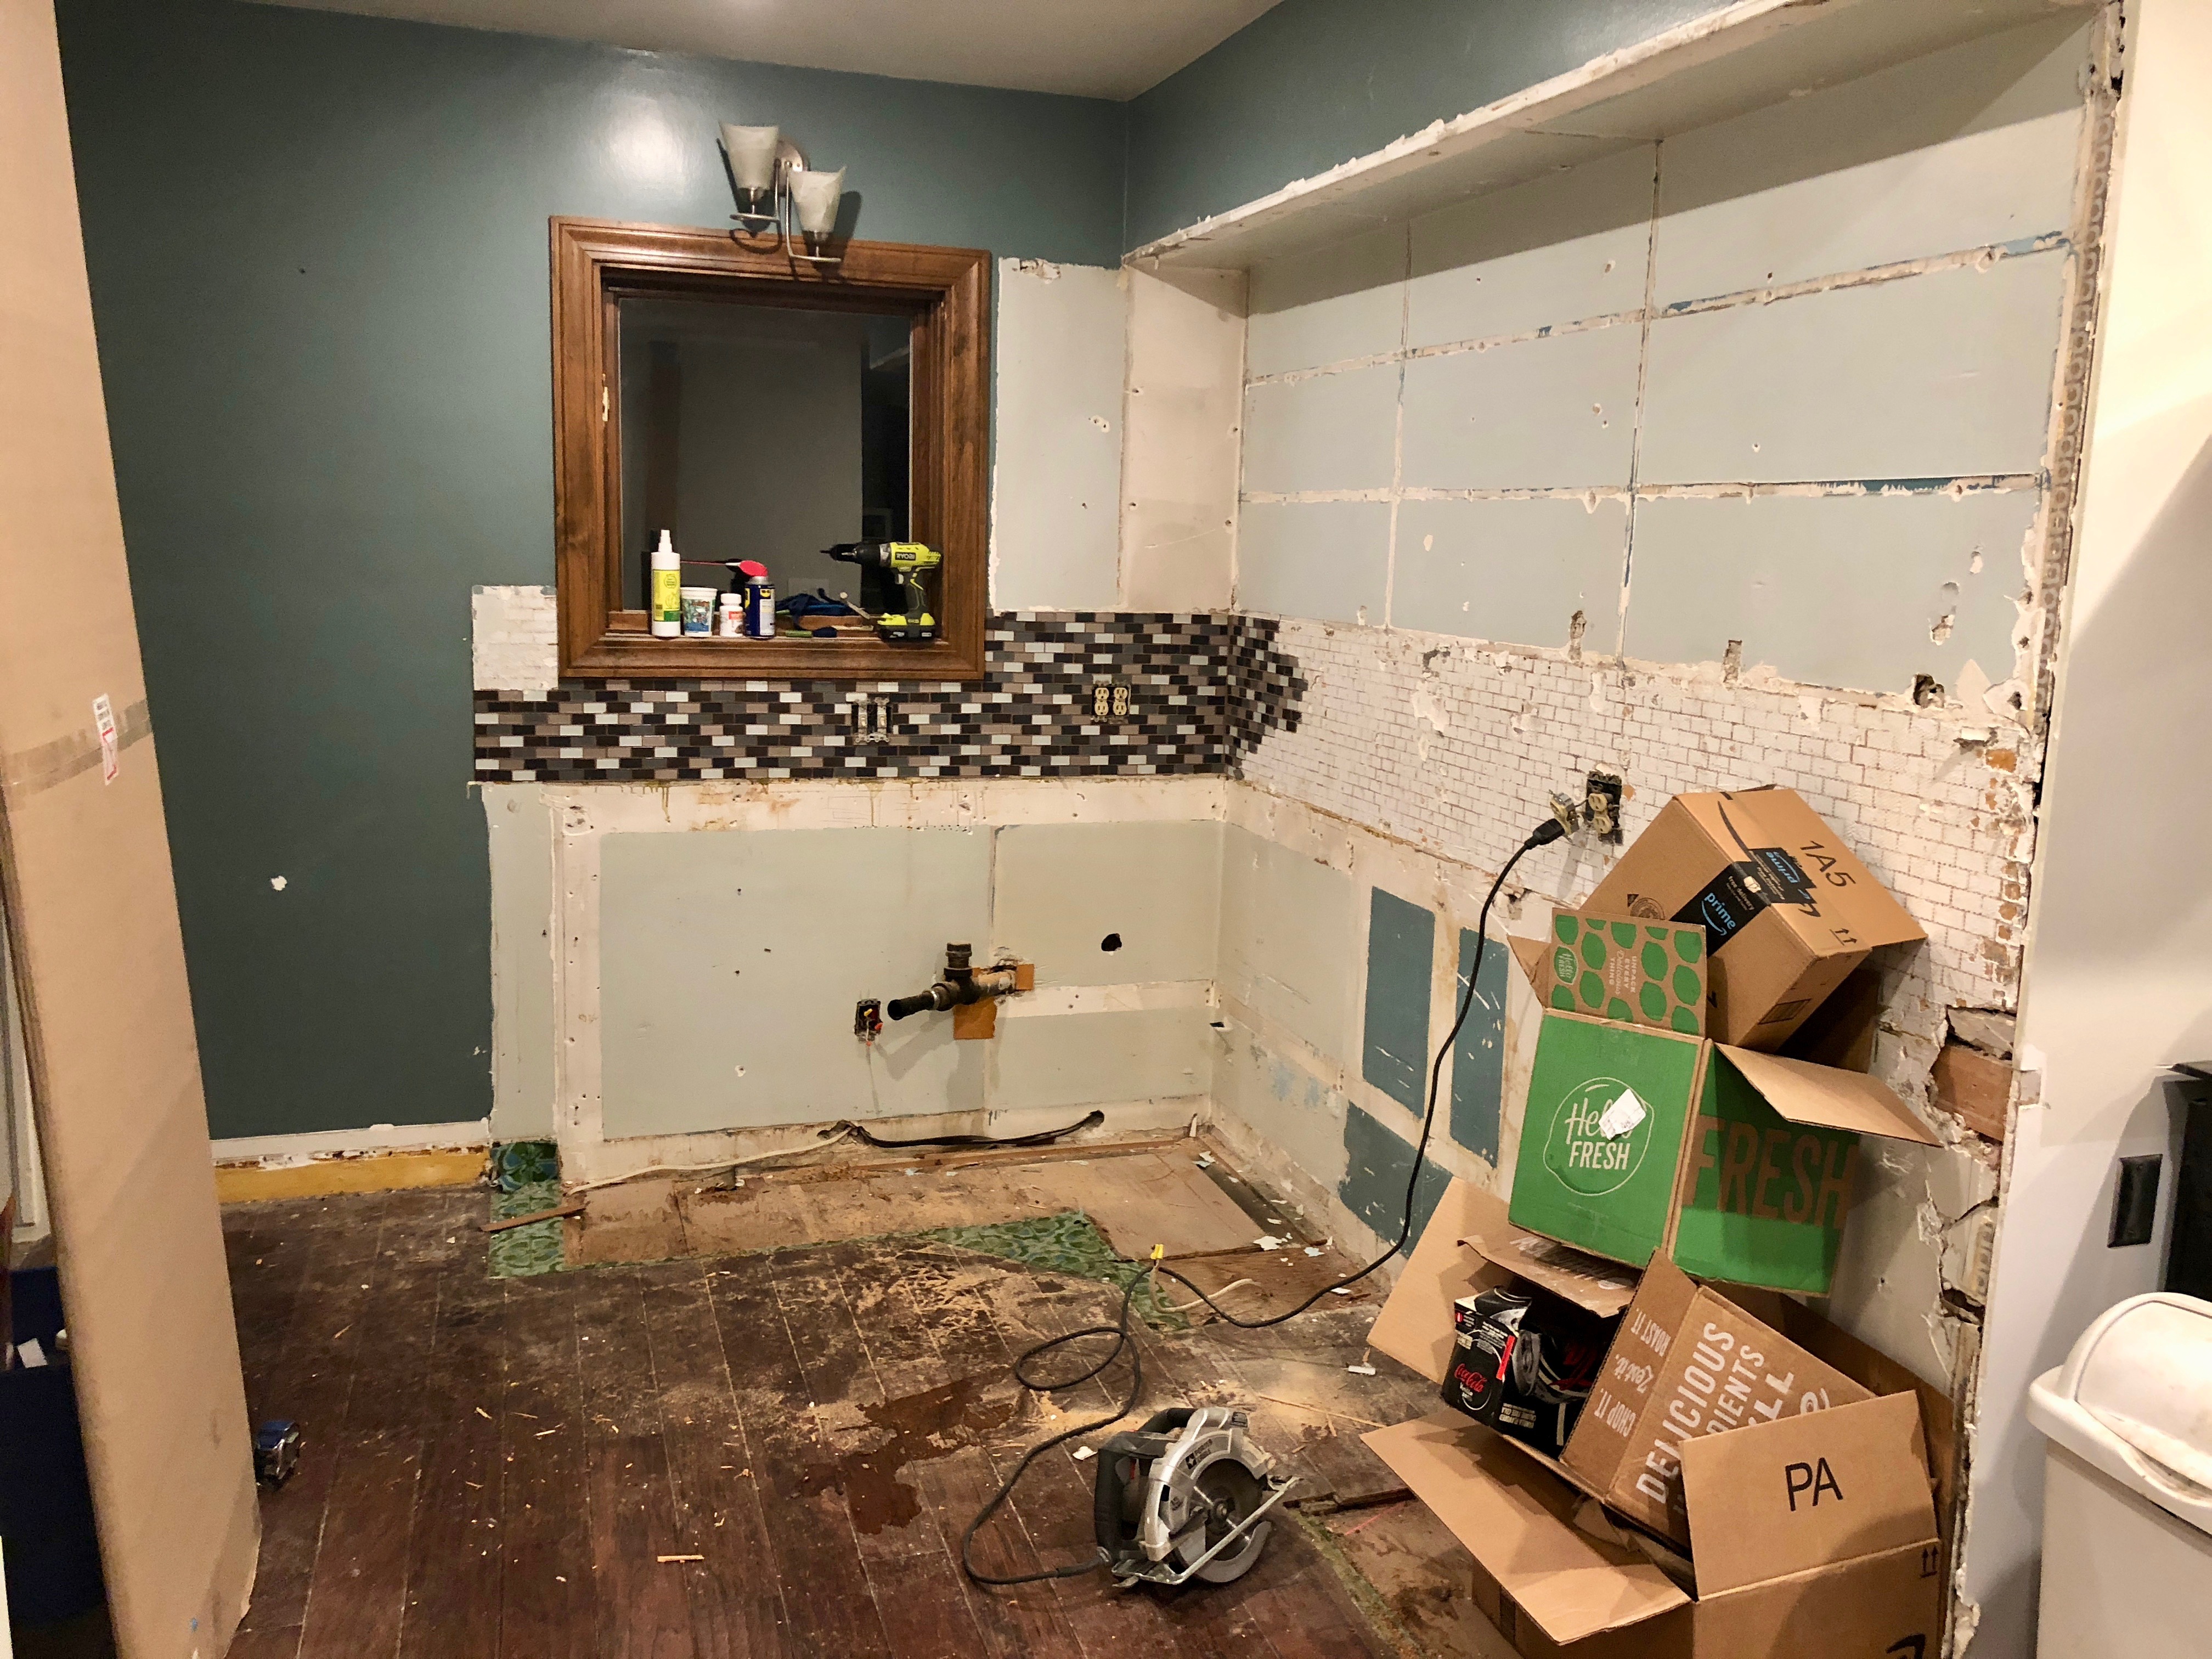
And then, that was it. I’m pretty sure I put up the pantry cabinet somewhere during this time period (not pictured). Also, I think the plumbers came back some time in November maybe? to take out the old sink drain and install pipes for the washing machine (and the vent for the dryer). I dunno, that could’ve been January.
Just one more of these and then I’m going to be done talking about this kitchen project. It’s taken forever. It is a major relief that the project is mostly done now and to no longer be surrounded by cardboard, dust, and chaos. I don’t ever need to renovate anything again in this lifetime. Please do not ask me to renovate anything for you.
Thanks.
bkd
When I left town at the end of July, that coincided with the drywaller’s schedule. In other words, I timed it so I could be out of the house during what I imagined was going to be a neverending indoor dust cloud. So when I got back from the northwest road trip, I was met with this:
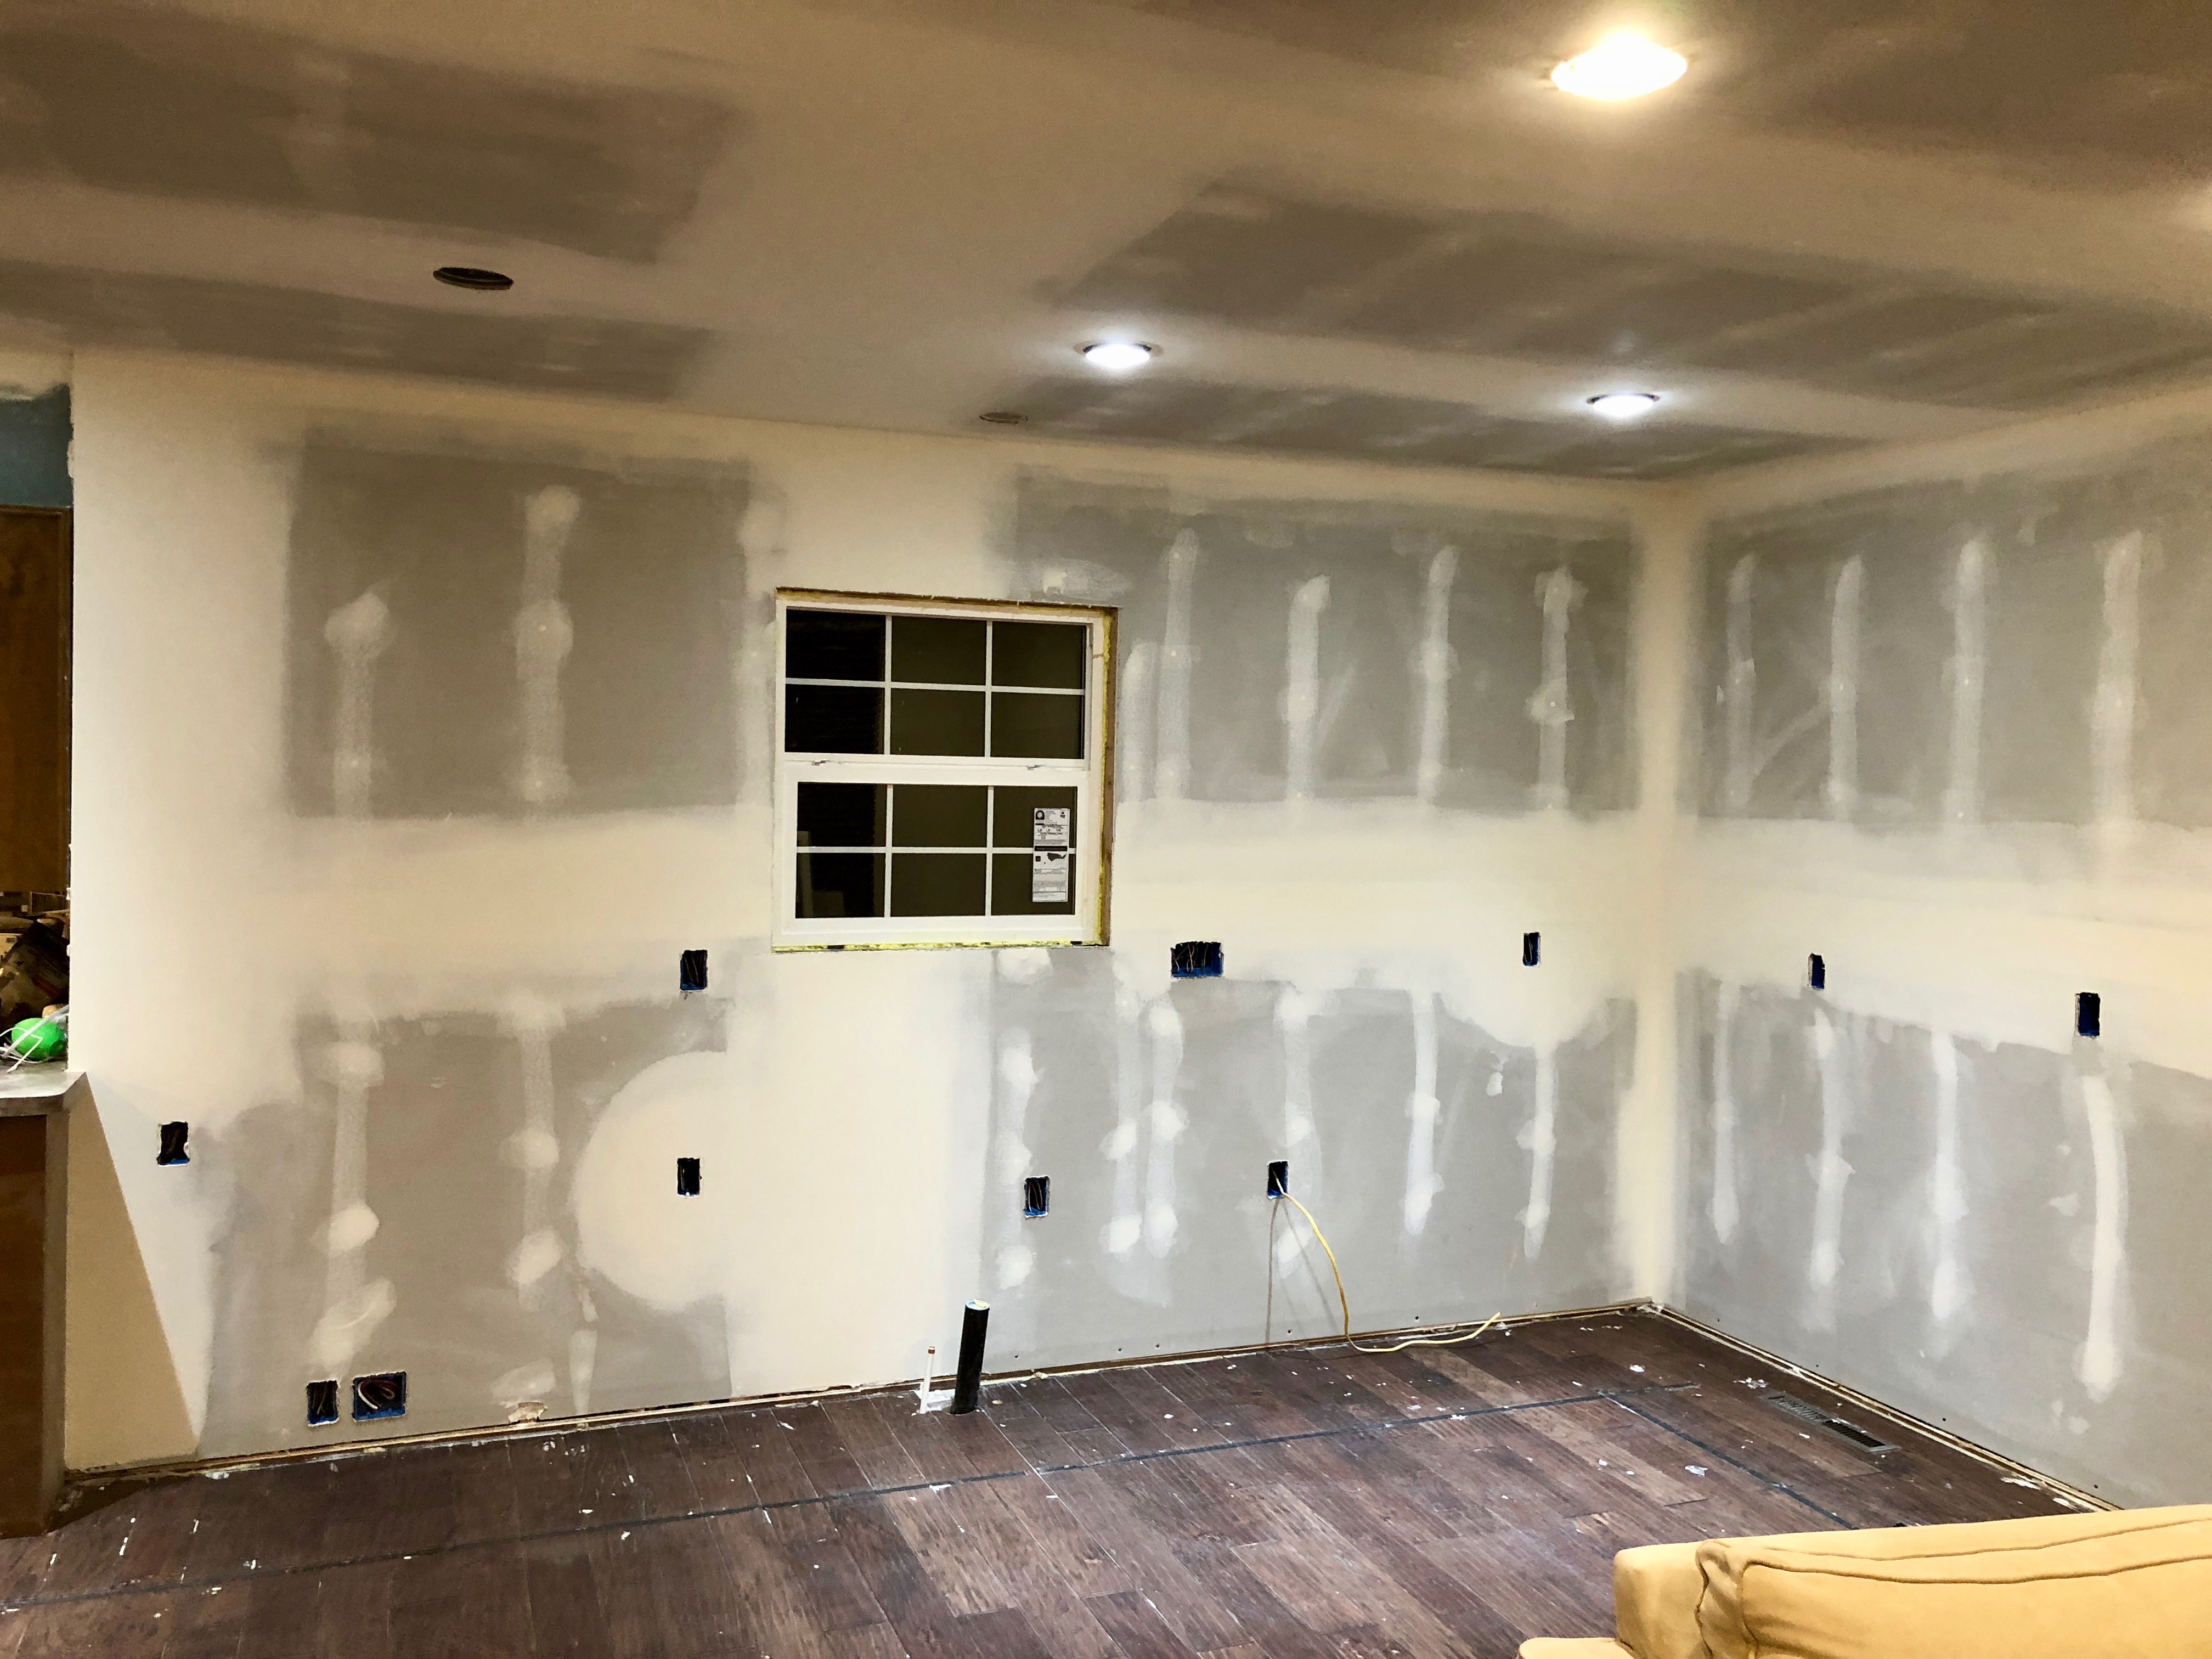

It usually makes me nervous to be gone while a contractor does anything, but this one and it worked out super well. Between the superfluous living room addition, the entry way to the kitchen area, and the old kitchen itself, there were a lot of uneven surfaces at the stud level. Now, though, you can’t see any of them.
Sadly, Rick doesn’t really do drywall for a living any more. It’s more a hobby-for-money or something. Both the drywaller and (non-residential, moonlighting) electricians did unusually good work. Almost seems causal — from now on, I’m only hiring contractors who don’t depend on their contracting for a living (not really).
Then I primed and painted.

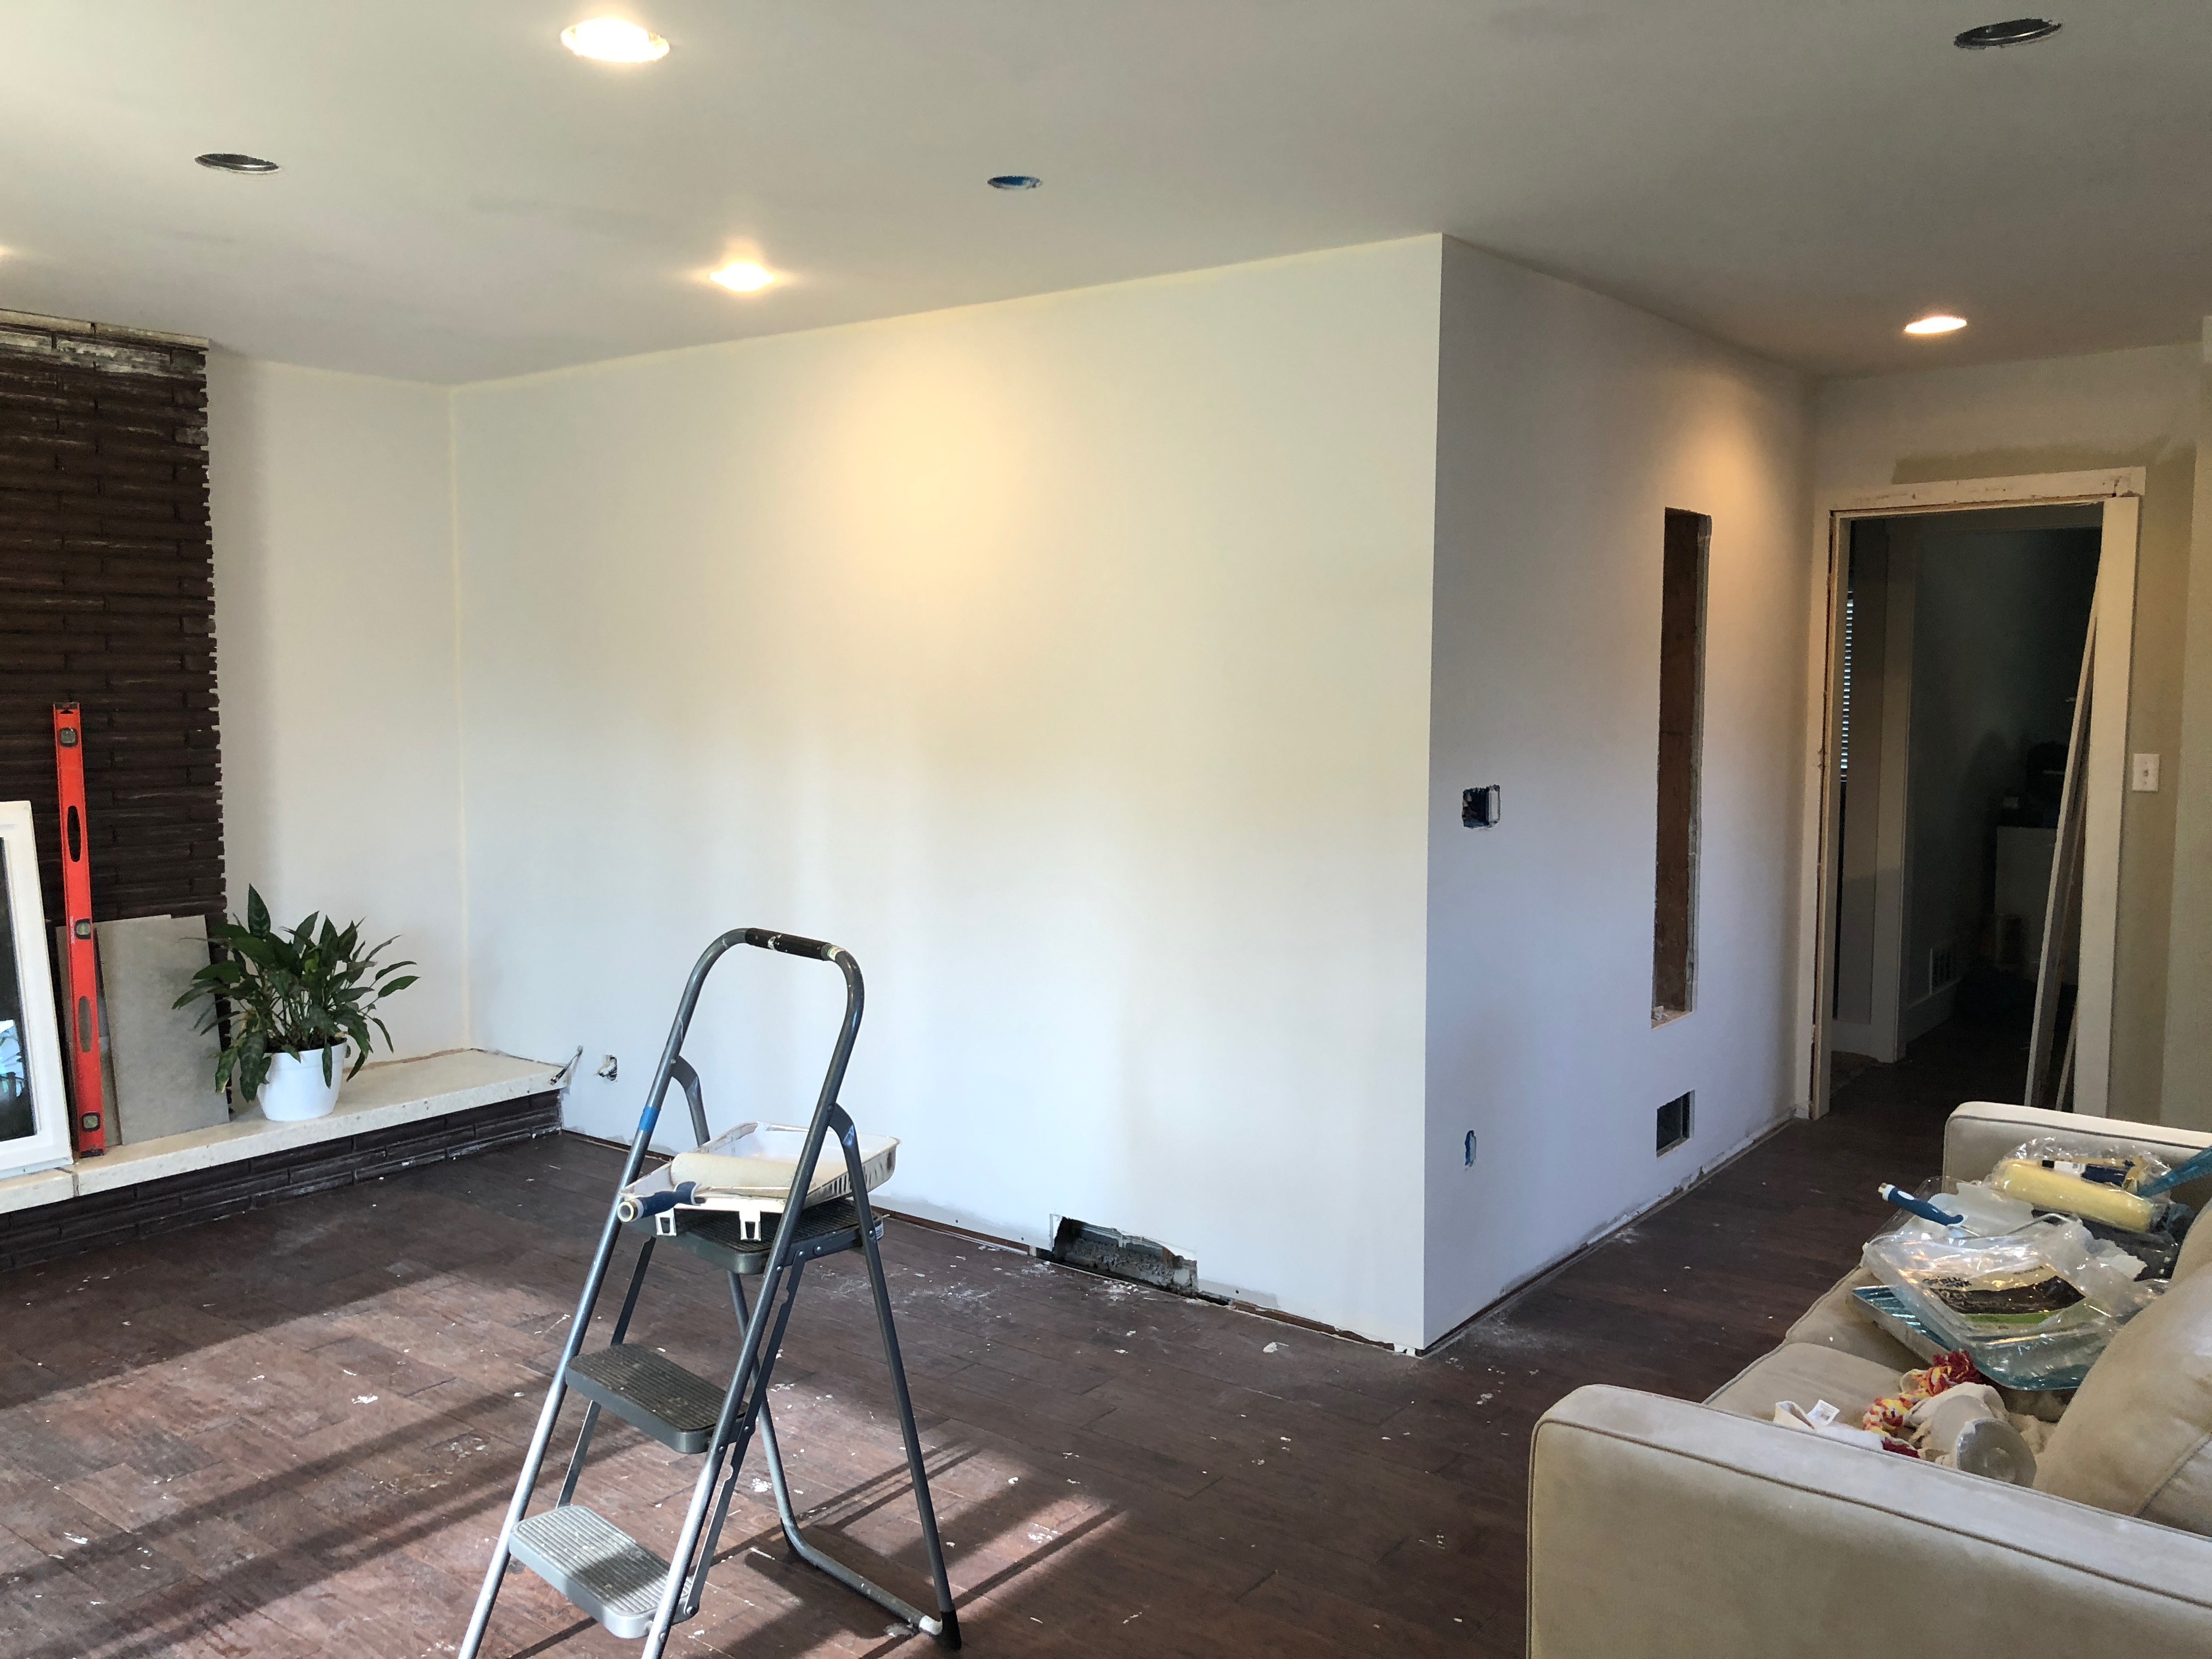
In the above photo, you can see also the light switches going in on the new wall. Also, that weird jagged hole at the bottom of the wall was my fault. Would rather not discuss. I thought there was a cold air intake there.
I had ordered all the cabinets from IKEA and all the doors from a third-party cabinet door company (that specializes in making doors for IKEA cabinets; Semihandmade is the name of the company). These arrived in two separate deliveries during August, effectively turning most of my house into a pile of cardboard (there’ll be a picture at some point). Those deliveries happened last August and starting about three weeks ago the house no longer feels primarily like a warehouse for flat cardboard boxes. That’s was a long, ugly period of time.
IKEA cabinets because:
For the wall cabinets, you screw a rail into the wall studs, then you hang the cabinets on the rail. Particularly after that cabinet in my house in Oklahoma fell off the wall (the builders missed every single one of the studs when hanging a six-foot-long cabinet using 18-gauge finish nails), this seemed a solid approach. Plus, building and hanging IKEA cabinets can be done solo. Plus I’d used IKEA cabinets when renovating my Pittsburgh kitchen and it was a reasonable experience.
This time wasn’t as good of an experience, but I’ll maybe describe that further when we get to when the bad parts happen. Although there’s always this: the back on these cabinets are just cheap laminated cardboard (that you can tear/puncture pretty easily) and that you then nail into the cabinet and therefore can never detach. They could’ve done something much, much better for $0.19 more or so. I’m guessing.
I also had the plumbers come back and run a gas line for the new stove. And then bought a new gas stove as well as a new dishwasher. I think I made that decision the same week I was thinking I was going to be staying in this house for a while. Then that week ended and I’d already paid for the stove and dishwasher.
So then:

The electricians came back and finished the kitchen-area wiring during this timeframe.


The foreman performed frequent, thorough inspections.
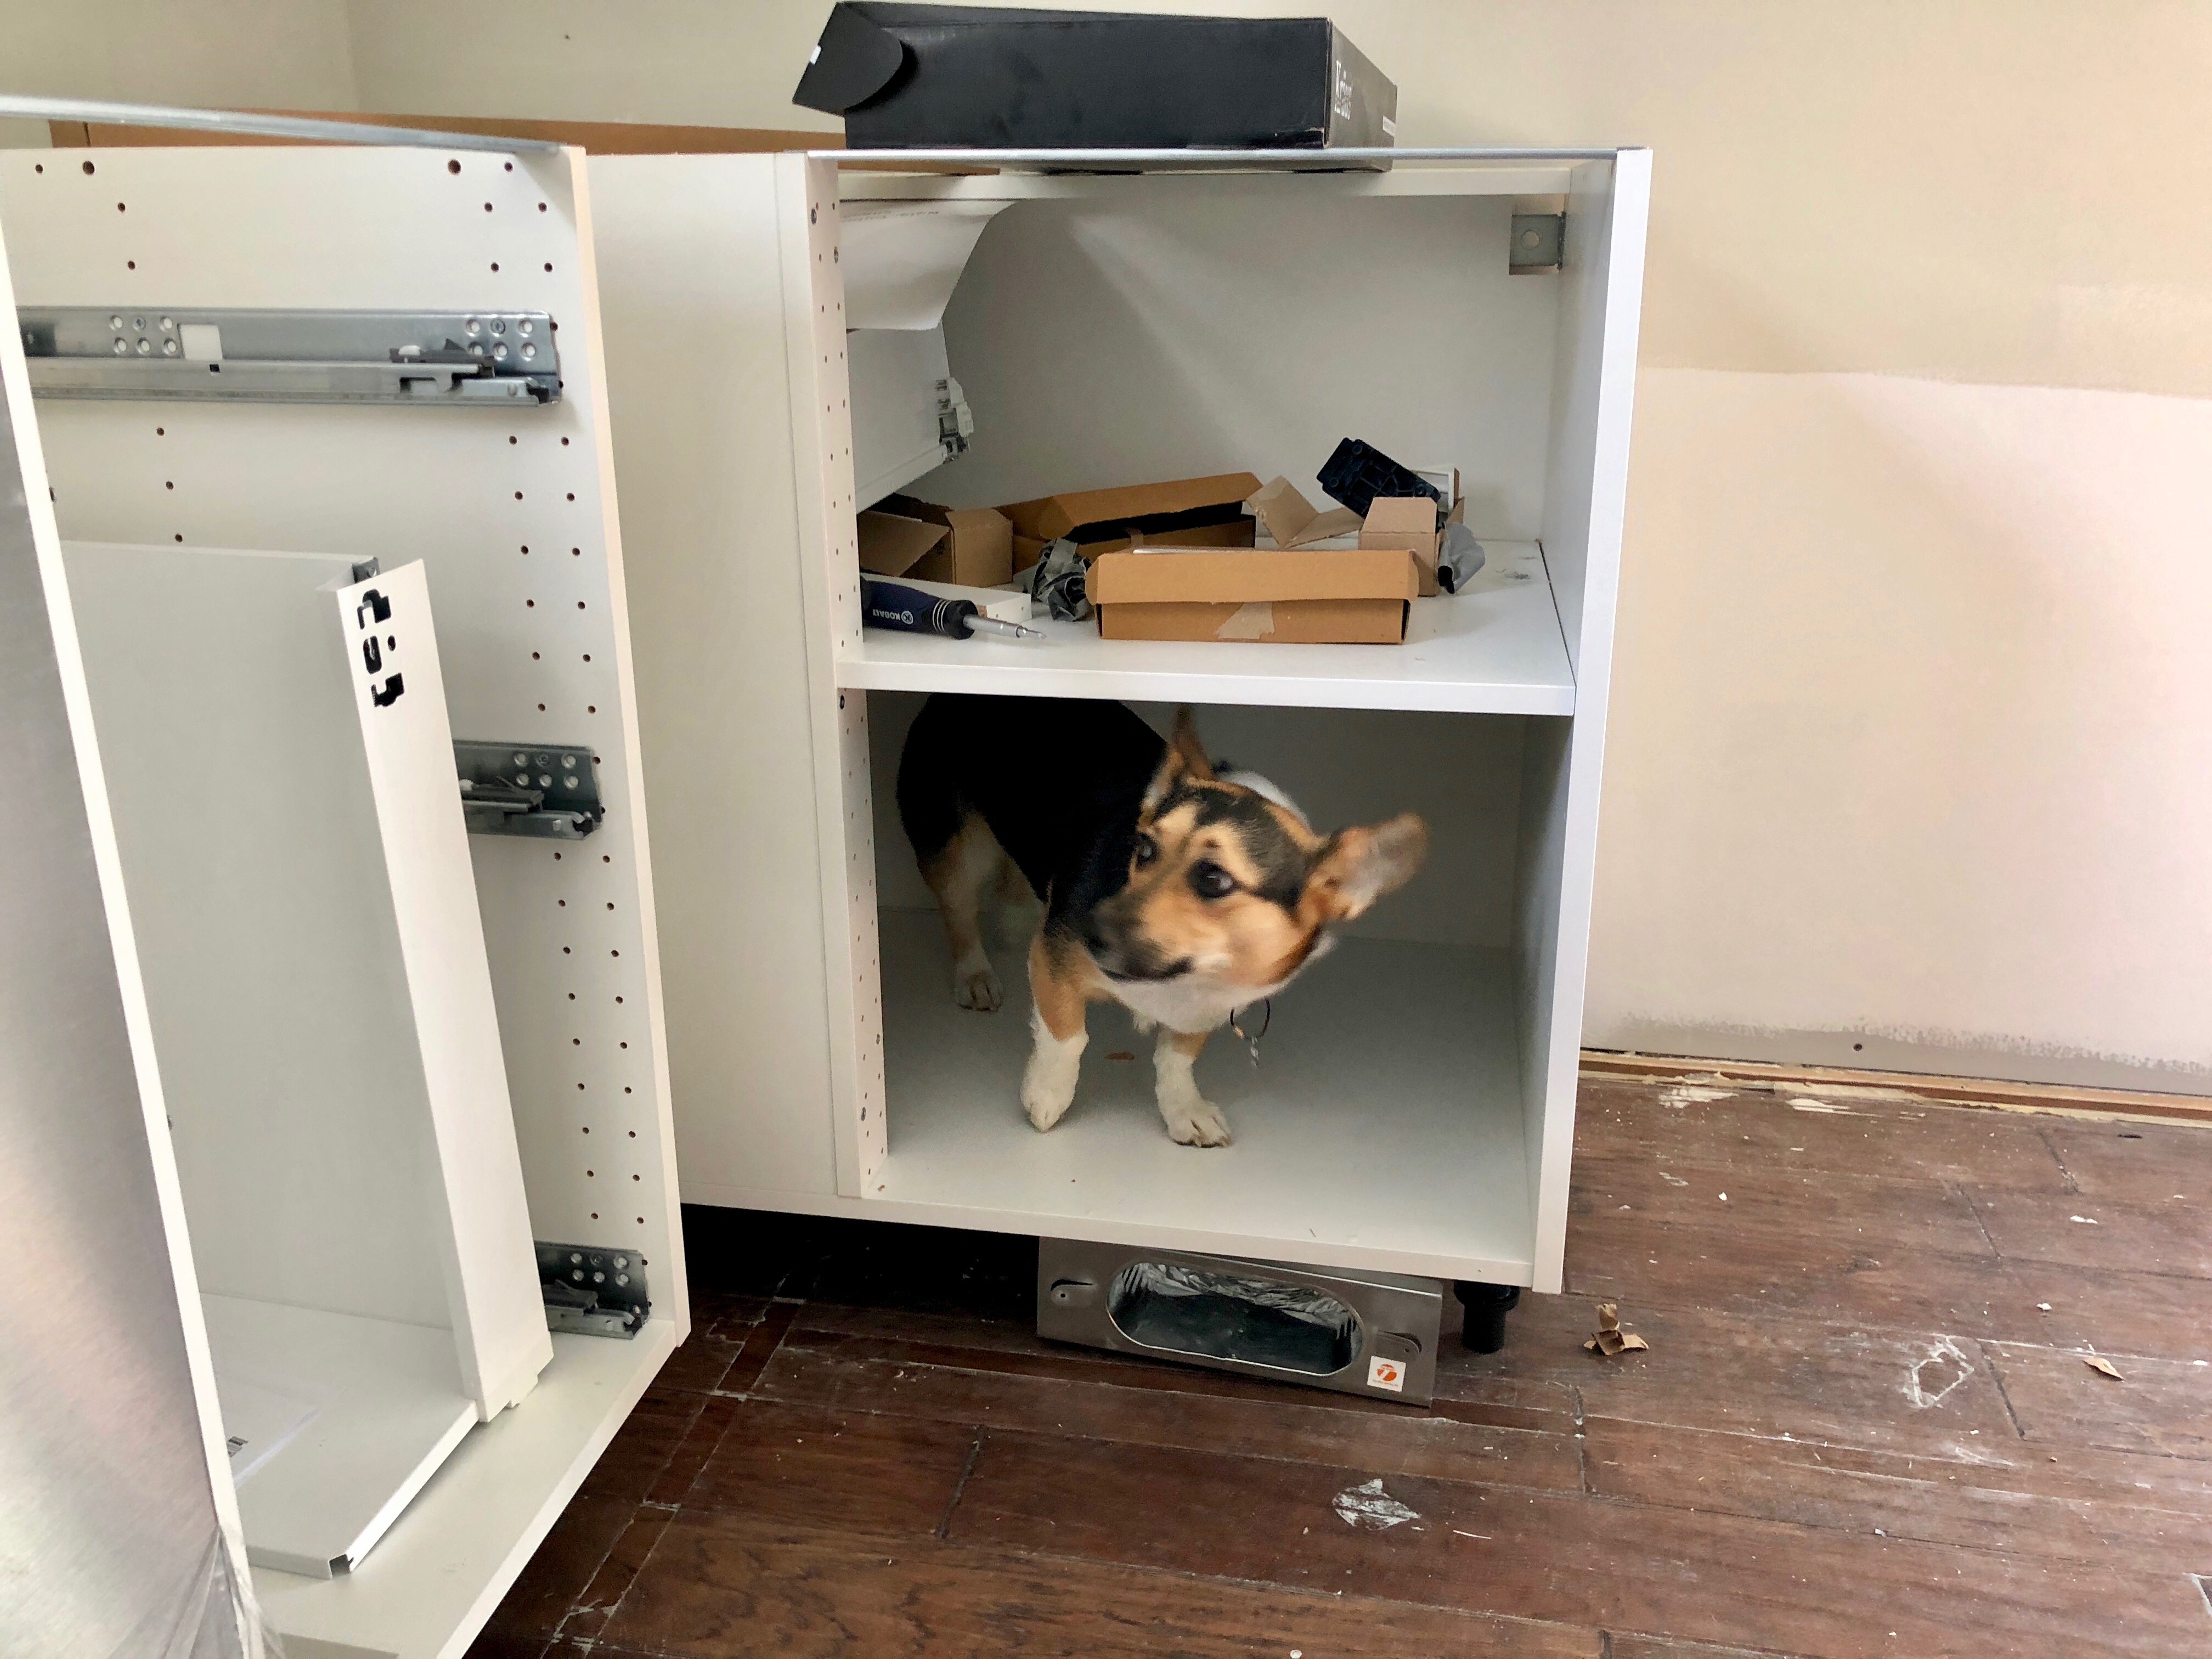
And cardboard:

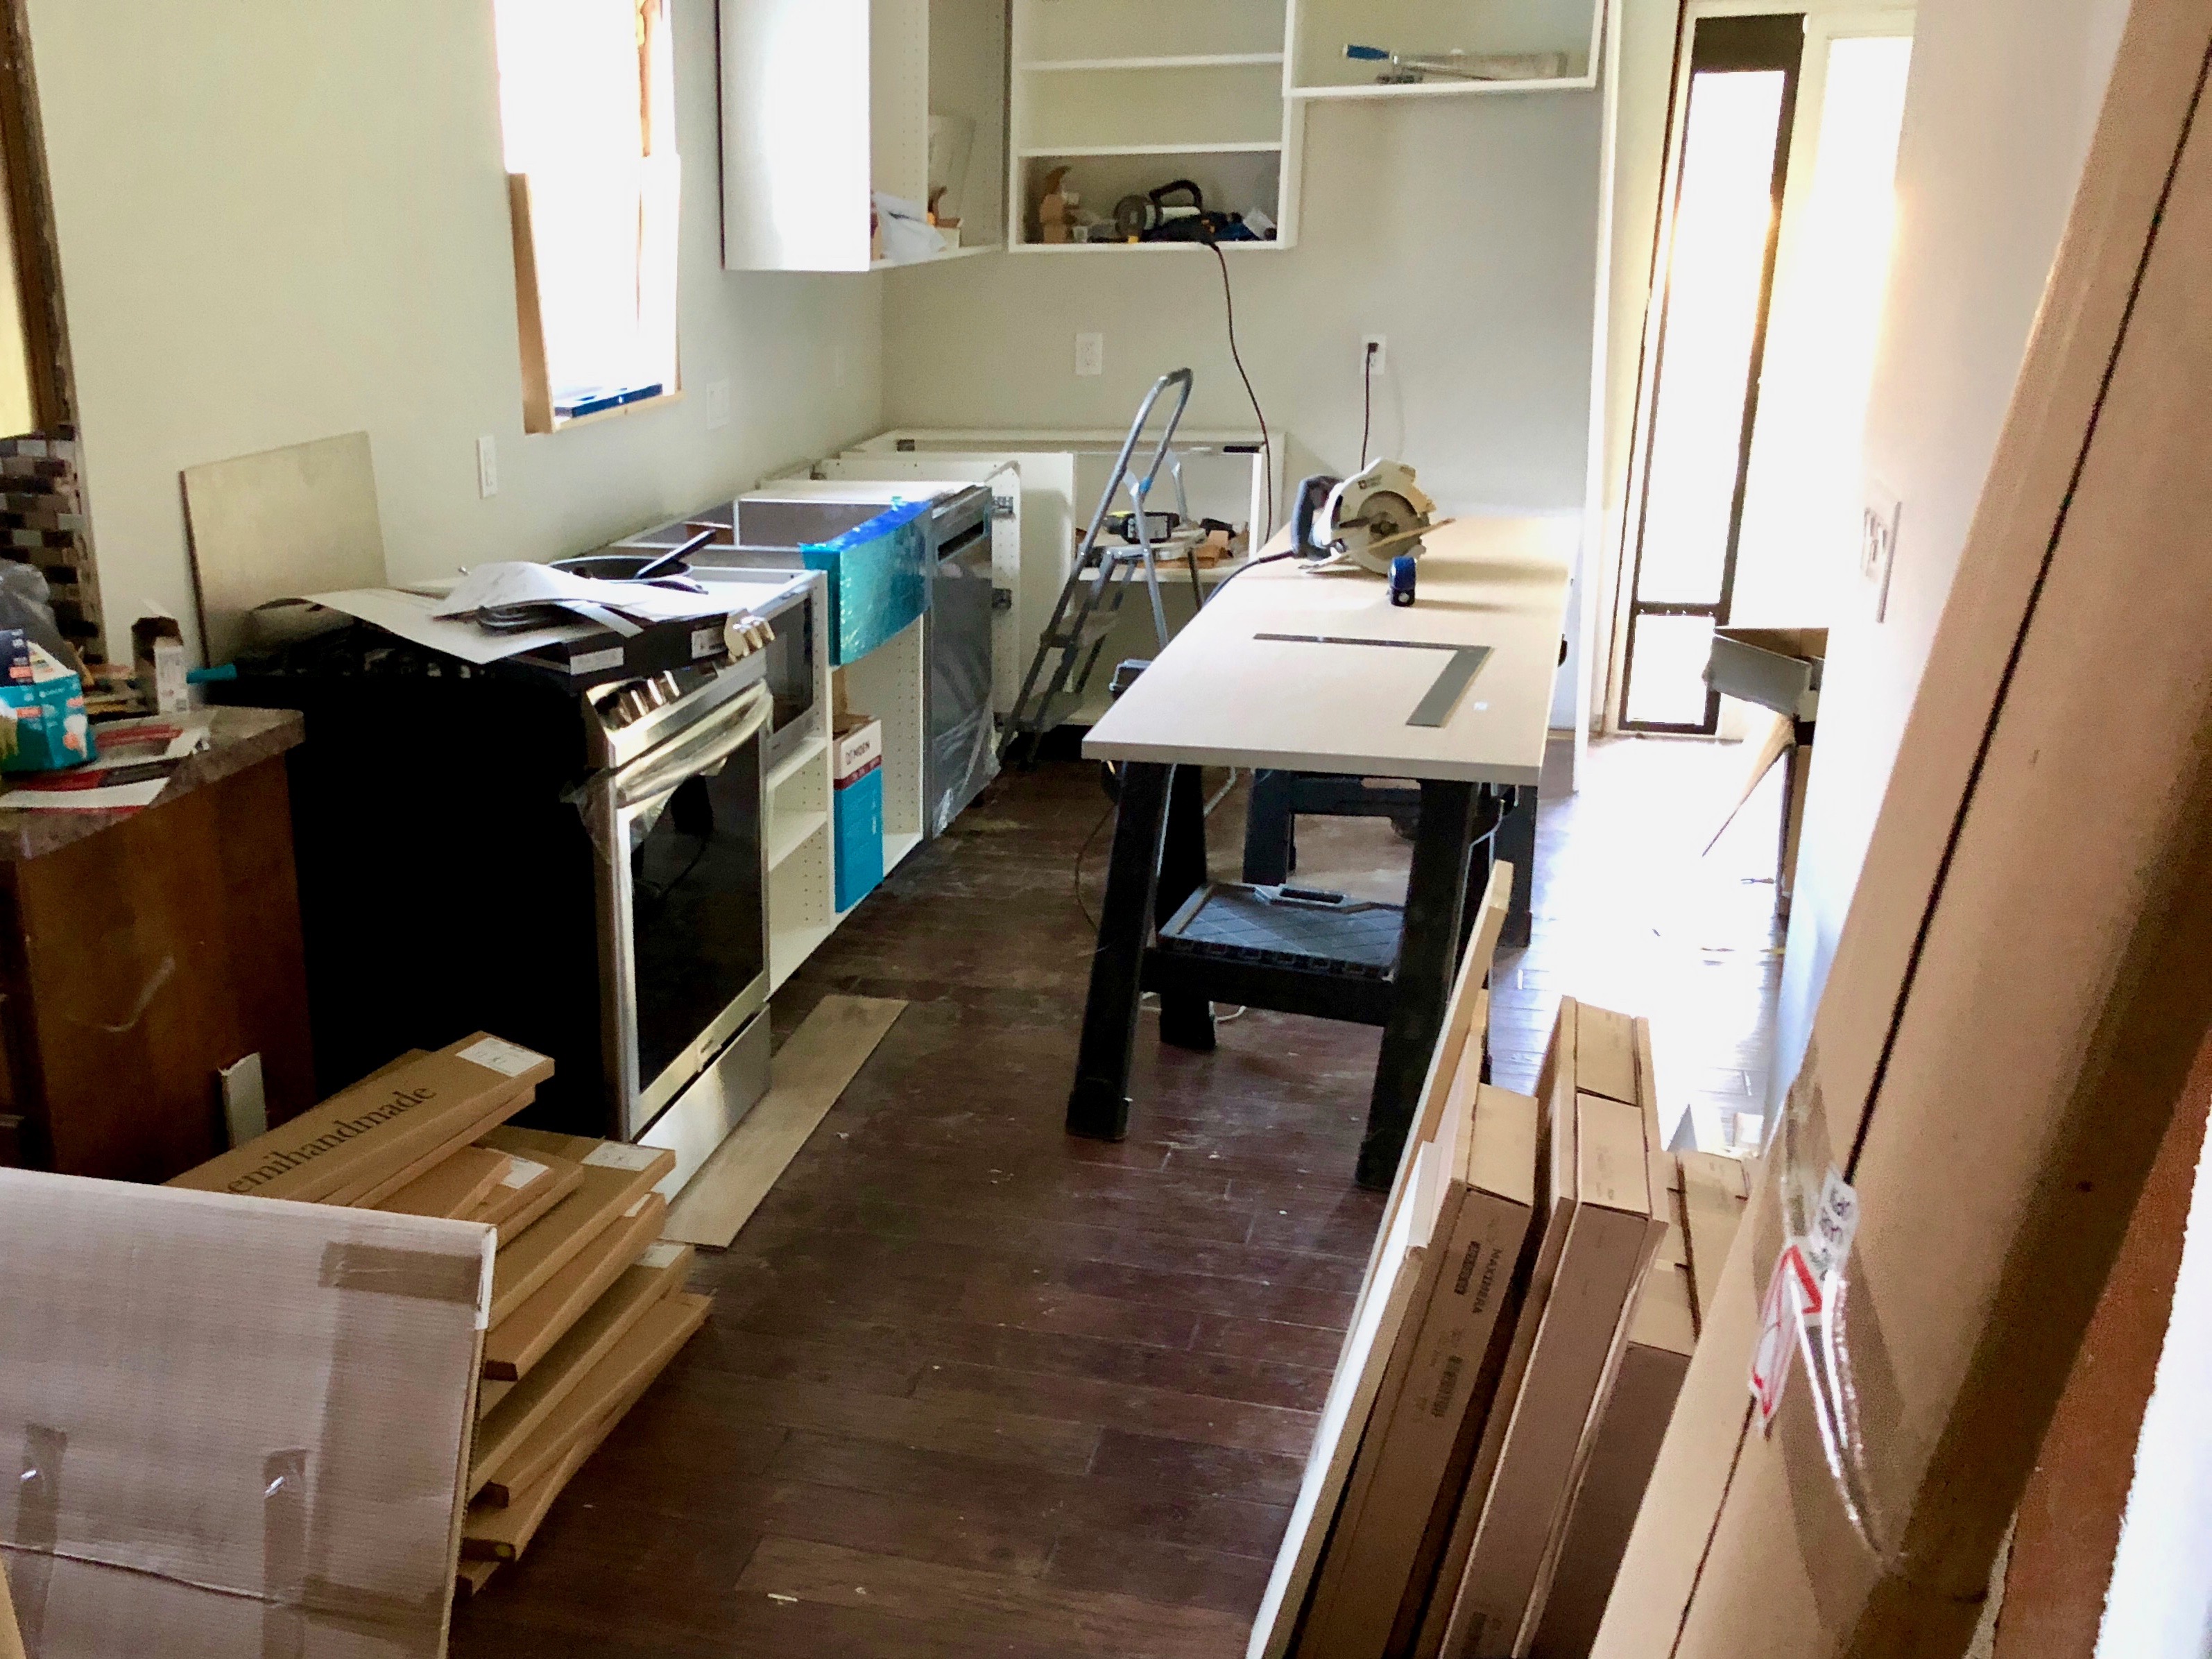
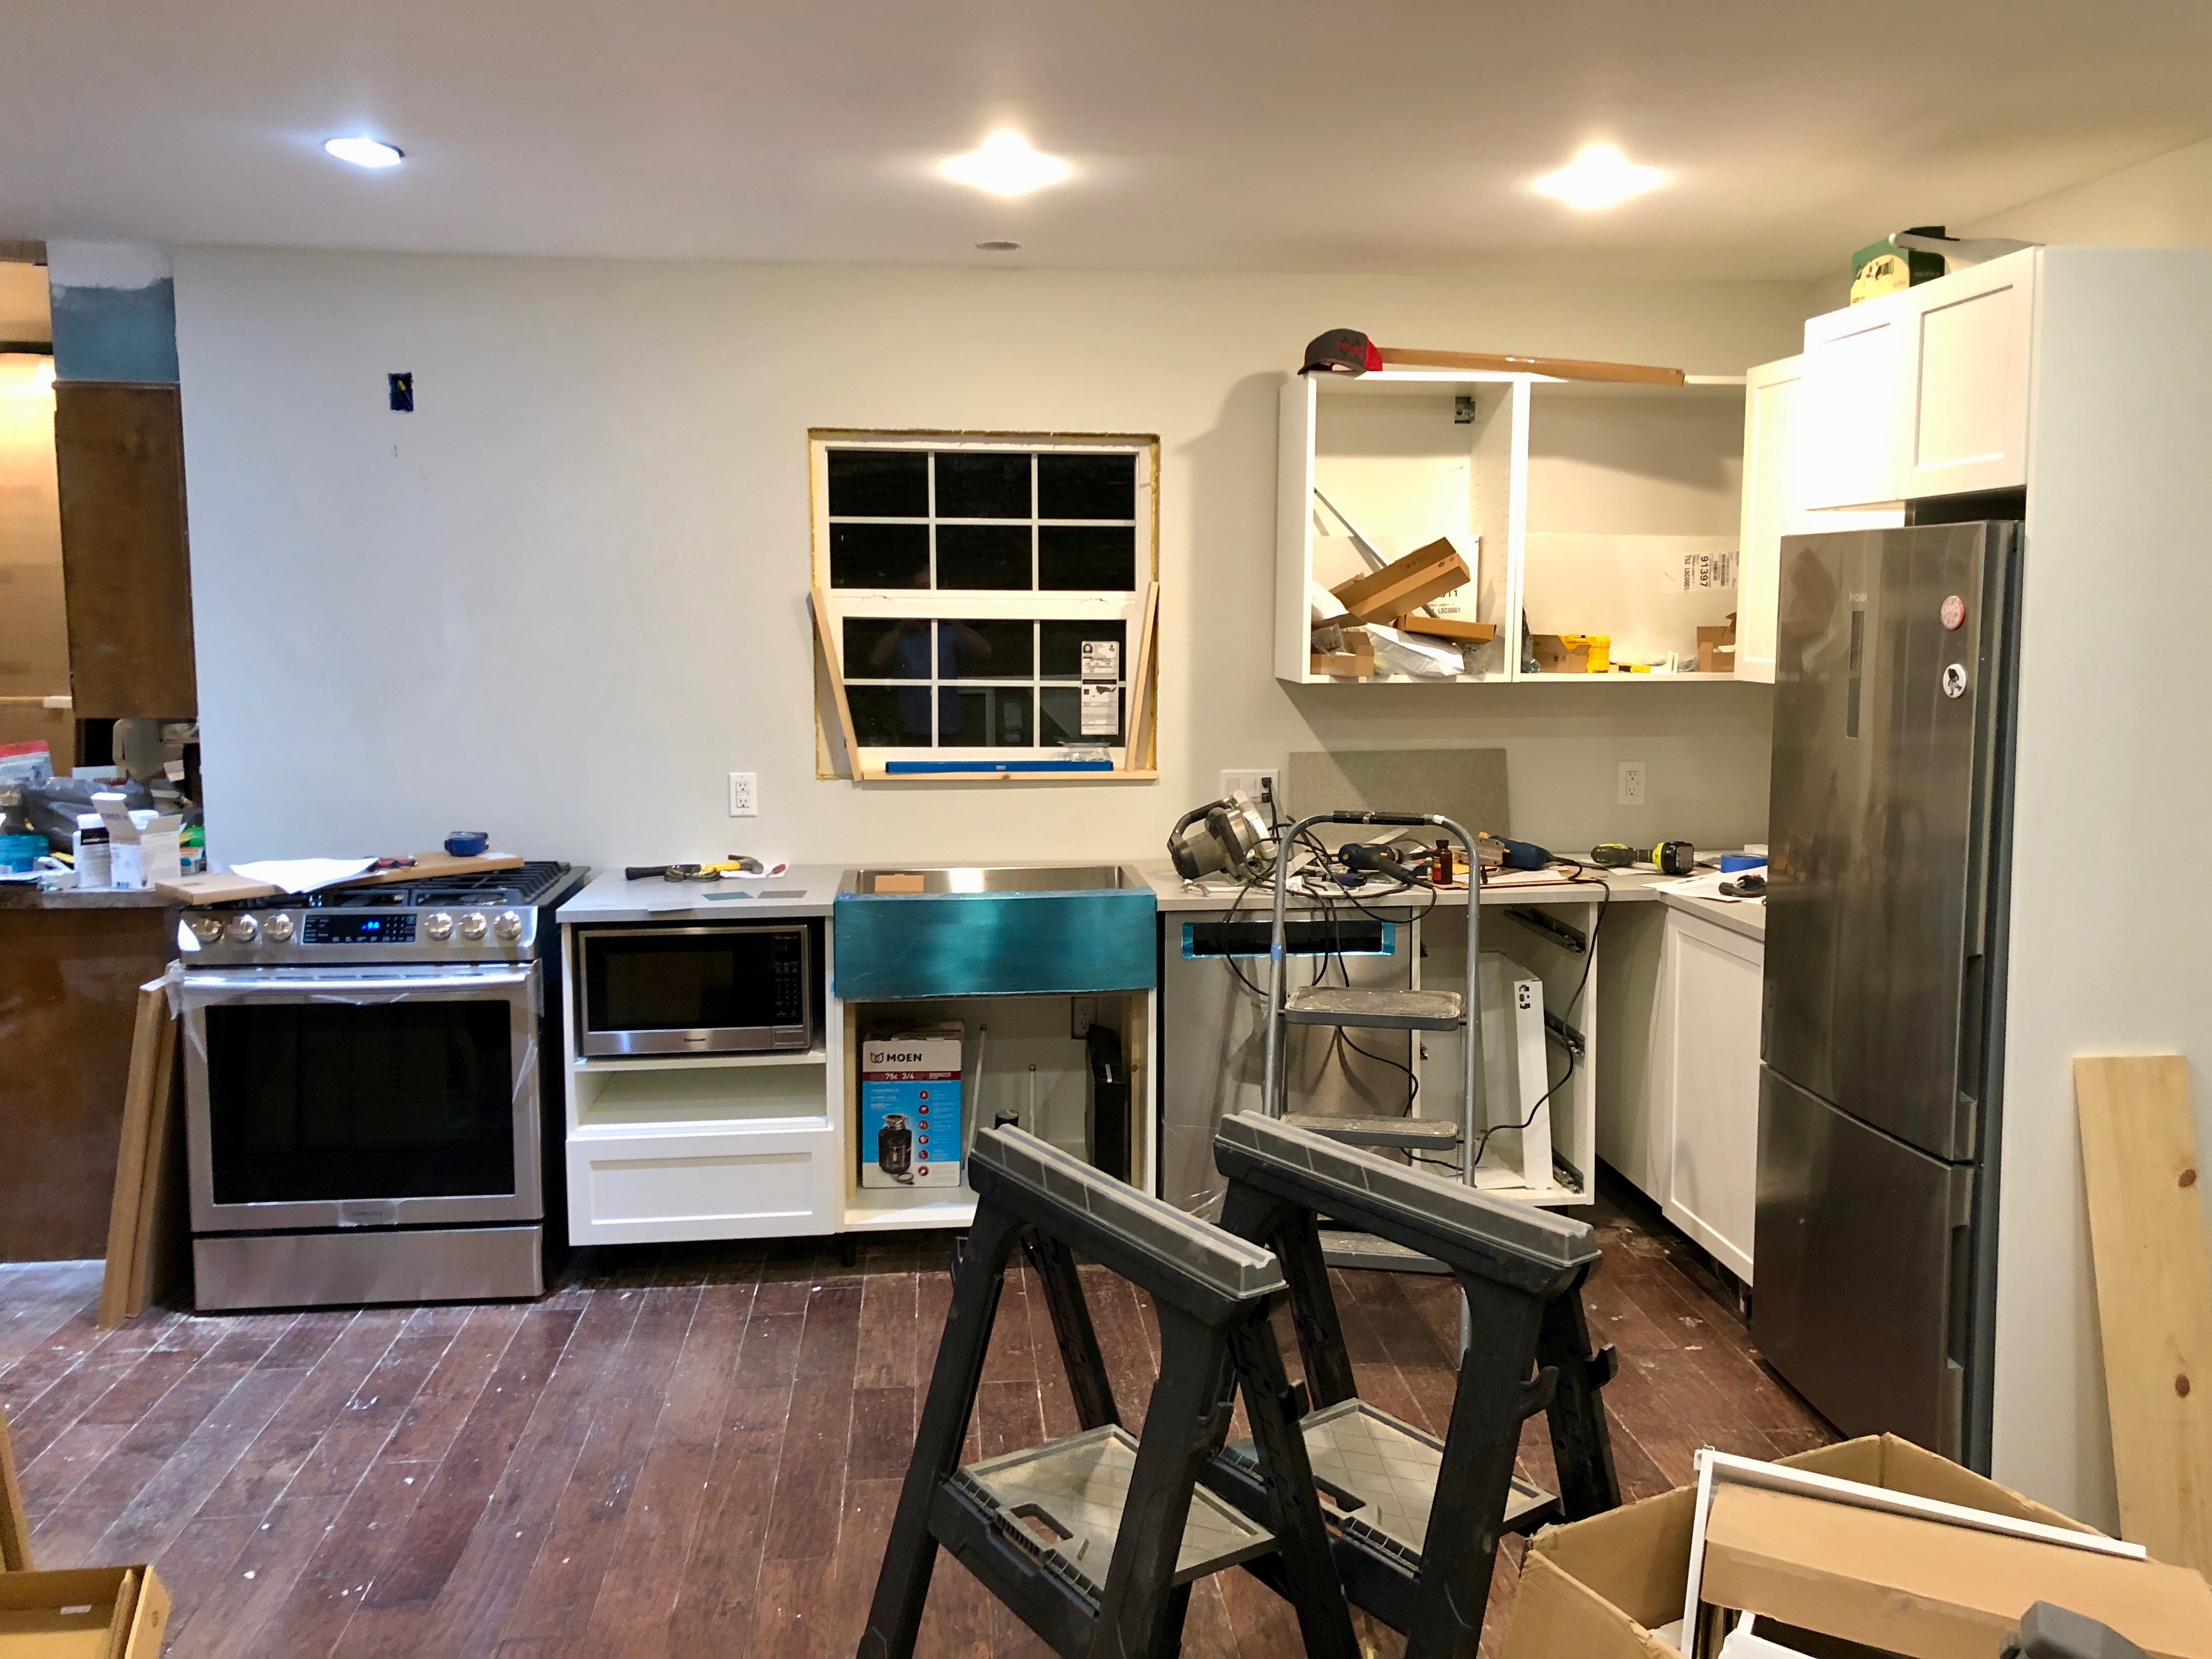
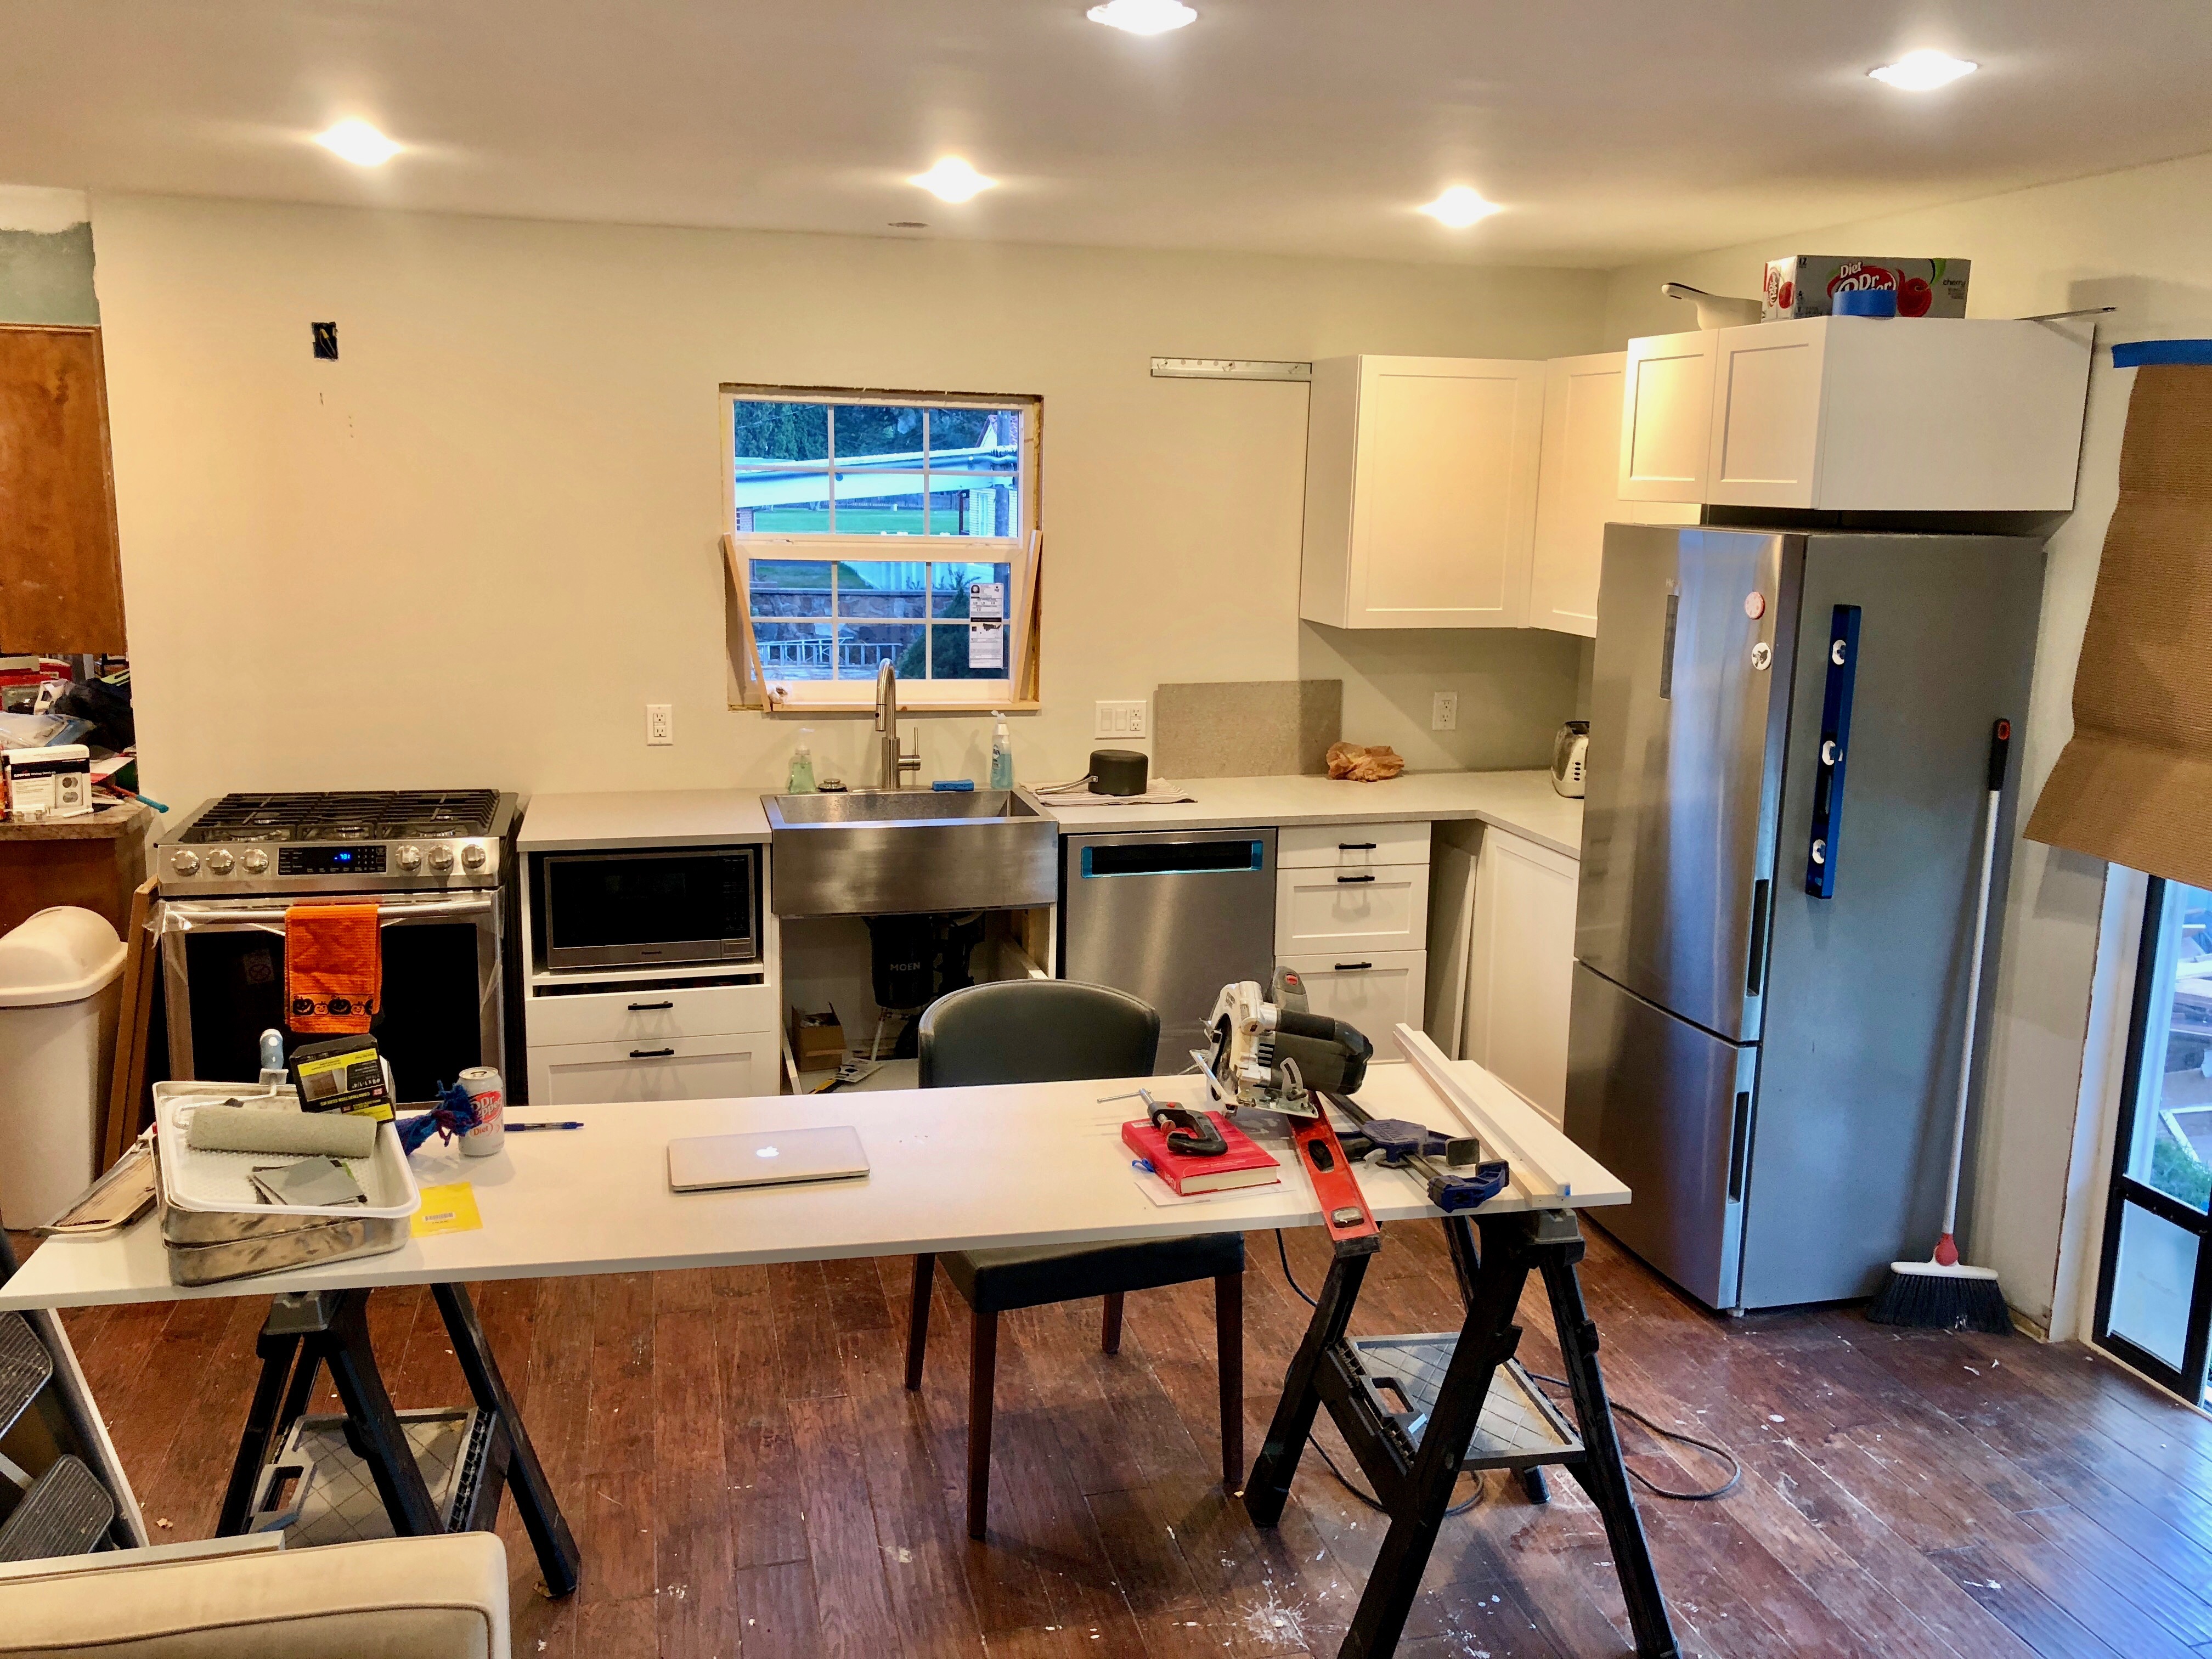
That $400 MDF panel resting on two sawhorses would served as my kitchen table for the next six months. Eventually a hood would get hung above the stove, but not during August 2018, no.
Some other notes:
OTOH there was eventual trauma related to the countertops, but not related to the IKEA countertops qua countertops.
I also did a little demolition in August in the laundry room-to-be, but I’m going to lie to you and tell you it happened in September. Will smooth out the narrative.
bkd
Next up in the project was getting the new window installed. That corner of the house was super-dark, and with the kitchen going in there, it needed a window. I actually tried calling several professionals to see if I could find someone to do this part for me, but no one wanted to :(. I think only one of them even bothered to call me back. Plus, then, Mike Nelson from the ward talked me into thinking I could DIY it and have it work out. So there was that.

And then this next part was scary:

The house did not collapse immediately thereafter, which I found both surprising and endearing. Eventually managed to get the new window framed up the way some guy on YouTube said I was supposed to.

Somewhere in here was also the time that I enlisted the help of an electrician — Austin, who lives down the street from me, was (is?) an apprentice electrician and I think was curious to do some residential work and had a more-experienced buddy, Andy, who could also help. Austin also got me lined up with a dry waller, Rick.
These names are crucial to the rest of this serialization. Do not lose track of these names*.
I probably could’ve gotten the electrical figured out, although Austin and Andy were way faster about it and did a way better job than I ever could. Plus I wasn’t sure I would’ve figured out some parts of it (e.g., how to get the light switches moved from the wall seen above and instead installed in the wall opposite). Also plus, Andy was the best kind of OCD — none of the junction boxes could wiggle, all the wires were straight, everything was lined up perfectly and level, etc.
As for the drywall, there was never a serious thought to take that on myself. And then, some time after I got in touch with him, Rick noted that it’d end up costing the same and looking a lot better if I just tore out all the old drywall and let him put up all new. In other words, during June most of the project area walls got taken down to studs.

In the above photo you can actually see the light fixture that was left live. I ended up paying some kid Rick knew to take out the ceiling where that light fixture was — it was made of the old-school plaster stuff and tough to work with (not the lath-and-plaster stuff, the stuff that, historically speaking, came between that and sheetrock). I coulda DIYed that, but Rick’s kid-associate was cheap and the first hour I spent prior to enlisting help had resulted in about a 1-inch x 1-inch square of plaster being removed and a lot of cuts from the wire mesh holding it all in place.
Here are Austin and Andy doing the first pass at the electrical.

Another reason it was good to hire this out was that I wasn’t excited about dealing with installing the new breakers and wanted to make sure that what was done was actually to code. Also, they knew what the right thing to do was in every situation whereas I would’ve been researching online for three hours before making any decision.

Electrical work passed Aela’s preliminary inspection and tastes great! She likes to steal stuff from workers when they leave their gear on the floor. She particularly likes tape (electrical, plumber’s, and masking — in that order), in case you’re trying to think of something to get her for Christmas.
Then Mike Nelson came over and helped me with the crazy parts of the window install.


And then apparently I put up new insulation in the ceiling.

I closed out the month by road-tripping up to the northwest and ignoring the house altogether. So there you go.
bkd
* You can lose track of the names, it’s fine. I think in the next post I just revert back to calling Rick “the drywaller” anyway.
The house I’m living in was originally built in 1949. At some point, maybe the early-60s, they added on to the back of the house, but rather than adding a room that the house actually (desperately) needed — a master bedroom let’s say — they used the extra space to create the house’s third different living room.
Meanwhile, the kitchen was awful. Mostly just small, but also awful. Take a look if you dare:

That’s the entire kitchen. Here are a couple more angles.

Or the other direction, looking into the superfluous third living room.

Then here’s the old superfluous living room with fireplace and acoustical tile ceiling because classy.
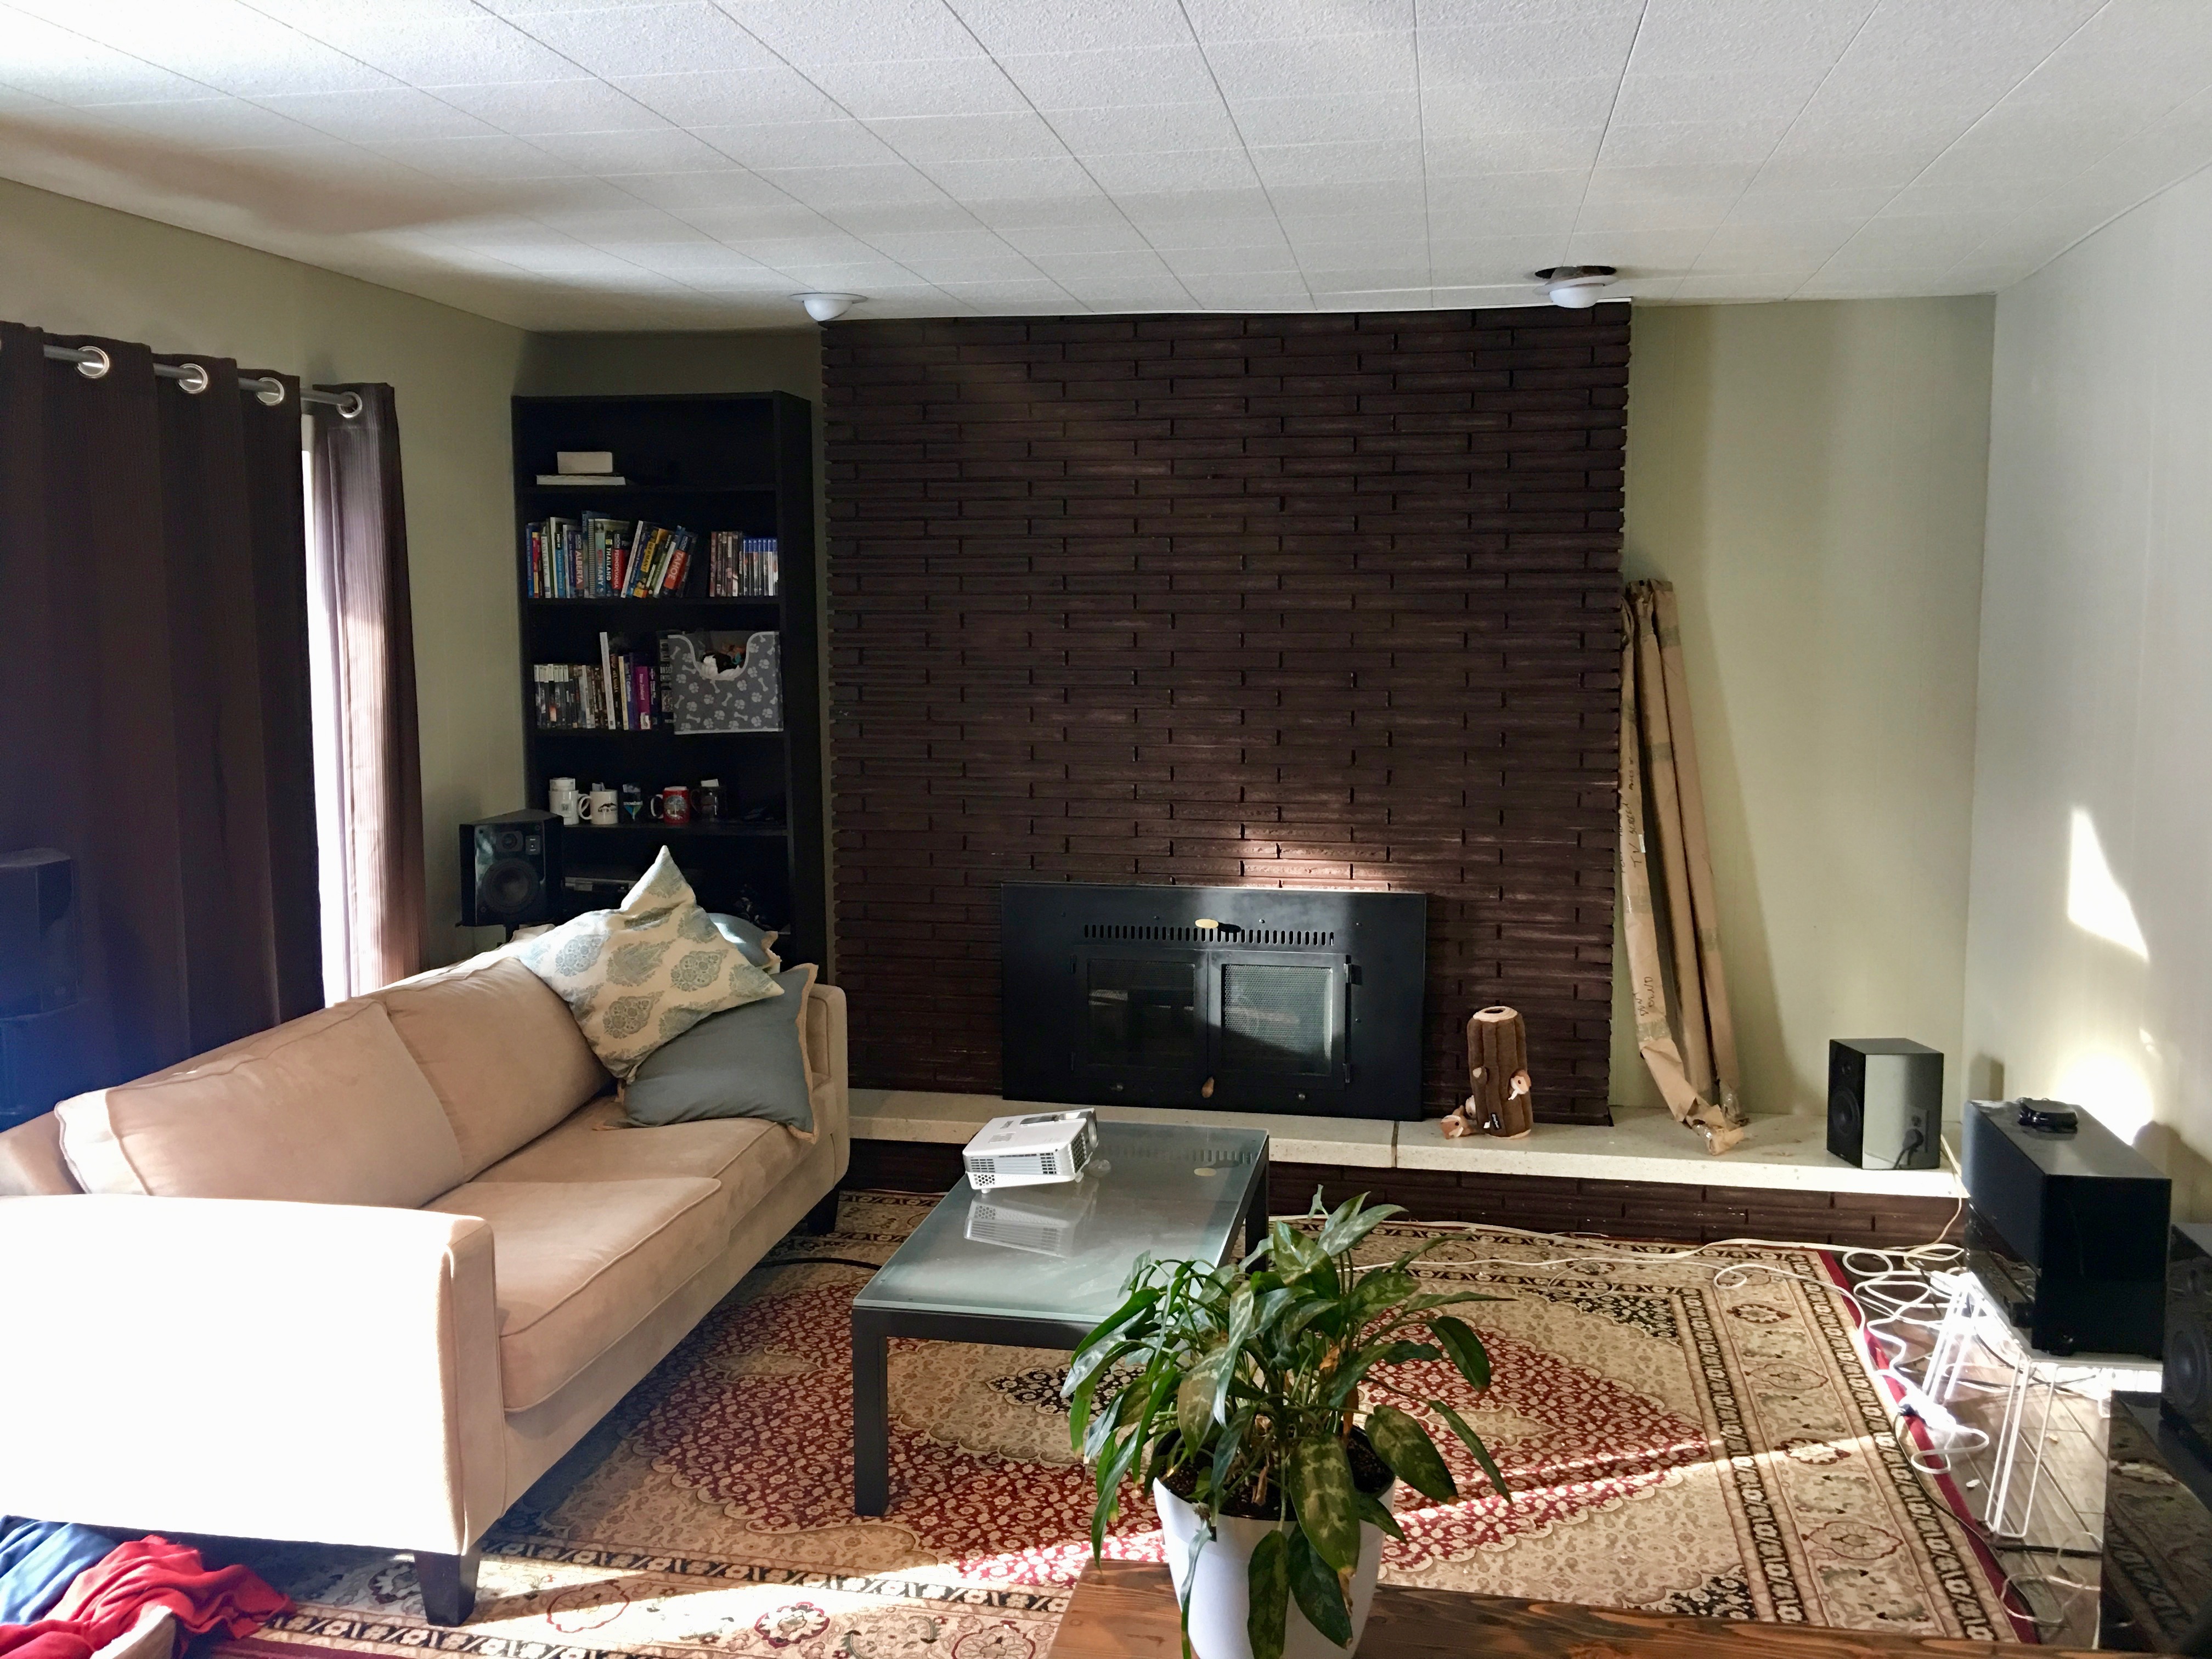
Then this was the, I dunno, dining area that was sort of adjoining the superfluous living room? Or maybe it was all meant to be living room and I was dishonoring the architect’s intent (haha: architect) by eating in part of it.

Nice track lights, but overall still a little dim. Also note the three canned lights in the ceiling that were centered on nothing, and I have no idea why anyone decided to put exactly three canned lights in this room and place them right next to each other in that pattern in that location.
I mean, at some point, this house just included too much non-thinking for me to be okay with it.
So last May (it was probably April, but the story’s more concise if we just call it May) I decided to do something about this kitchen situation and started tearing things down and out.
Look: the old kitchen probably looks fine in the photos (although that floor, those cabinets, that dark-ish paint — bad decisions were made). It didn’t function well, though, it was really cramped, walking into the house was hard to do while trying to maintain a sense of dignity, and the Feng Shui was notably poor. Anyway.
The renovation goal was to move the kitchen around the corner (to the wall shown in that last photo), put a window in that wall where there wan’t one (that would go over the sink), then turn the old kitchen into a laundry/mud room with some additional kitchen storage and counter space.
First things, I started tearing out the fake wood paneling that was covering the walls. Turned out it had been tacked onto what looked like reasonable-enough drywall. Also started trying to figure out how to insert a new window in a wall where there was no window.

I also took down the acoustical tiles. When I did, I discovered that, rather than doing what, like, you’re supposed to do and stapling the tiles to furring strips, instead the original owners had hung drywall in the ceiling and then glued the tiles onto the drywall using at least an at least quarter-inch think slathering of glue to do so. Net result: if I wanted to have a normal-person ceiling, I was going to have to rip down the drywall, since that was going to be a whole lot cheaper, easier, and better-looking than, say, trying to mud over the glue (which I was not going to be able to get scraped off).
Taking down these tiles also revealed that there had at one time been another light socket in the room, basically at the entry into the kitchen. Then, the original owners had put acoustical tile over the old light socket because, you know, that’s easier. Also interesting: they had taken out the switch, but had left the wires to the socket hot. I found this out when, while taking down tiles, my arm brushed into one of the wires.
I think it’s kind of good to touch a live wire once in a while, just to remind yourself you’re alive.
Also, it was at this point that I realized that the original owners of my house in Pittsburgh had done a really good job in constructing a good house, despite what the owner previous to me had done to it. That house had a couple issues (mostly one: everything was a little too small), but it wasn’t built stupidly. Anyway.
Once the wall panels were down and safely stacked in the back yard, I started going after the ceiling drywall.

Then, once that was out, started rigging up canned lights throughout the superfluous living room and kitchen-to-be.

For some reason there were shims on every single one of the joists. And then they’d also done some fun things like this:

Pictured above is one of the two weird eyeball lights that used to be over the fireplace. If you look hard enough, you’ll see that they nailed the can to the joist, and then put the shim (furring strip?) ON TOP of the joist (and the nail) so that the only way to get these old cans out was to either take down the furring strip or use tin snips.
I went tin snips, obviously, just for the sheer violence of it.

And it looks like I still had some paneling to take care of at that point. Which, after going to Switzerland and Germany, I apparently did (take care of):

That wall with the diagonal boards used to be the exterior wall of the house. The rectangle you see there was some sort of window. I kind of liked the way the wall looks there in a distressed 1970s ski lodge interior sort of way.
Removing the paneling also revealed this at the entry to the old kitchen area.

Which, in addition to the cool (1949?) wallpaper, shows that at some point someone ran wire from the light switch down to the outlet but outside the wall, then just slapped paneling on top of it and called it good.
A pragmatic people, the Cache Valley-ites of the post-war era.
Apparently it was ’round about that time that I called the plumbers out to plumb the new sink area. This is what it looked like when they were done.

Wait — I think that’s more like what it looked like when they were about halfway done and the one plumber was crawling around the dryer lint-filled crawl space trying to make pipes go places.
The dryer — well, it vented into the crawl space under the superfluous living room. That’s why the crawl space was filled with lint. Pragmatism!
And that’s what got done in the first two months of this (so-far) 14-month project.
bkd